In my doddery old age, I thought I would invest in a hot wire table to make slicing up blue foam a bit easier.
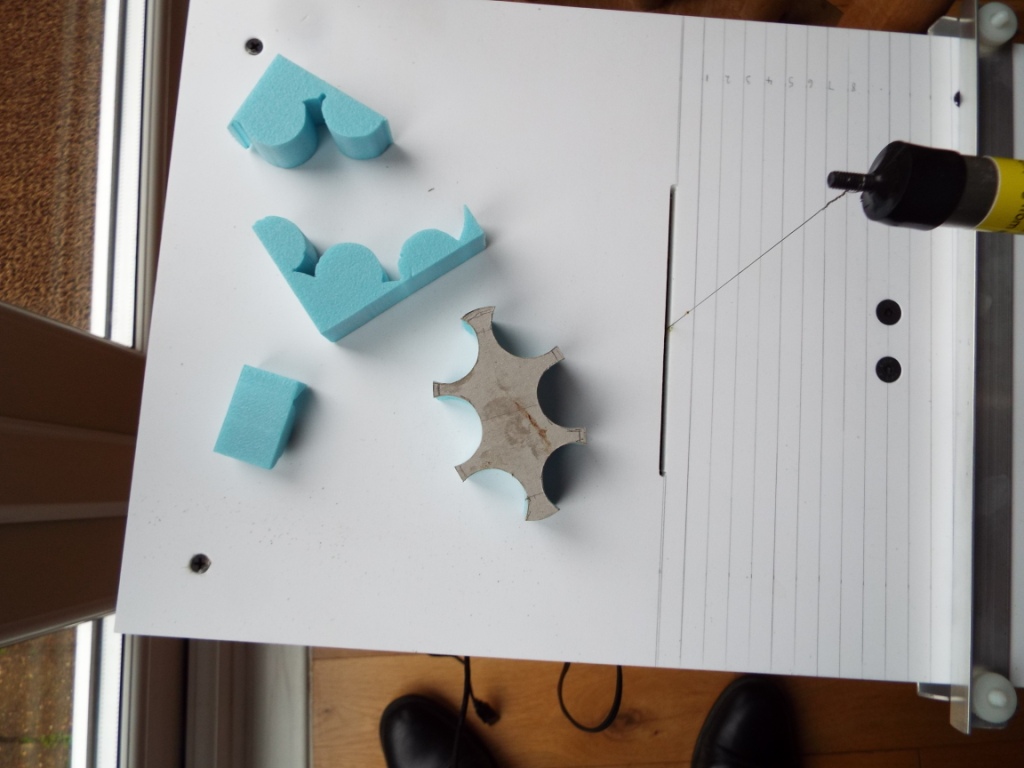
The one I chose is pictured below – I have marked the tabletop with lines at 1cm intervals to make it easy to cut to the required thickness. the guide bar makes straight cuts easy. I’ve not used it a lot yet, but it seems like a decent bit of kit. Got it from ebay for £35 – link here; hotwire cutter – I have no link with the seller.
I’m sure that with practise, freehand cuts would be easier, but at the moment it is easy to misjudge it and end up making a mistake. I wanted to come up with a way of being able to cut things in different shapes, and be able to produce things to a consistent size when I need to, and so decided to try making some templates from thick card. The wire won’t cut or burn them, and being softer than the wire, they should not damage the wire either.
The first project was to create a fancy base for a big statue. I obtained a crouching winged demon/gargoyle from some kind of trinket store. It looked a bit benign, so I added some horns and wing spikes, by drilling into the resin and inserting wire, then building the spikes with green stuff. I’d still rather it looked nastier, but it’s ok.
I could have put it on a rectangular base, but decided I wanted something a bit more exotic. I decided on an oval shape, but have a series of indentations where smaller statues will help support the top of the plinth. The smaller statues are plastic orcs from a boxed game I got years ago.
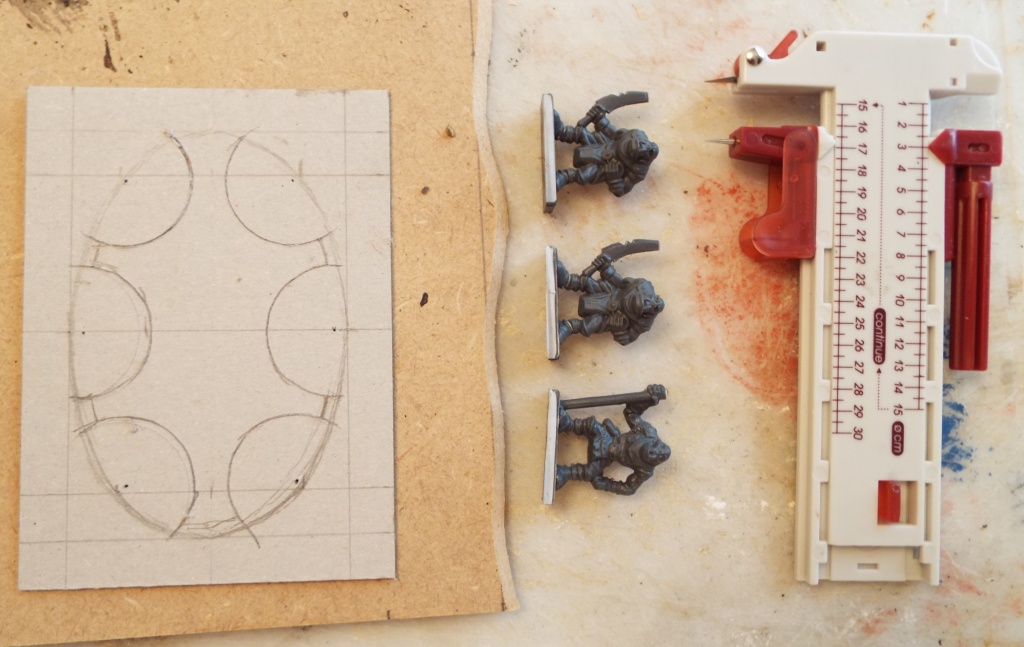
I trimmed the figure bases and cut the weapons to the same height as the top of the head. The base cutting was done at this time so that I could work out how big to make the indentations.
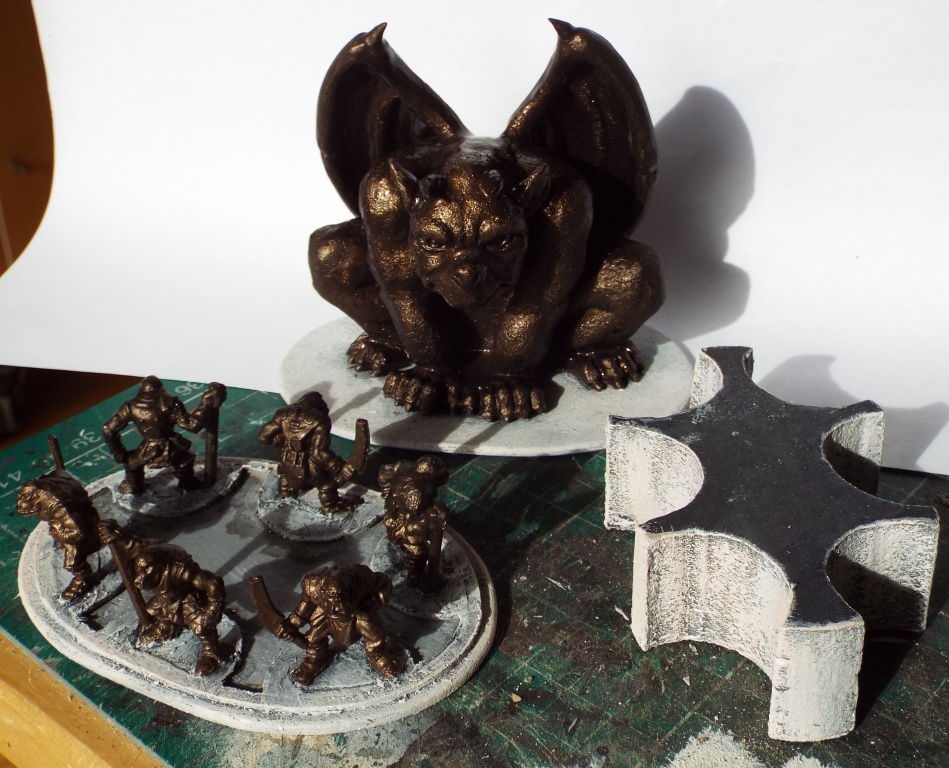
To create the template, I started by drawing up a rectangle on some thick card that could accommodate the main statue, and drew the required oval shape within it. Using the smaller figures, I marked up how wide the indentations had to be. Next stage was to cut out the basic oval shape from the card. When that’s done, I marked out the indentations using a handy little tool that I got from Poundland for £2. It has a little blade instead of a pencil and makes cutting the circular indentations very easy. This shows the template, the small figures and the cutter.
A piece of 25mm blue foam big enough for the template was then cut, and the template added to the top using a couple of bits of blu-tac.
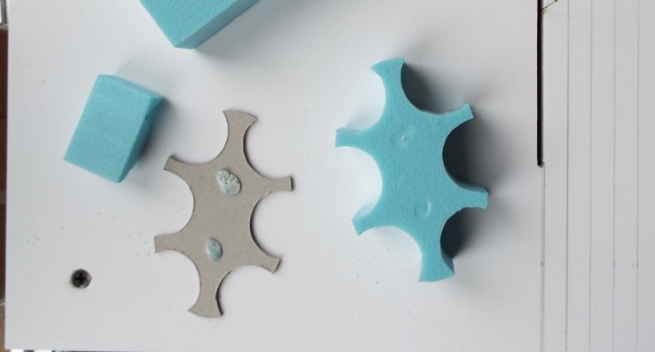
Back to the cutting table. Loosen the straight guide and move it out so that the piece to be cut is not obstructed. Using the template, run the hot wire around it, and you get the resulting shape. Not perfect, but ok for a first attempt and good enough for my purposes. These show the cut piece with the template attached and without. I suspect I can find a use for those offcuts somewhere, as well.
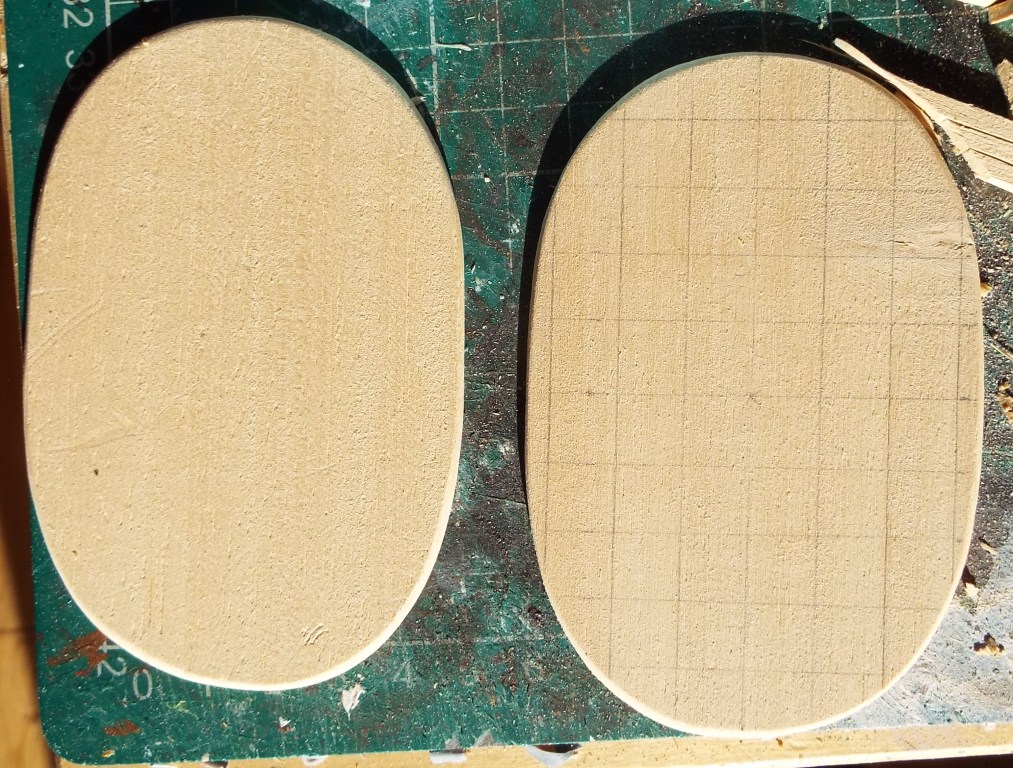
Using some 4mm obeche, I then cut the top and bottom of the plinth, and sanded the both edges of the top piece to round it, and just the top edge of the bottom piece so that it sits flush on the ground. the grid was marked to try and get a good oval shape. It was was a larger oval than that used for the support stone, to give a good overlap of 7-8 mm all round.
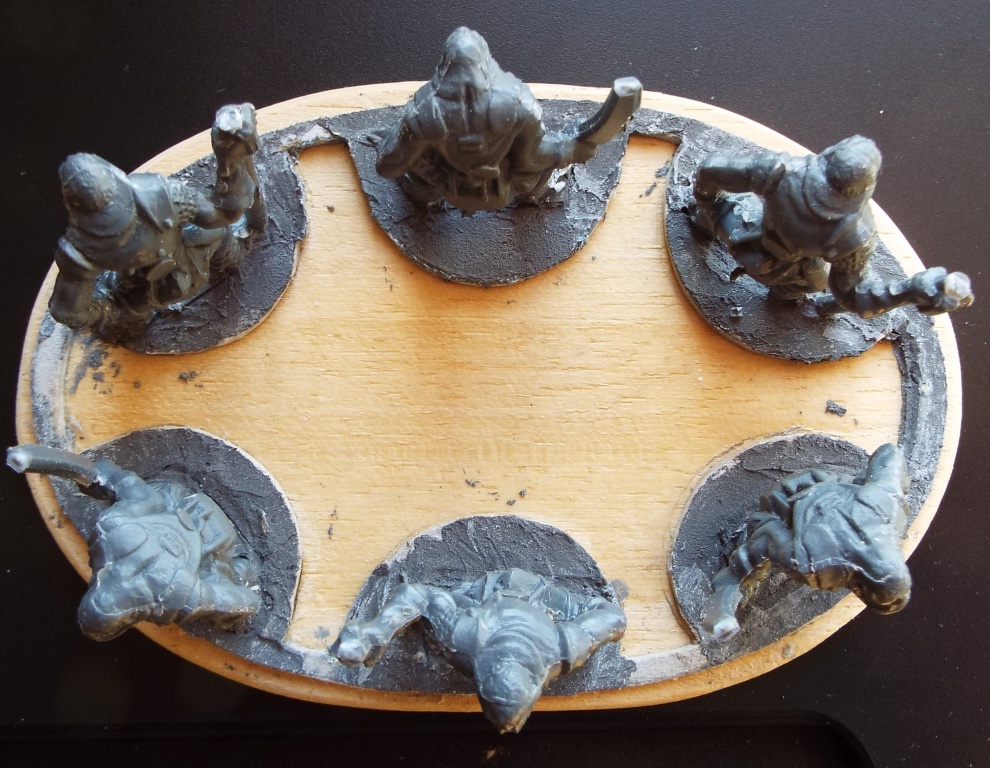
Just realised I didn’t take enough pictures of the next stage. I needed to disguise the figure bases for the supporting figures, so decide to use the thick card that I used for the template, together with some filler. At the same time, to give a neat finish to that raised area, and add a little detail, I decided to use the same card to put a 4mm wide oval around the bottom of the supporting structure. I used a mixed of grey paint and plaster filler to disguise some of the joins. Could have been a better job, but I was a bit impatient to get it done. This picture shows the figures glued in place, the oval strip laid down and the bases disguise. Note that I constantly checked that the support central stonework would sit in the resulting indentation properly.
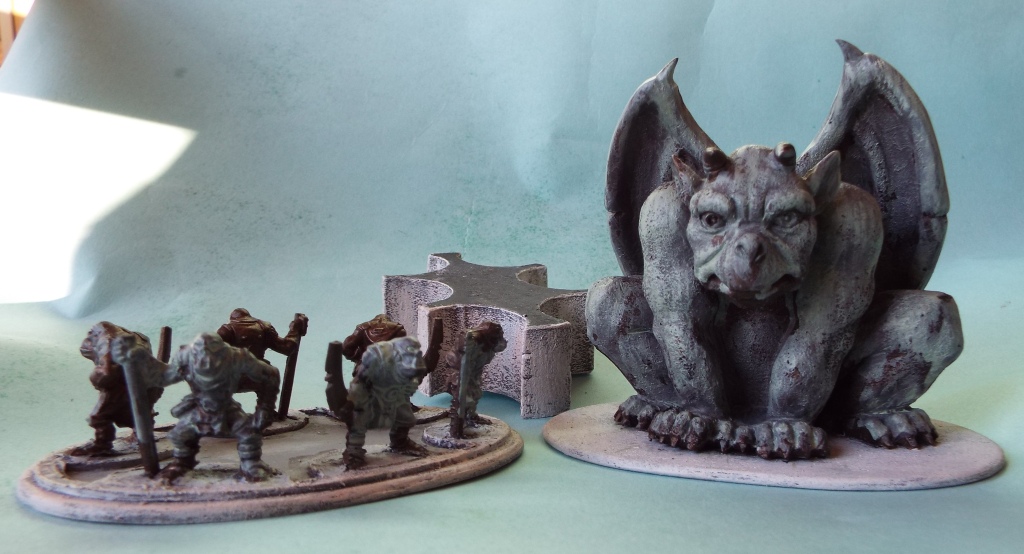
I then sprayed the plinth top and bottom, along with the small figures, with grey primer. The stone plinth was given a dark grey undercoat, and any stonework that would show was heavily drybrushed with white to which a small amount of black and brown was added. Then using a mix of black and bronze, I painted the idol and the smaller figures. Apologies for the contrast on this one.
Bronze statues can acquire a green patina – verdigris I think – over time. Having looked at a fair number of pictures, there doesn’t seem to be a standard pattern to it – some have patches, some streaks and some are completely green. Suspect it’s down to the distribution of copper in the mix, perhaps. I applied a mix of sage green and white to the idol and the other figures, leaving a few patches bare here and there, and on the idol in particular, trying to streak it down a bit. I then glued it all together.
I then applied 2 washes to give the impression of weathering. One was a brownish mix, and another greenish. Not everywhere got coated – some got 1, some none, and others both. I have a feeling that copper is not good for plants, so I didn’t use the green on the bronze figures or around their feet – on the basis that tiny amounts of copper might get washed down. To represent weathering, I try to make it look that the water has taken the logical route to flow down, and the easiest thing to do is to apply it to the top in the hope that it would take the correct route. 1 tip – on a dry figure it tends to puddle where you put it unless you use a lot. One thing I found on the idol – it you use plain water to wet the surface, the wash will then flow down that surface much more easily.
Here are front and back shots of the finished figure.
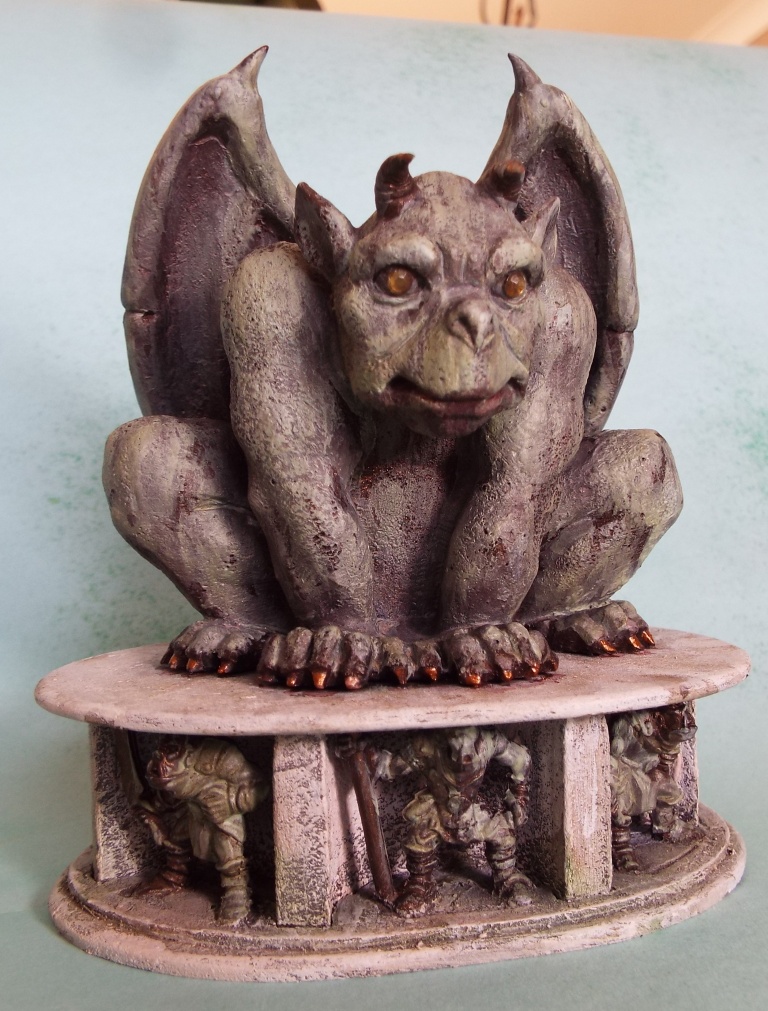
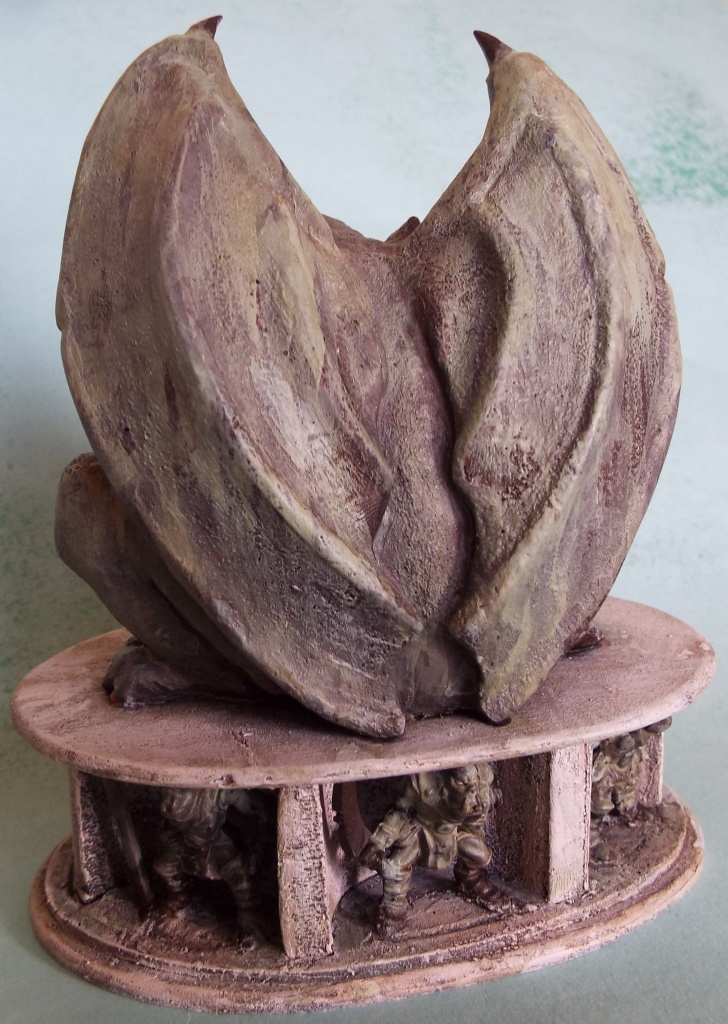
I have put 2 gems into the eyes – these were obtained with a fair number of others from a discount craft/bookshop chain called The Works. Lots of useful stuff in there.
Bit surprised that these have not been taken by treasure seekers in Frostgrave. Those claws seem to be a bit shiny, and there are some dark reddish stains around the claws and mouth – but hey, it’s just a statue, isn’t it?

Leave a Reply