Starting to populate the city to get away from the post-apocalypse empty look.
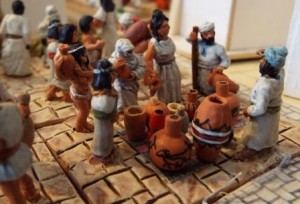
General view of the market;
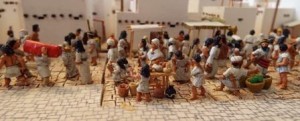
2 covered stalls, one selling various bit, including some bronze knives, the other selling rolls of cloth. 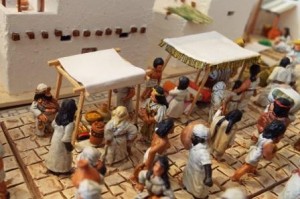
A melon seller sitting by the well.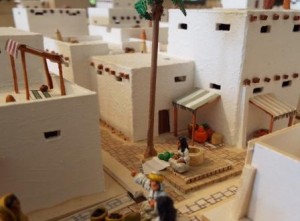
The slave sale. A rich couple with their personal guard bids, while others pass by.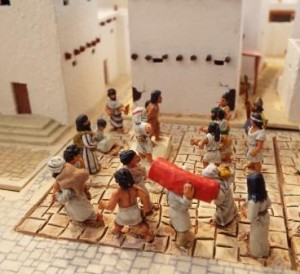
The paving is white Milliput. Useful to hide the bases, but where they are very think you can either trim them or inset them into the base before doing the paving. I use mounting board because it’s free, , cutting a slot roughly the size of the figure base and removing a few layers of the card.
The figures are various 15mm manufacturers – many more at home in Greek, Roman, medieval times or even colonial Africa, but strangely enough there are not huge numbers of biblical civilians available! Many would be troops, but removing weapons and avoiding helmets does the job. A bit of Green stuff here or there to add a pouch, a belt, or a roll of cloth and job done.
I use a cheaty painting method – undercoat white, flesh, hair, other colours for any gear or things carried, and even on clothes for wealthier types, then cover in a mix of polyurethane gloss varnish, black matt enamel, thinned a bit, and it does the shading. A quick spray of matt varnish and they are ready.
The biggest pot is the seed case of a plant called Lychnis Coronaria. A little bit of trimming does the job. The one with the chariot on the side is a ball of Fimo clay which is impaled on a cocktail stick. This needs baking, so I use a ceramic pot of grit and insert the other end of the stick into the grit to hold it upright. Do a batch of them in the oven for 30 mins and it’s hard. Milliput would also do the job. When hard, paint it using the stick to hold it, and trim the stick part of the way up to create the stem of the pot. If you want to have a plug in the opening, as they would to seal in the contents, cut the stem a little longer, then put a shallow cut all the way round the stem about 1 mm down, then carefully trim away the outer ring of wood to create a narrow centre which represents a stopper.
The left-most pot in the pots for sale pic is again made of Fimo round a cocktail stick. In this case cut the tip off the stick to blunt it and mould a beaker shape round it. Bake and paint and remove the stick and you have a beaker which you can leave empty or fill with something to represent liquid, or use sand or suitable plant seeds to represent grain, fruit or vegetables.
For the 28mm buffs, the same techniques apply, and they can be used to populate your dungeon/inn/camp/wagon load.
If you want to represent baskets rather than pots, texture the Fimo before baking by gently pressing a bit of sand paper against it. Do the same thing with Milliput before it hardens. A wash will pic out the detail. Bear in mind that softer baskets will be a bit floppy and irregular, so don’t worry if they don’t turn out to be perfectly round and regular like something from a Harrod’s sale.
If there are any others turning out this sort of thing to add flavour to their games, whether battles or dungeon skirmishes, let us have any tips or ideas.


Leave a Reply