 The final battle of Day 1 was a continuation of Battle 2 (which had only been played up to 10 30am in game time).
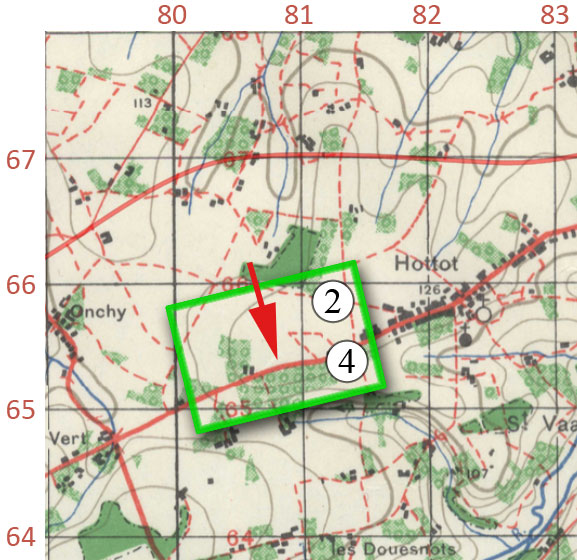
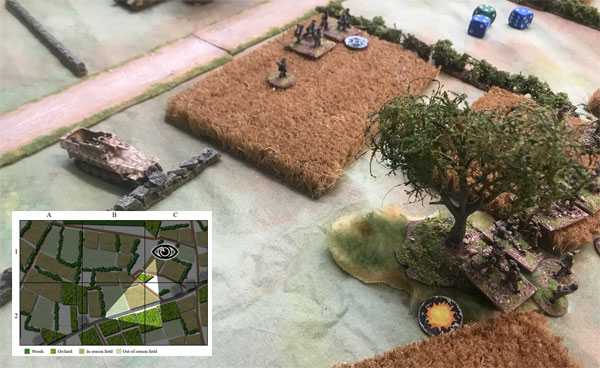
This map shows the location of the table on the overall campaign map. The British had moved up to the large wood just north of the battlefield overnight, and launched a massive attack from there in the morning. Battle 2 had covered the first part of the attack, but they ran out of time before it reached a conclusion.
Using a map and photos from Battle 2, we set up the table as best we could to match how their game had ended and any differences were rationalised as there having been a brief lull in the fighting which both sides had used to regroup and reorganise.
At this point, the British attack wasn’t looking terribly secure. On the west side, they were quite successful in pushing back the Green troops of the 3-857, but on the east side they were facing stiffer opposition. The 2/2 Panzer Grenadiers had brought up a few more infantry from Hottot village, and in addition to the Pz IVs they already had, a SdKfz 251 with a short barrel 75mm mounted on it. When firing, this got 4d6 for the MG and another 4d6 for the main gun, giving it the anti-infantry firepower of a tank. With just the occasional PIAT, the British were in a weak situation to counter the German armour.
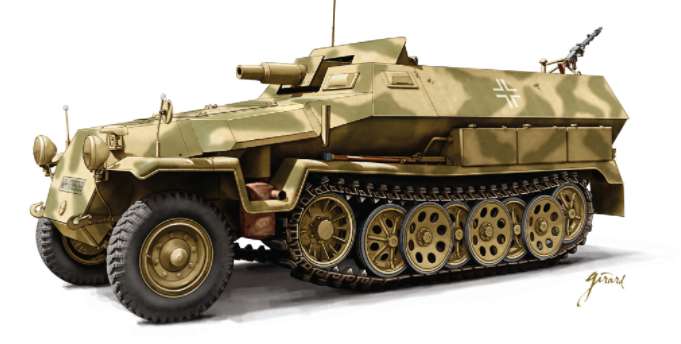
SdKfz 251 with 75mm gun
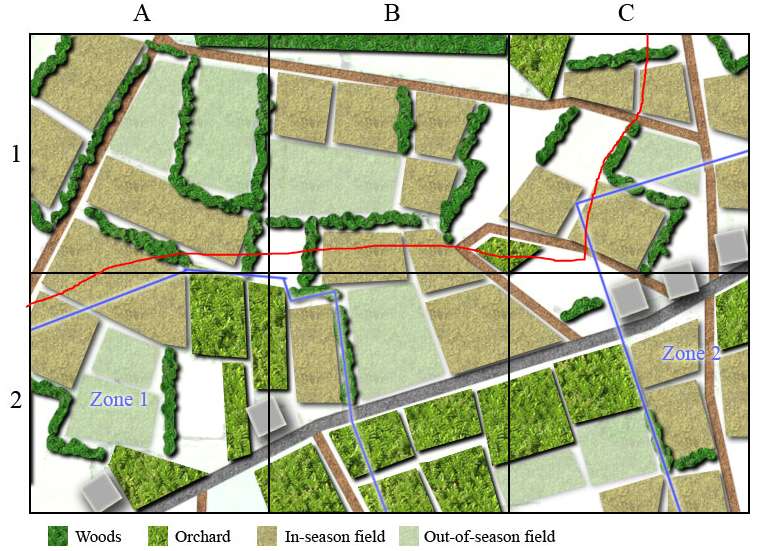
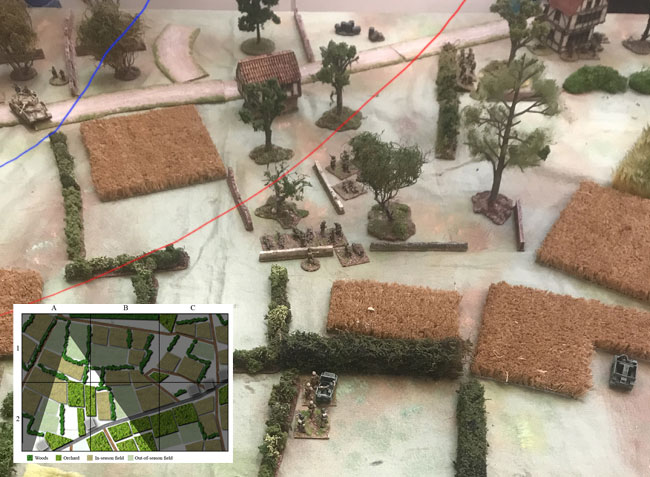
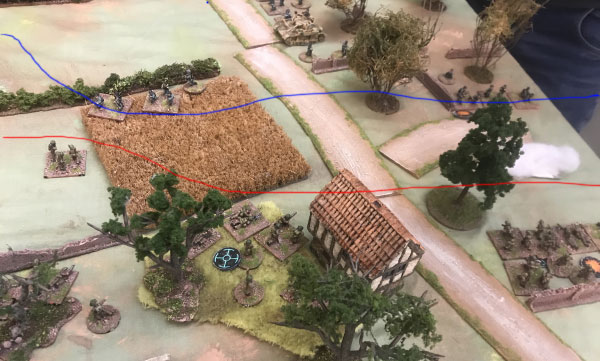
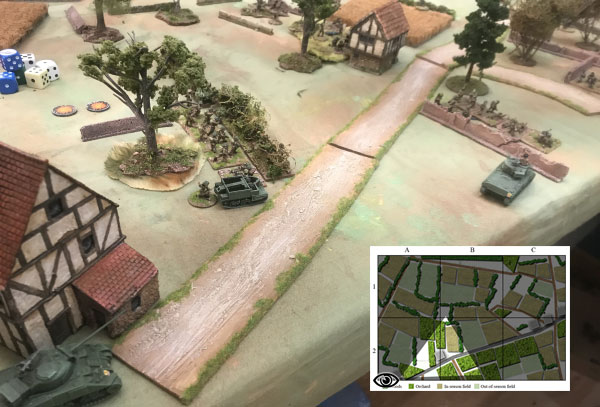
This map shows the battlefield and the approximate British front line (red) at that end of Battle 2. Germans were still mainly in their deployment zones – about a company of coastal battalion (Green) in Zone 1 and another company or so of 2/2 Panzer Grenadiers in Zone 2 (Veterans), backed by four PzIVs.
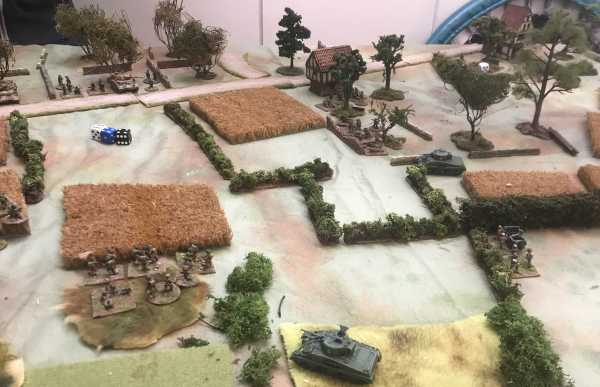
This is a shot of the Zone 2 corner, looking East. Two Pz IVs and a couple of platoons have come forward to menace the British flank. They have countered with a 6 pounder in the wood.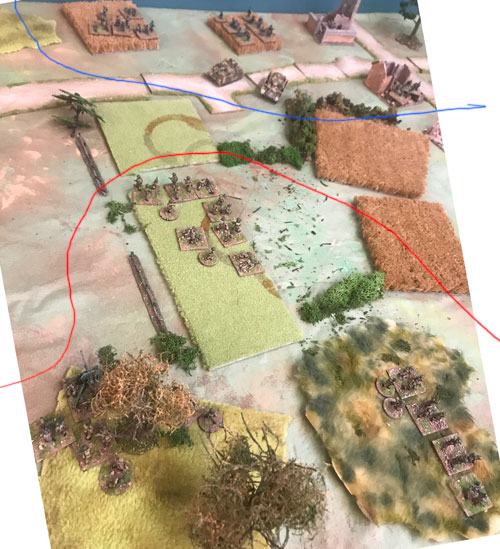
Worried by the armour, and feeling they needed a bit of a boots, the British made an immediate request for Shermans from their reserve, and started moving forward.
Attempting to leverage their local superiority, a Pz IV pushed forward. A British PIAT reactive fired and made a lucky hit – they needed a 5+ (d6) to hit, followed by another 5+ to destroy it, so this was by no means likely. Without that, the Germans could have mounted a strong push on the British flank and potentially done significant damage. As it was, with only one more Pz IV on that flank, they decided they couldn’t risk a further assault and the danger to the British had passed.
In the centre, the British pushed forwards, encountering just a few hidden Green squads. Soon they were in sight of the road.
Although some advances were being made, the game clock kept ticking on, and no sign of the Shermans.
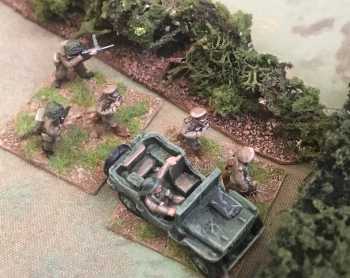
The battalion commander had driven to the front to investigate the stalled attack.
The British numerical superiority had two main benefits – first they could fill every corner of the defence, leaving no weak points for a German assault to exploit. The other was that they had plenty of fresh rifle platoons. Every time a platoon became suppressed or lost a squad, another platoon could push through them and carry on the assault – no need to wait for rallying or to use a below-strength platoon.
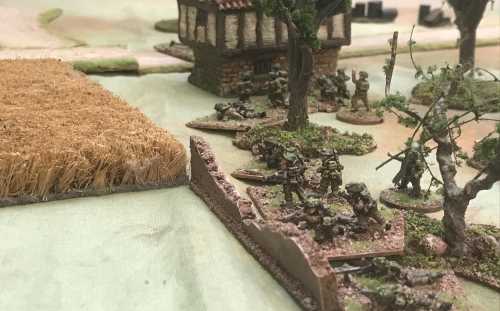
British secure2 the house at the western end of the road, but the Germans still held the large area of orchards with veterans and armour.
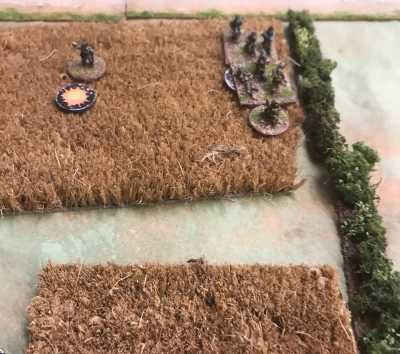
On the east the British attack had stalled with a platoon losing its PIAT squad to the 75mm SdKfz.
On the east the British attack had stalled, with a platoon losing its PIAT squad to the 75mm SdKfz.
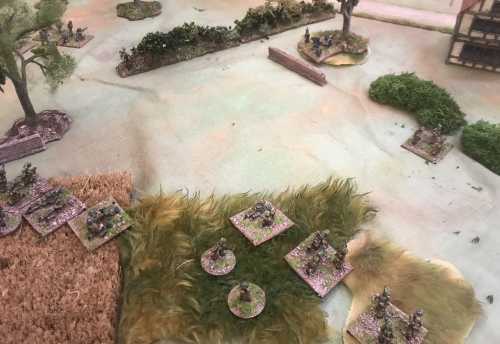
They couldn’t hurt the SdKfz, but they managed to kill one German squad and suppress another in the adjacent field. Company A, 2nd Platoon Commander rushed forward with a rifle squad, assaulted and destroyed the suppressed German squad, then retreated back to safety.
Finally at around 1.30pm game time, the British Shermans showed up – three standard Shermans and a Firefly.
The British start to wrap round the west flank of the Germans and force them back into the orchards south of the road.
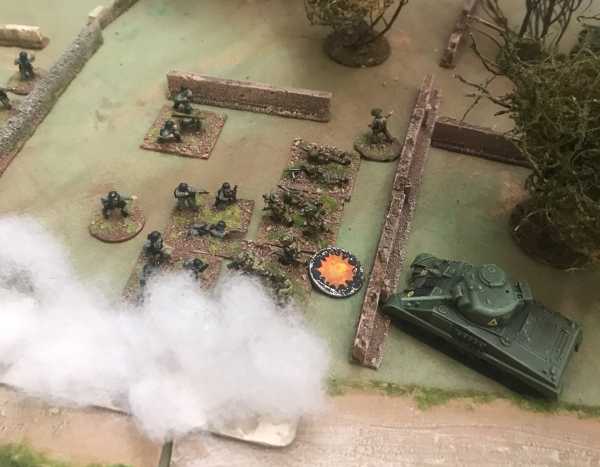
Back on the east side, a Sherman shows up to rescue the British platoon pinned in the orchard. The 75mm SdKfz doesn’t fancy an exchange of fire with a tank, and backs off under the cover of smoke to safety.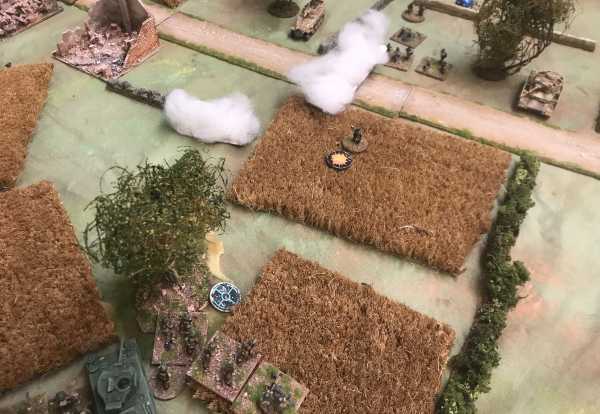
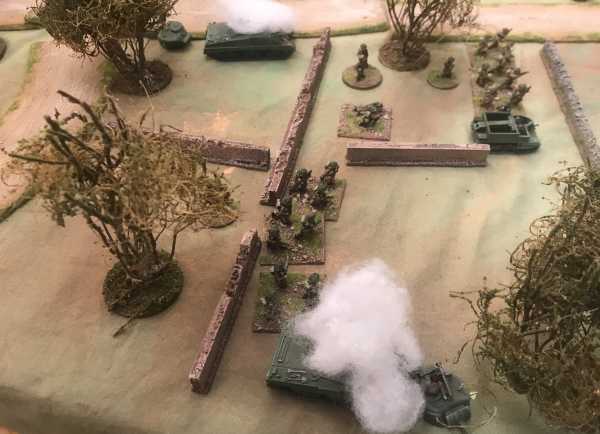
The Firefly takes up a commanding position round the corner of a house to stop any German armour crossing the road. One platoon pushes into the orchards, backed by a Sherman. The battalion carrier platoon is moved up, so the carrier MGs can support an assault.
British casualties so far have been very light, but they have been mainly clearing up Green troops. It’s about to get tougher as the German armour and veterans are backed into a corner.

A British platoon tried to push forward in the orchard but was stopped by reactive fire. The Germans dropped smoke and then counter attacked – the Sherman’s LOS was blocked by its own side and was unable to give covering fire before the British platoon was assaulted and destroyed. by the German 3rd Platoon.
In an attempt to cut off the German path of retreat, another Sherman advanced but came into the LOS of an unspotted PzIV and was destroyed.
Attempting to relieve the pinned platoon, the Carrier platoon advanced but with two pins and a suppress, was swiftly stopped.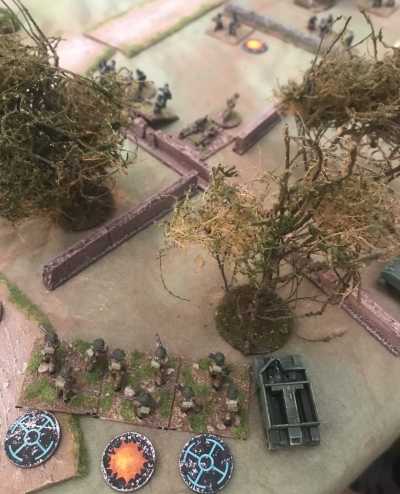
With limited success, the British tried to attack on another flank. Covered by a rifle platoon and a 2″ mortar, a Sherman advanced but was hit by a lucky Panzerfaust.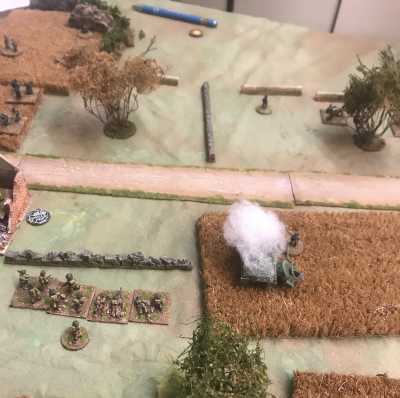
The British problems mounted – the Sherman in the orchard should probably have pulled back when the infantry platoon ahead of it was destroyed. Spotting its exposed position, Leutnant Wernicke of 2/2 PzGr Co.B, capitalised on his previous assault and pushed forward to destroy the 3rd Sherman before pulling back.
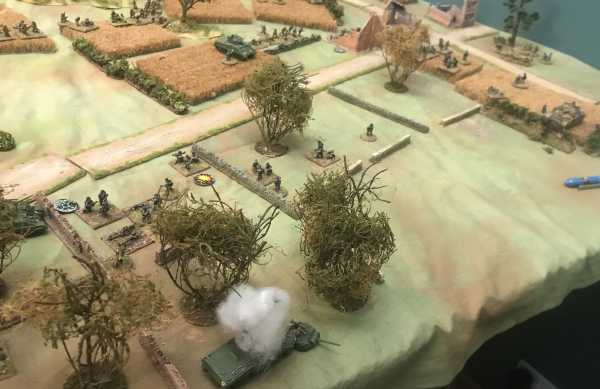
Gritting their teeth, the British rallied and pushed up again. The orchards needed to be swept to consolidate the British position south of the road. Two platoons finally managed to force their way in. The Germans had retreated into the corner of the battlefield (map square C2) – the edge of the village of Hottot, but with all but one of the British tanks destroyed, the British commander decided to call off any further attack, and the game ended.

Leave a Reply