This is a way of storing items which might be a bit too tall for conventional storage boxes, allows you to create storage of a height to meet the needs of what you need to store, can stack, and will cost you nothing but a bit of wood glue and maybe some supermarket visits.
I’ve done some for a whole load of jungle type scenery, but it would also work for other tall items of scenery such as towers. The only restriction is the footprint of the item – about 19 inches by 13 inches is the limit.
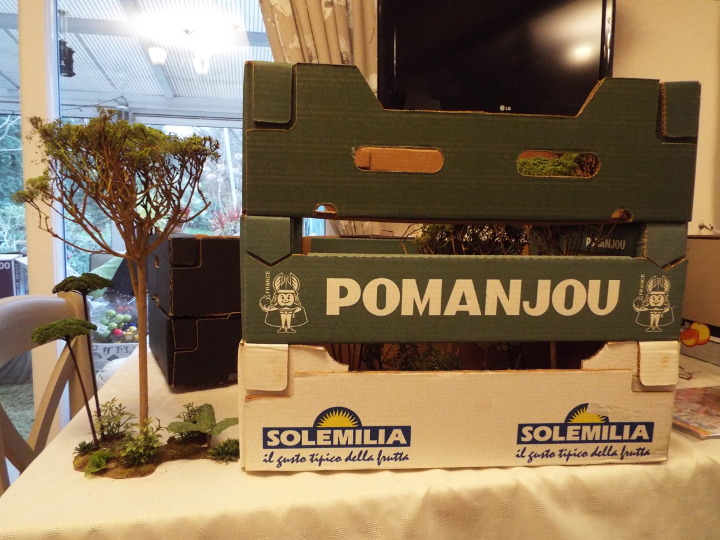
They are cardboard fruit boxes which you should be able to pick up for free at your local supermarket. They are made to stack on each other, and seem to be to a fairly standard size in length and width, but which vary in height. I have used boxes which range from 4 inches to 7 inches in depth.
This picture shows 3 of them used together to store some jungle trees I have and they have a combined depth of 20 inches.
Simple to do. If a single box gives you the depth you require you don’t have to do anything.
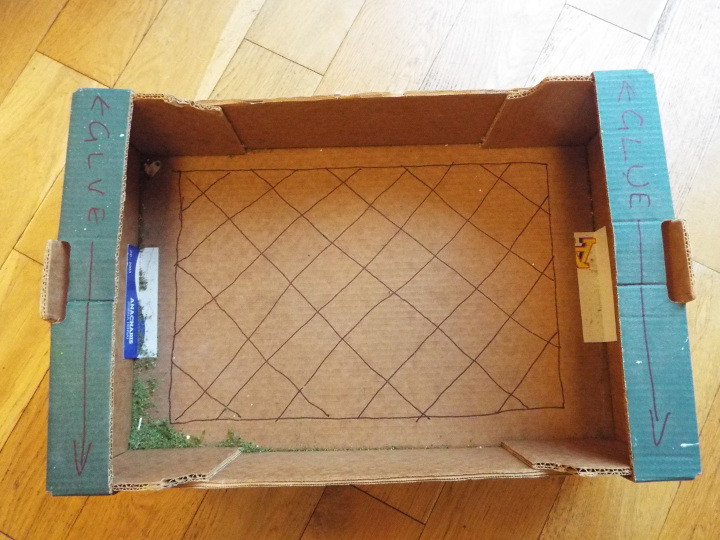
If you need something higher, you cut most of the base out of the boxes that are not at the bottom, as per the hashed area in the picture below. This leaves a lip around the base. The lip at the narrow ends will be glued onto the top lips of the box underneath and it’s this glueing at each end which holds the boxes together. At risk of stating the obvious – don’t apply glue to the top lip of the box which will sit at the top of the pile! I’ve written it on the lips of the box below just to make it clear where the glue goes on those boxes not at the top.
I leave a lip along each long side just to give a bit of strength to the sides.
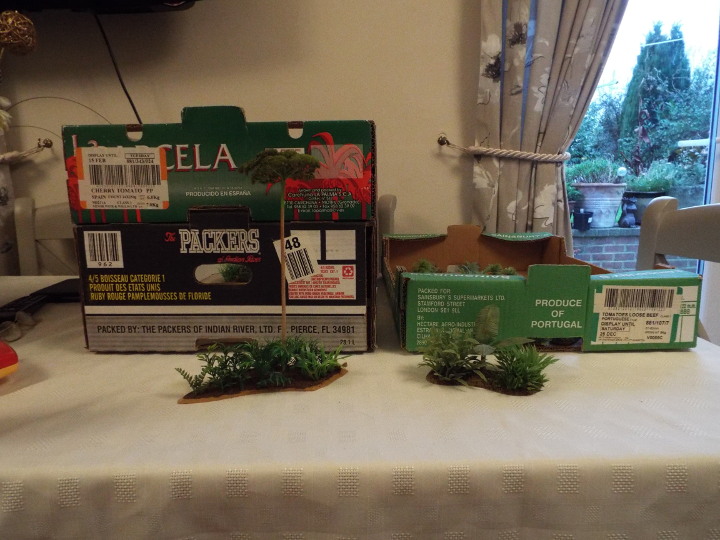
This pic is a bit superfluous but serves to show where I have used different heights as needed by the scenic items I want to store.
If you wish, you could make them more dust-proof and stronger by sticking card to the side of the tower to block the holes or using a spare box-bottom as a lid, and improve the appearance by painting them with cheap emulsion – maybe stencil a note of the contents on the side. I’ve done the former on a couple of mine, but not the latter as they get stashed in the loft rather than a place where appearance matters much.
I recommend that you don’t remove the tabs that stick up from the top ends of any of the boxes. They are there to stop boxes piled up on each other from sliding off, and leaving them on means you can stack your different boxes on top of each other reasonably safely.
There you are – not the sort of tips we normally put up but I hope they will be useful to some of you.

Using the stacked boxes to get greater height is a neat idea. I use paper boxes with trays, but their relatively small footprint can be a bit limiting for scenery (although ideal for figures and smaller items).