Got my Breeding Pits kickstarter for Frostgrave, so decided that the insert for my next room would involve a cell with a set of bars. Figured the breeding programme would have resulted in some things better kept secure. I’ve included detail on the basics for the room and walls in previous posts, so won’t repeat those, and rather than go into every stage there are only a couple of wip shots nd I’ll describe new stuff.
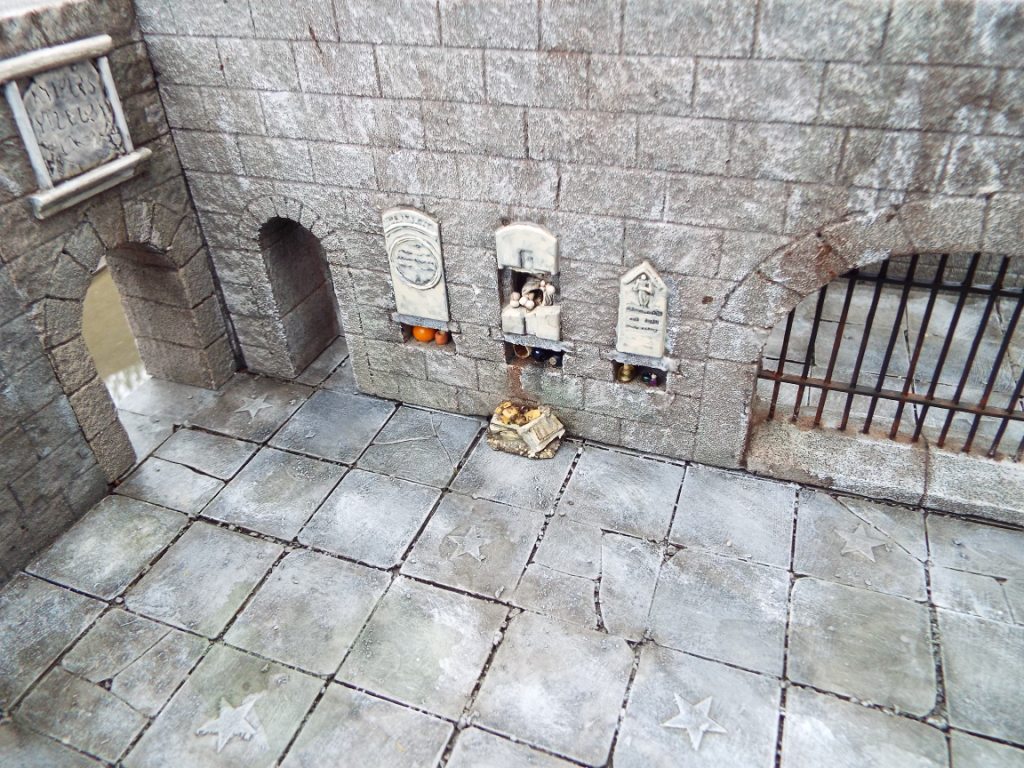
The basic room is 12″ by 12″ externally, 10″ by 10″ internally. Only slight difference in the construction is that certain tiles have a plastic star glued to them before painting. To make the cell, I wanted to do it as an insert which could be lifted out if I wanted to used the room for another purpose.
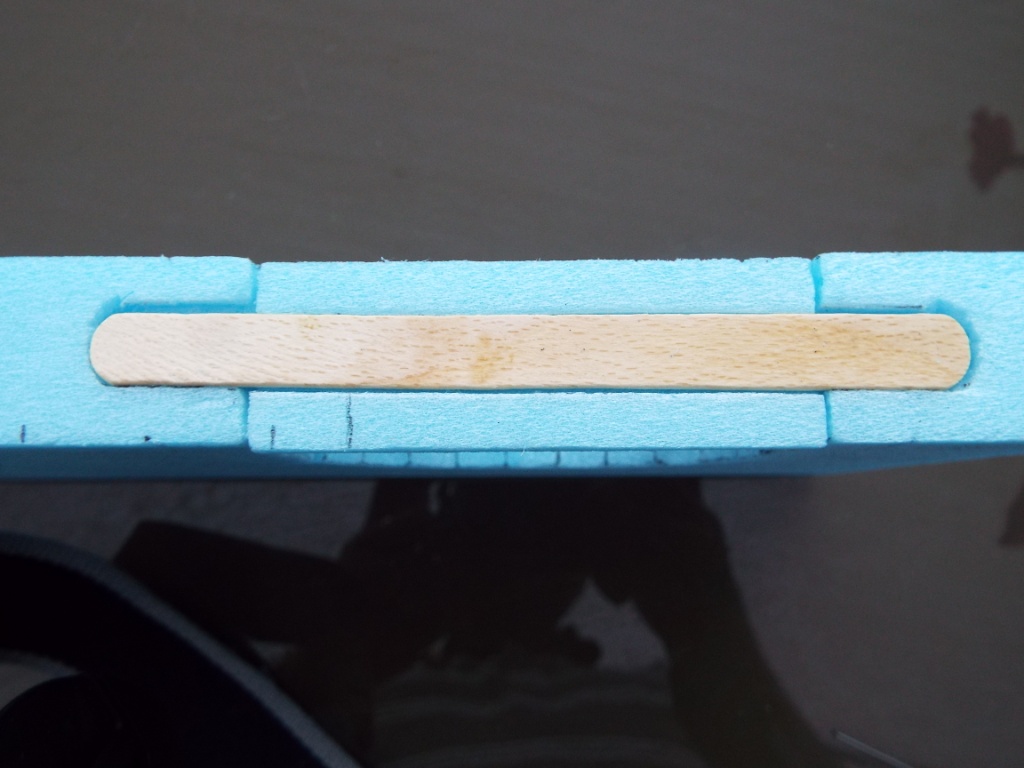
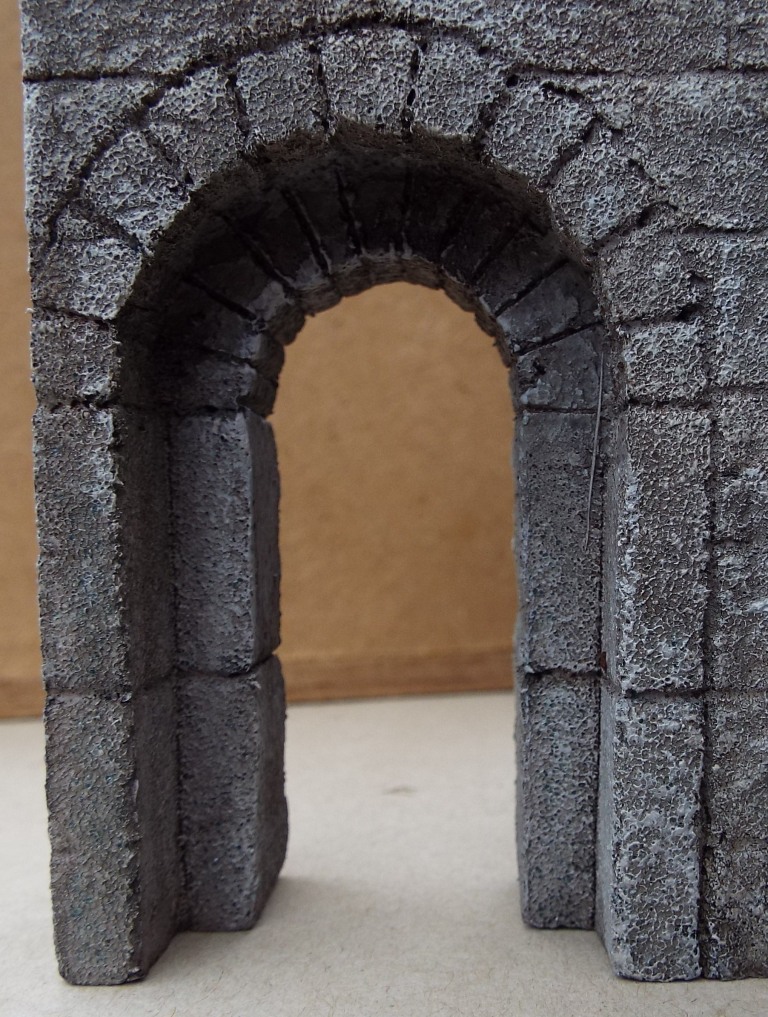
The cell/cage insert spans the full 10″, with a 3″ wall section at right angles, so that when it is inserted into the room it makes 2 rooms on one side of it. I decided to have a small guardroom 3″ square and a 6″ by 3″ cell. The barred opening was made using my largest jig. I cut a 1cm strip from the bottom of the piece I cut out, then cut a chamfer on each side leaving a flat central strip into which the bottom of the bars would fit. I then offered it up to the gap and positioned a wooden lolly stick along the centre of the bottom of it. The stick overlapped each endonto the bottom of the wall each side of the arch. I marked the outline with a lining pen and carefully cut out a slot into which it would fit. The aim is to provide a good support – the 1cm strip of foam alone would get easily damaged.
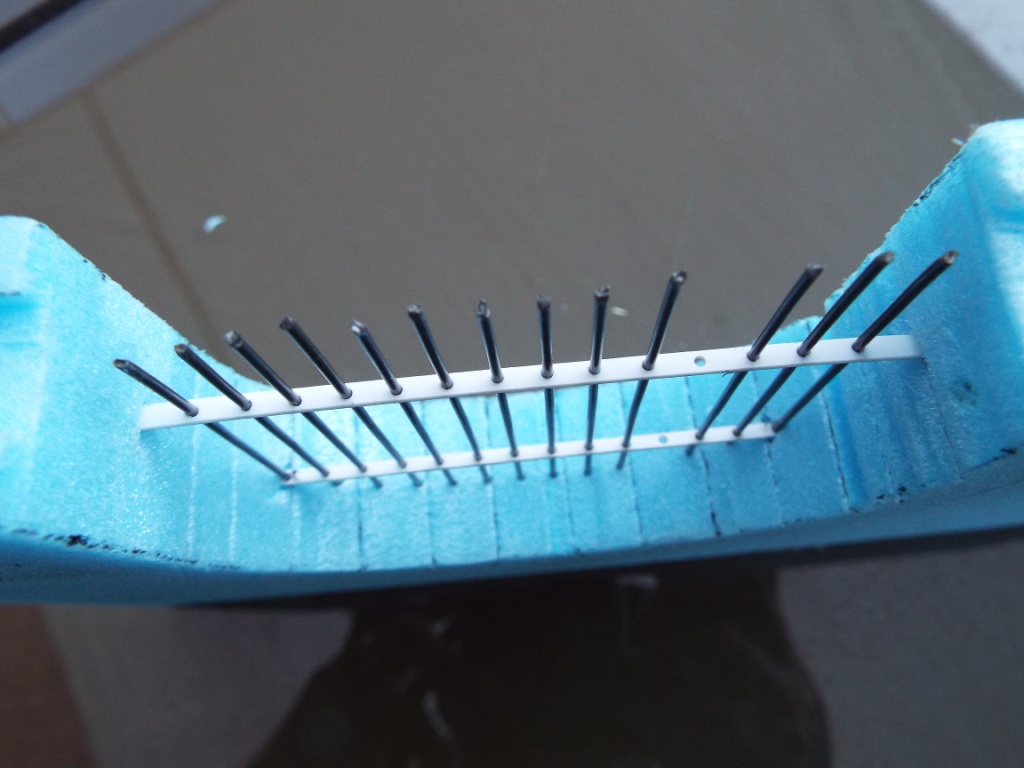
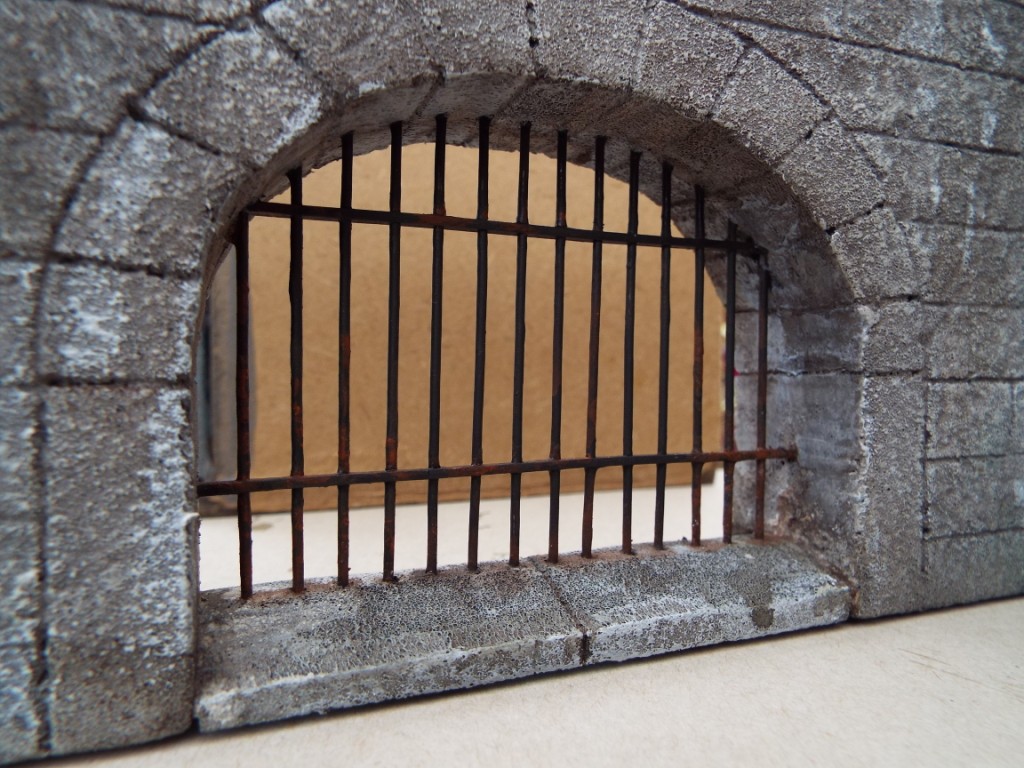
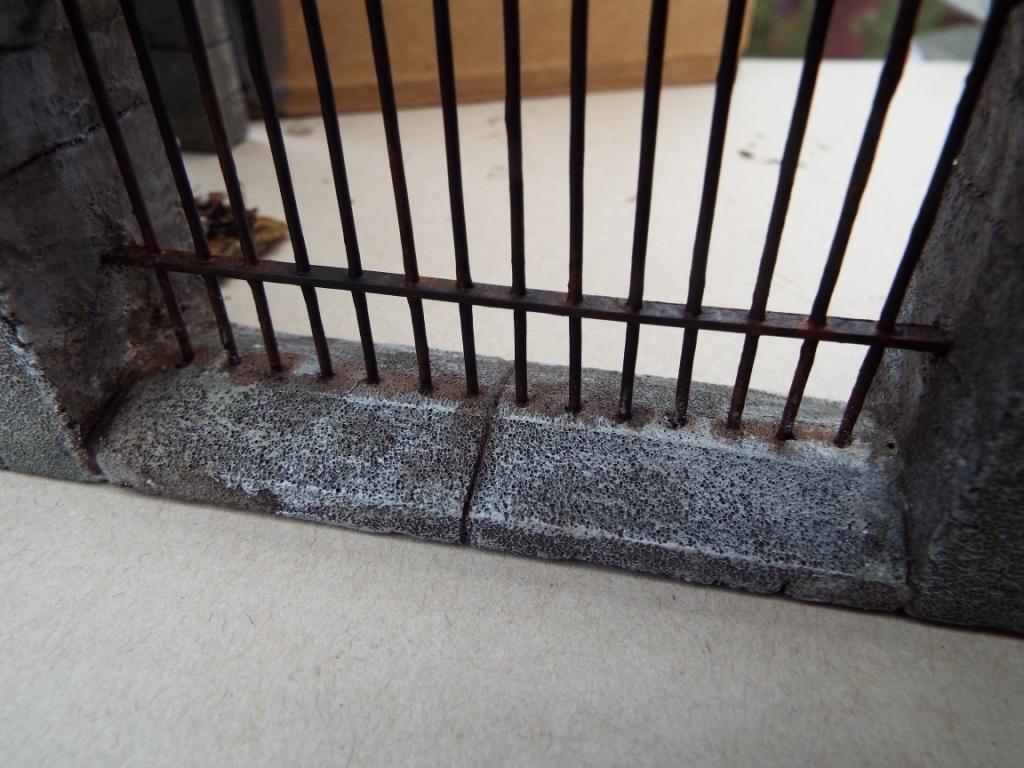
Took me a while to figure out how to make the bars. Thought about straight florists’ wire, but that bends too easily – I’d have used it if I wanted to show where something had burst through the bars, but I settled on steel wire which is less likely to get bent. The cross-struts were another puzzle, but I decided on 2mm wide strips of 1mm plasticard. Using a lining pen I marked the centre of the 2 strips at 5mm intervals, and then used a pin-vise to drill holes the right size for the wire. Could have gone horribly wrong but it was easier than I expected and there were no horrible mistakes. I also marked the position of the holes on the foam strip for the bottom of the arch and made holes so that the wires would slot into them.
I made slots in the arch at the required height and slotted the strips into place. Before gluing them I slide the bars into the holes to get them properly lined up, and when the wires were in the right position, pushed them into the underside of the arch. As a tip, this is much easier if you twist the wire as you do it. Push the wires in so that the bottom of each wire is around 5mm from level of the bottom of the arch walls. As the bottom foam strip is 1cm deep, this means the bottom 5 mm of the wires will be embedded in that bottom strip.
Offer the foam strip to the bottom, then glue the ends to the walls using pva and glue the supporting lolly stick in place.
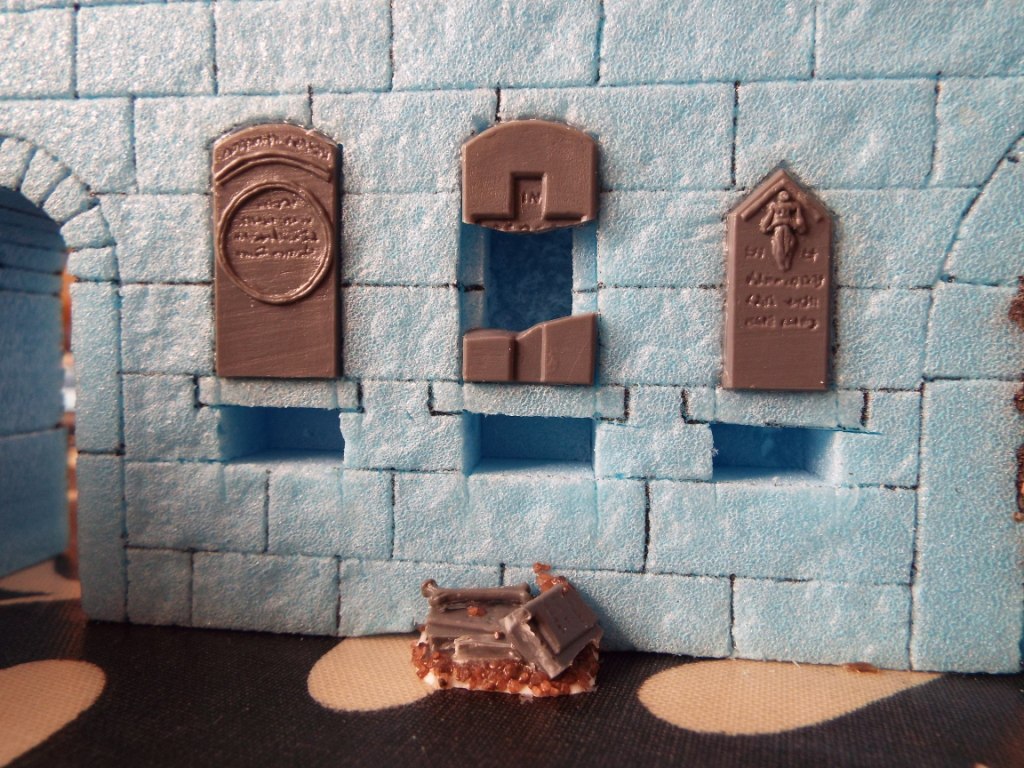
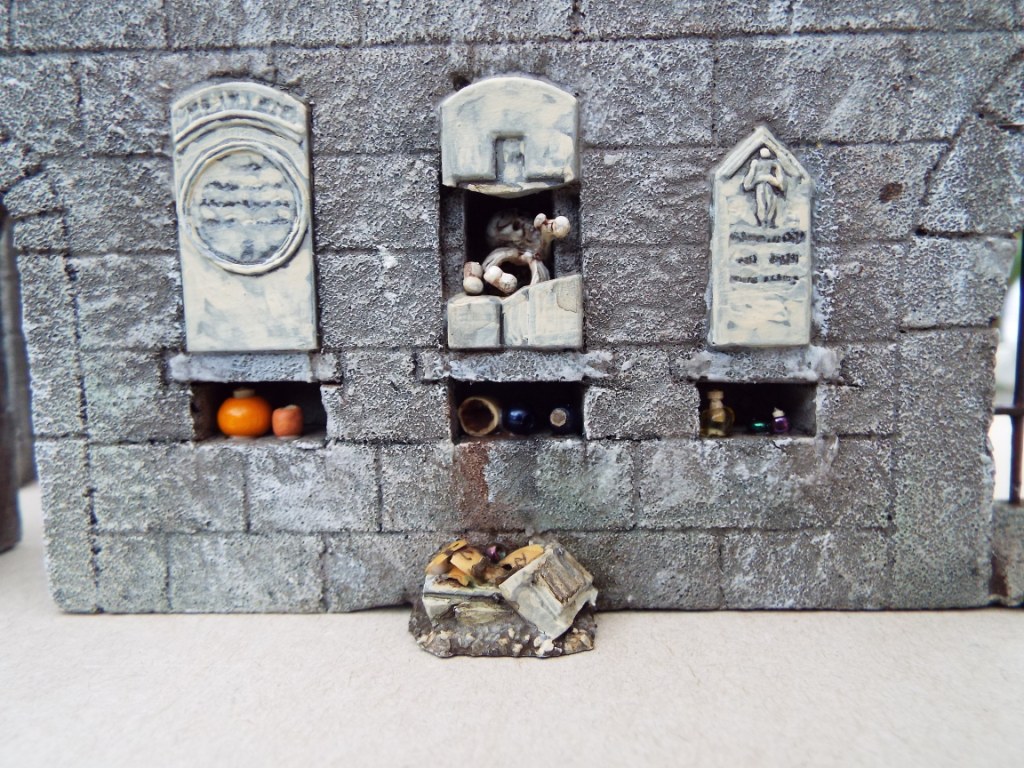
Wanted to add a couple of bits of detail. The first was a set of tombs, where the bones of celebrated or notorious former inhabitants of the dungeon were laid to rest. The idea is that the bones are behind a gravestone, with a shelf underneath where offerings might be placed. One of them has been broken open in the hope of finding treasure, with the rubble at the foot of the wall below. The gravestones are from the Renedra gravestone set. To support the rubble. I glued a piece of plasticard to the bottom of the wall and used pva to fix some chunks of gravestone and rubble to it. I dug out some skeletal bits to represent the bones remaining in the grave.
To create the pots which are the offerings, I used some beads picked up from a craft store, with stoppers made from cocktail sticks. I also wanted to represent a smashed pot, so I took a seed capsule from the garden, drew a few marks on it to represent decoration, then broke it into pieces. The plant is called Lychnis Coronaria, and the seed pods are useful for pots and storage jars, or can be painted as exotic alien flowers. There are a couple of beakers made from Fimo clay. I have just left the beads as they are, but they could be painted.

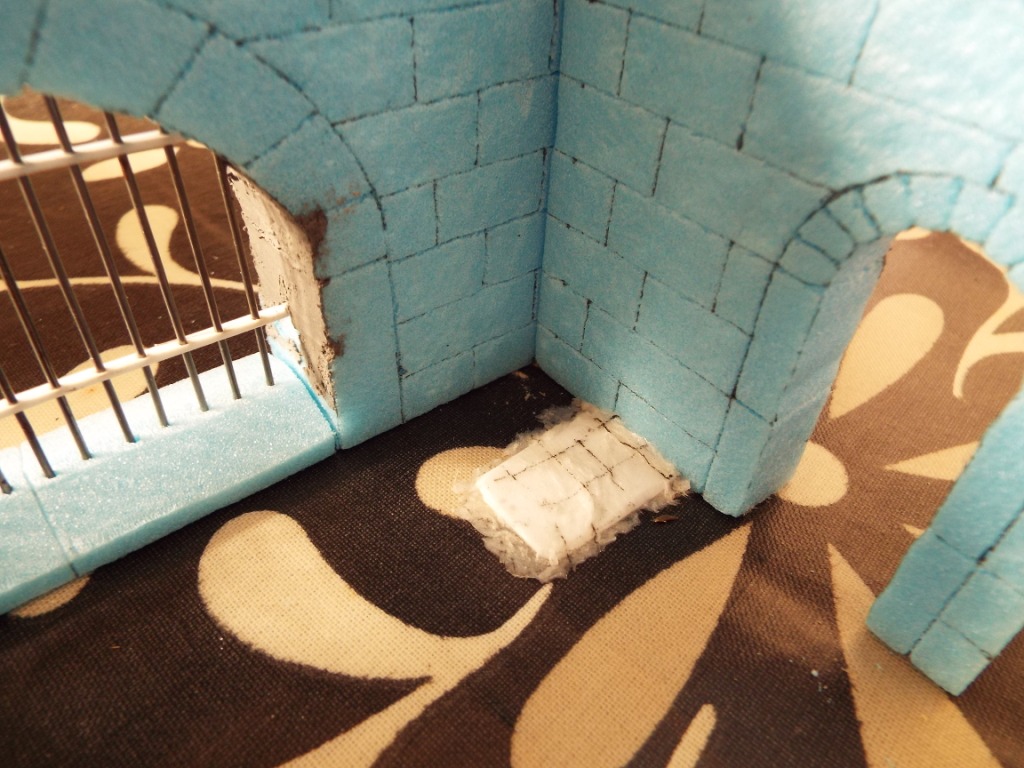
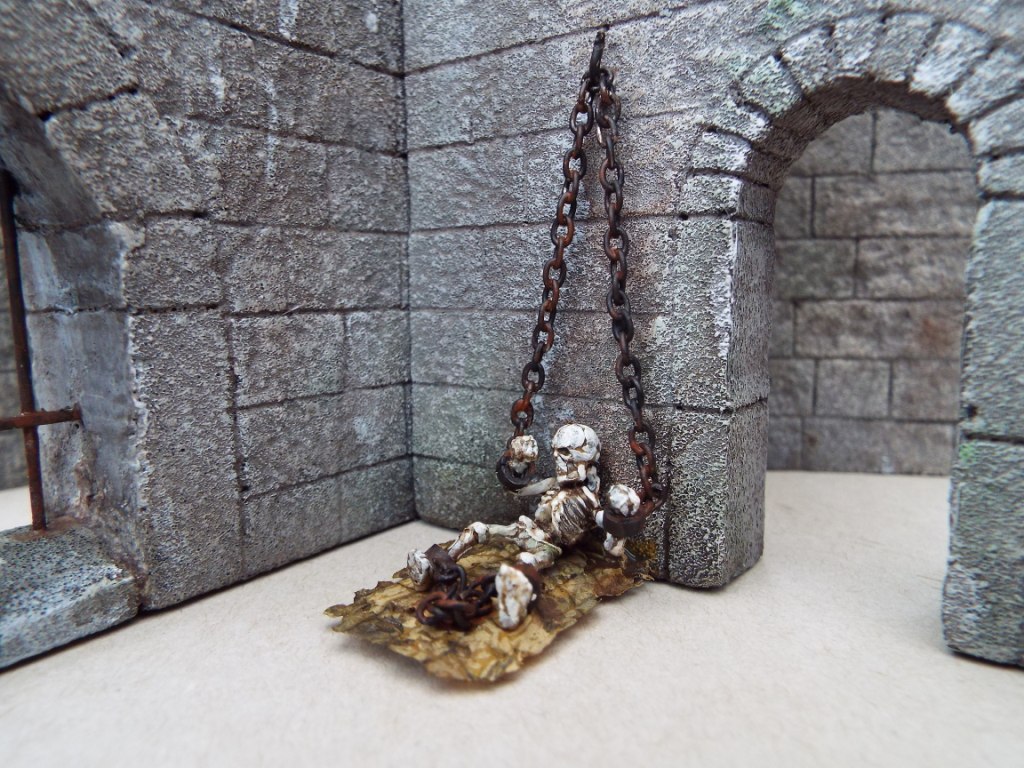
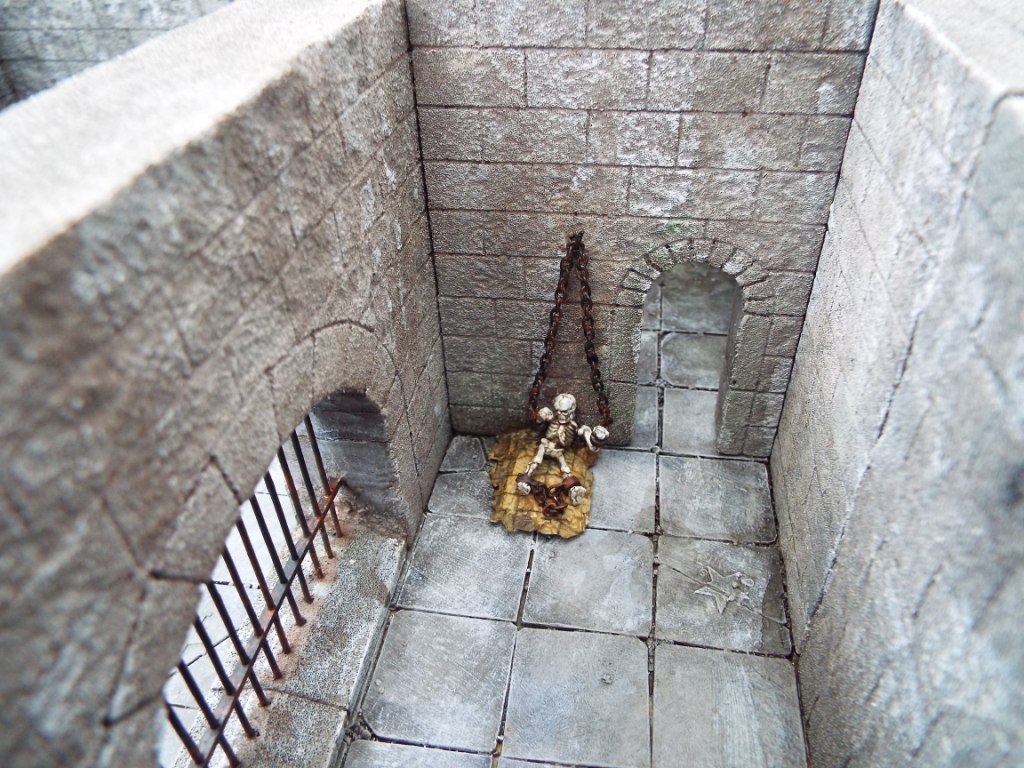
The other bit of detail is the remains of one of the inmates. Another bit of plasticard to act as a support, a bit of tissue doused in watered down pva to represent a decaying bedroll.
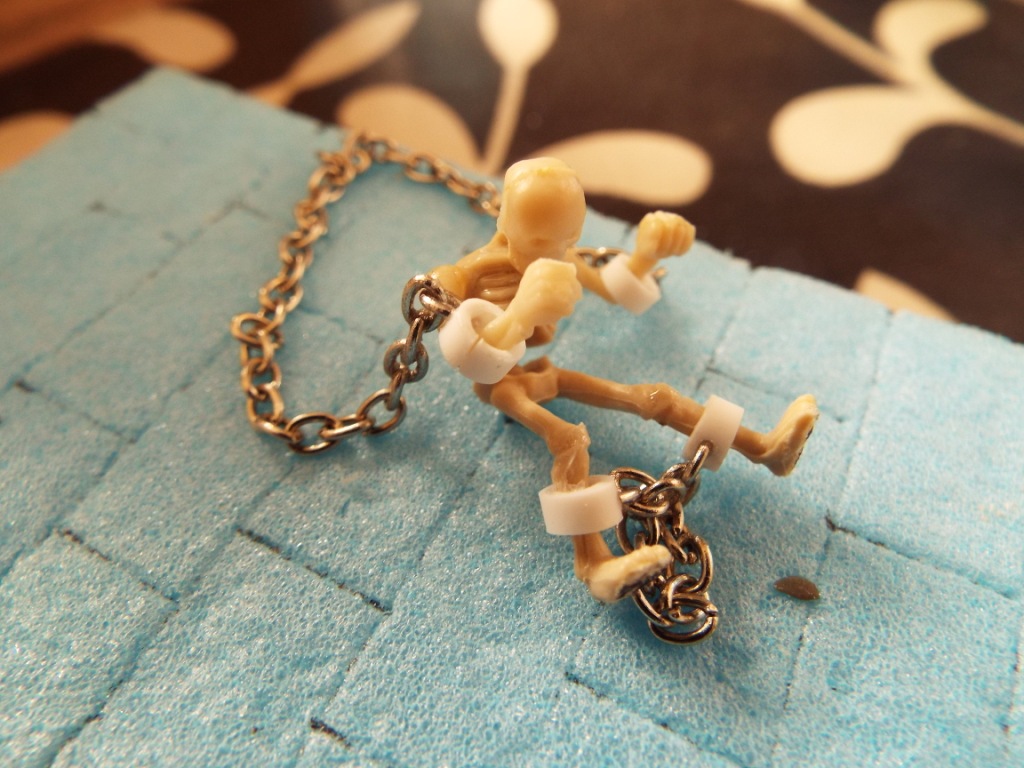
I wanted to have the skeletal remains chained to the wall, so it was off to poundland to buy a couple of cheap necklaces. Not exactly the most macho thing I’ve ever done, but I took it as a sacrifice to my art. I cut some sections of plastic tubing to represent manacles, drilled a couple of holes with a pin vise in each to take a link of the chain, and superglued them in place. A bit overscale, but they do the job. A GW plastic skeleton from a long time ago provided the lucky victim.
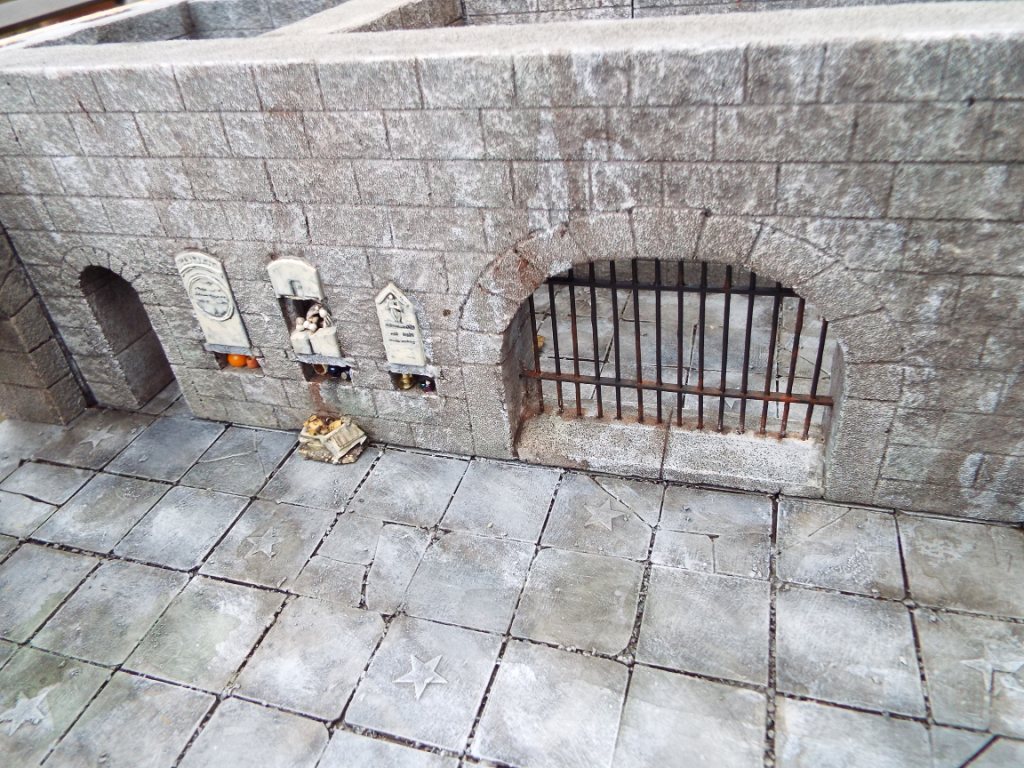
On to painting. Same old same old for the walls. The iron bars and manacles were painted black, to which a bit of bronze was added to give me the effect I wanted. Dark brown and orange were used to try and create a rust effect. I should have made a door or two, but I’m a bit lazy so haven’t done that yet. I’ll probably do a few as a batch – Tony Hardwood’s book has some good ideas, as does the GW terrain book. The cell doorway is larger on one side of the wall than it is on the other. The idea is that the door – if it ever appears – would fit in the larger aperture on the outside of the cell and be more secure than a standard opening. Just in case the inhabitant ever felt that they would like to leave.
The remaining shots show the finished piece. Hope you like it – I should finish another couple of small pieces this weekend so I’ll post that up when it’s done.

Leave a Reply