Figured a few pillars would be useful to block line of sight. I cut a strip from a 25mm sheet of foam using a nifty little hot-wire cutting table I got from ebay, to get a strip about 25mm square.
Using a propelling pencil and a ruler, I mark the courses of blocks at 1cm intervals, then again using the ruler mark the vertical joints. You could do it freehand, but I think that masons knew their stuff and it looks better for straight lines at right angles.
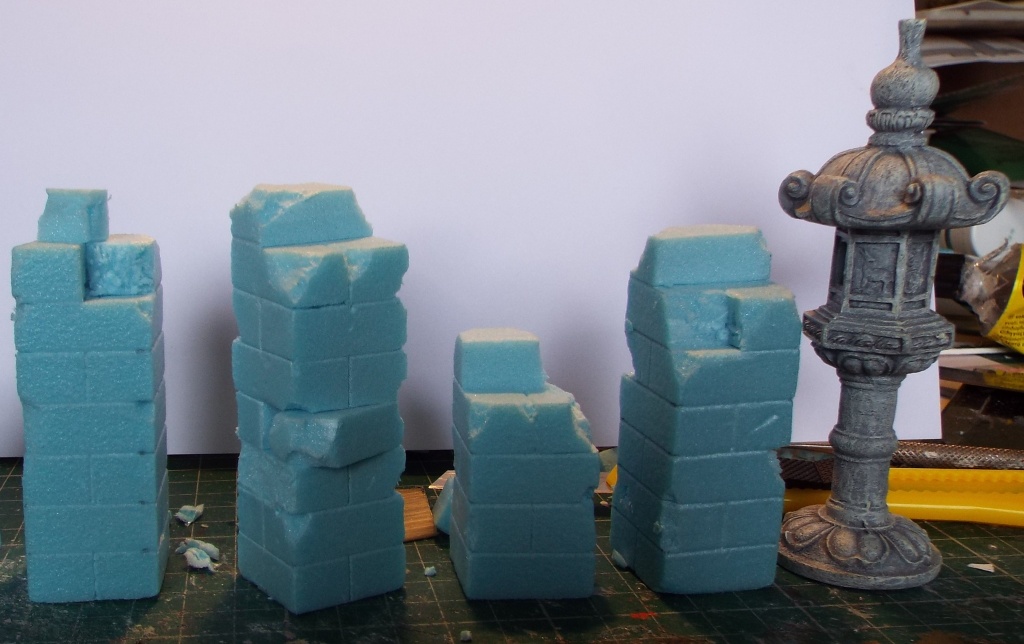
I then cut them into various sections and leave one section spare that I will cut into individual blocks, which can eiher be placed on top of the column or around the base to represent those which have fallen around it. In the second example from the left in the picture below, I wanted to represent the situation where something has dealt the column a might blow and displaced a block in the middle. I cut the section at a suitable join, cut one of the blocks from the top of the bottom section, glued it back in place at an angle and glued the top section back on.
I then distressed the columns and blocks to represent damage accumulated over the years, and split some of the spare blocks to give me some broken pieces. You need to part cut them to snap them without deforming the block. I do the distressing with a dentists tool and pick at the blocks to get the right effect. Trial and error to get the look you want, but not difficult. Bear in mind that if a lock has suffered some damage it does not mean the adjacent block has – so the damage might stop at the join. Not always the case, but I think this sort of detail adds to the impression of realism.
Incidentally, the ornament on the right came from Pets at Home – a pet store chin here in the UK. Don’t know if it’s elsewhere but lots of them sell useful junk like this for decorating aquariums.
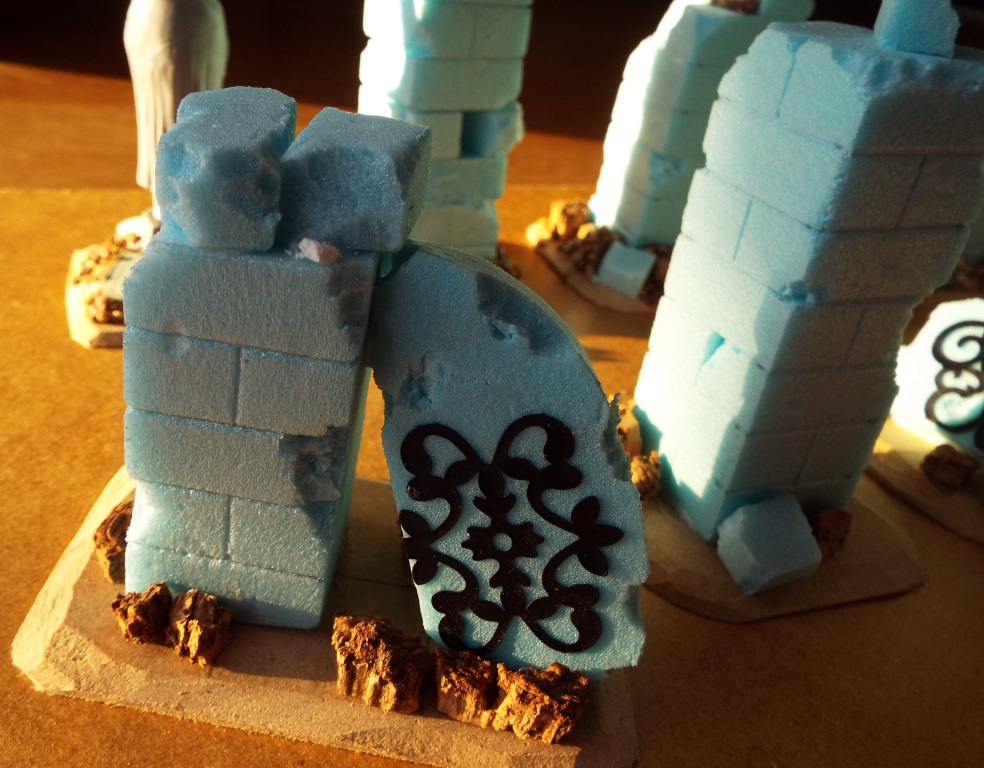
Next I mount them on chamfered mdf, and add some bigger lumps of rubble, as per the ruins in the earlier article. In the picture below a big chunk of decorative masonry, presumably that had been supported by the pillar, has crashed down and come to rest against it. The black pattern is decorative adhesive tape from Poundland. The brown bits are pieces of cork. The pillar to the right has a piece of broken block.
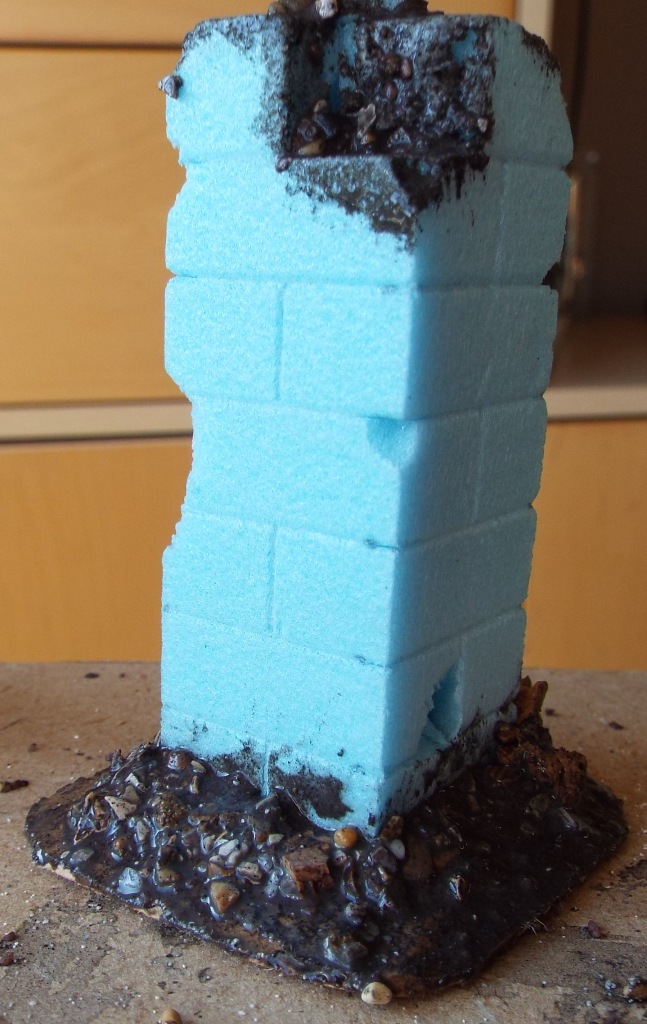
A mixture of bird grits, pva, water and grey acrylic is then liberally applied to the base, and smaller amounts to any flat ledges.
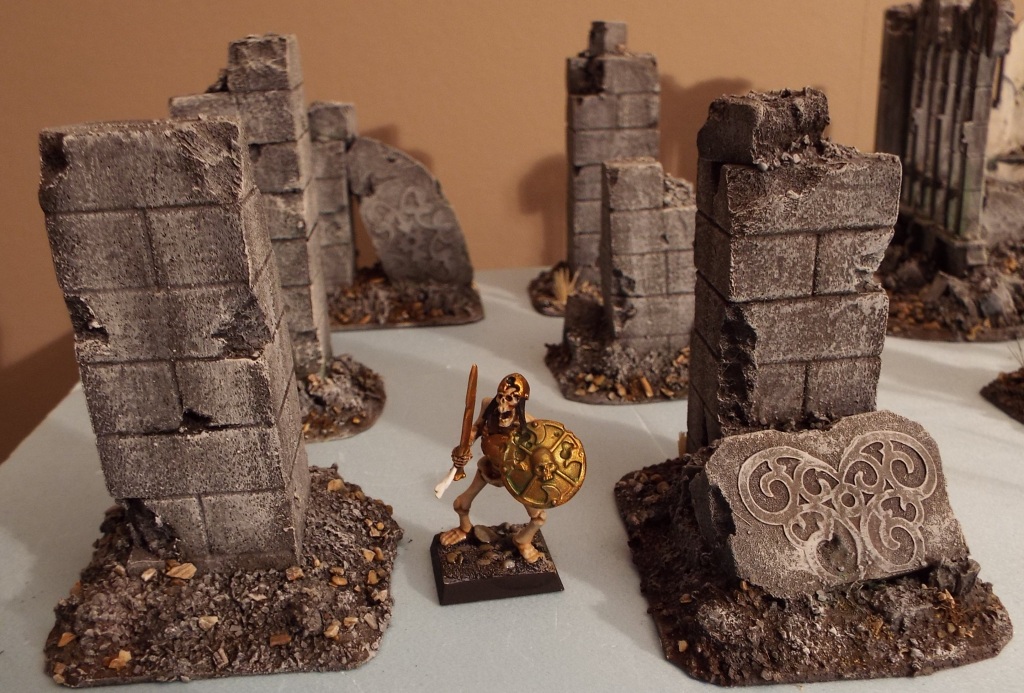
In the following order, I cover the whole thing in grey acrylic to protect the foam from spray paint, spray everything in light grey, drybrush with white softened with a small amount of red-brown, add a little more grit – this time without the grey acrylic to allow the colours to break up the grey a bit, apply a brown-black wash to the whole thing, a further wash with a green/black/brown applied more selectively to hint at mould and lichen in sheltered spots, a final drybrush with the softened white, perhaps a tuft of dry grass with some thin bristles from a cheap diy paint brush, and it’s done.
There is more detail in the ruins article.
Here is a pic, with a figure for scale.

Leave a Reply