I have 3 buildings that I have largely scratchbuilt which I did for an Osgiliath project, which like most of my projects, stalled. These will serve for Frostgrave, but snow and ice would make them less useful for Osgiliath, so I am not adding them to further models so that they will serve a dual purpose. I’m sure it probably snowed in Osgiliath, but it didn’t do it in the film!
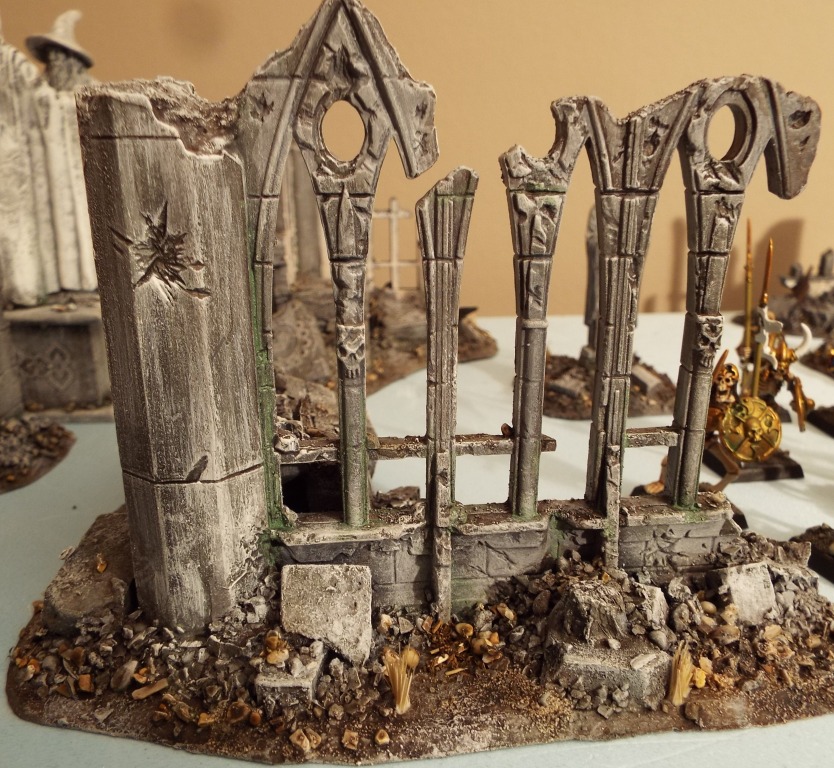
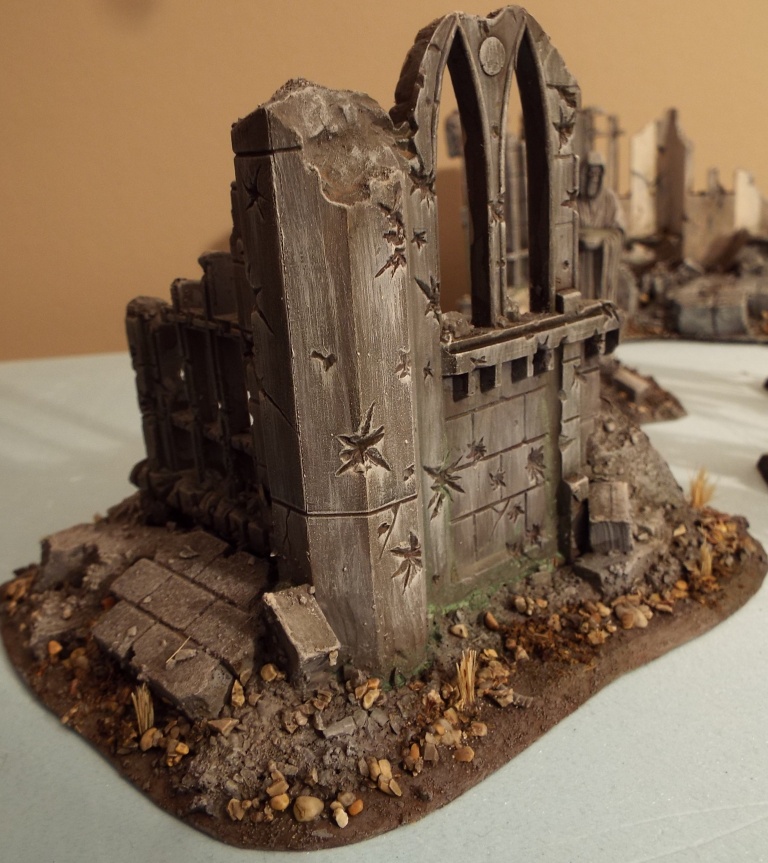
These ruins are some GW plastic ruins that may have come in a 40k box. Not sure that the bullet holes are particularly Frostgrave or Osgiliath, but they will do the job. I mounted them on some 3mm mdf that I cut to shape and chamfered the edges. I then wanted to add in some rubble, consisting of broken masonry, timber and rougher chunks of stone which have been heavily weathered. The following pics show the initial pieces in place.
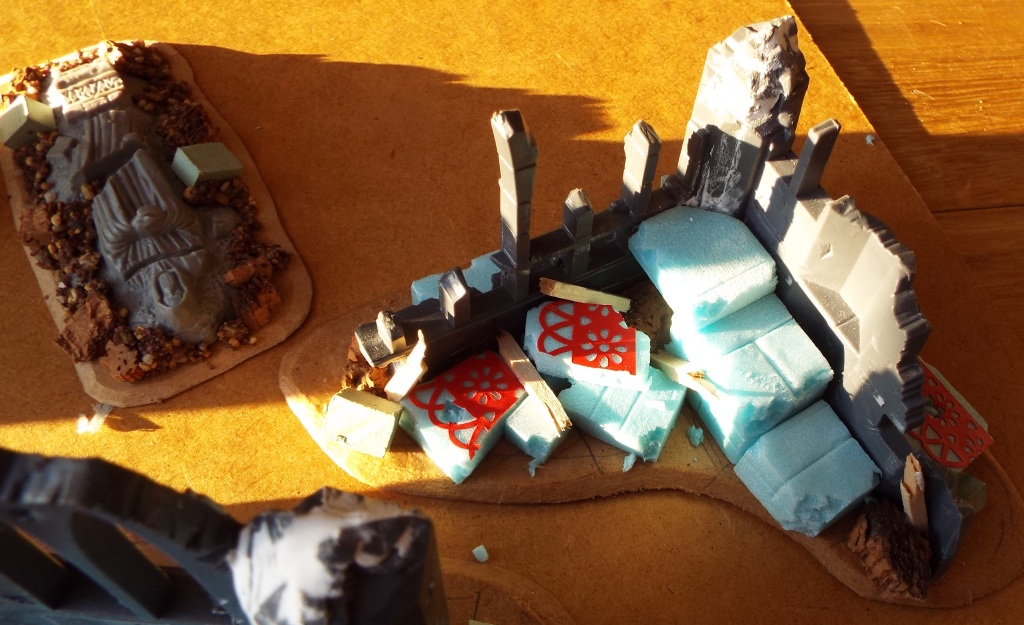
These consist of some small chunks of cork I got ready-broken in a bag from one of the wargame terrain suppliers. I had some smallish blocks cut from a block of modelling clay which was getting too hard to use properly – I cut it into blocks for this purpose rather than just throw it away. Finally I produced some larger chunks of masonry from offcuts of blue foam, some scribed to show the component blocks and then distressed to show damage and breaks and others left unscribed but with sections of decorative adhesive tape from Poundland to indicate decorative masonry. Some of the foam blocks were cut to represent sections of stair to be put into the corners – these provide a vantage point for a figure to see over a wall or through a high window. Some broken pieces of timber completed the initial mix.
The larger chunks are glued into place using pva glue.
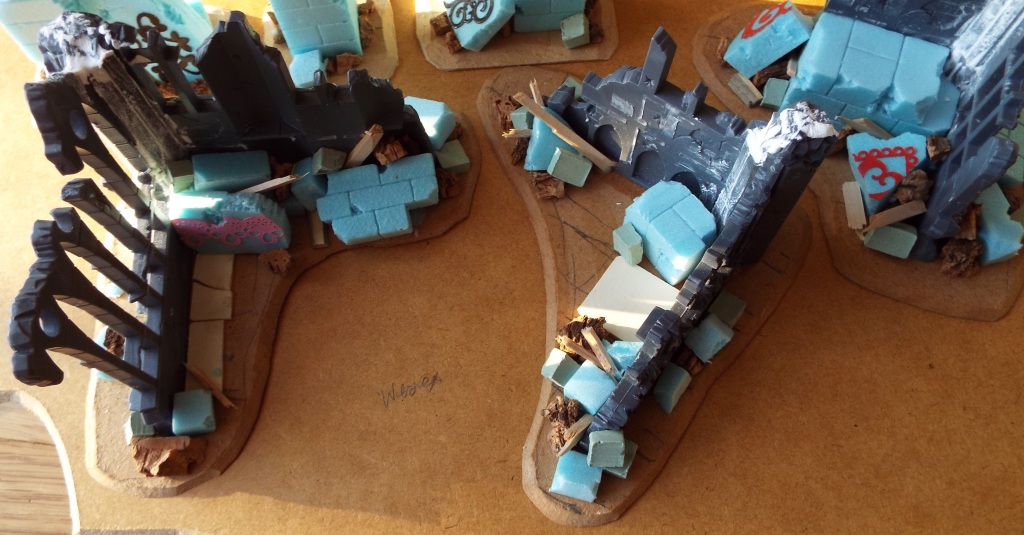
The next stage was to add finer rubble, consisting of 2 types of bird grit, one rounded and one more angular – it had crushed oyster shell in it – along with some fine sand. These were mixed with pva, water and some grey acrylic paint and worked in and around the buildings and larger pieces.
A few bits were applied to ledges on the buildings to show where rubble had been deposited.
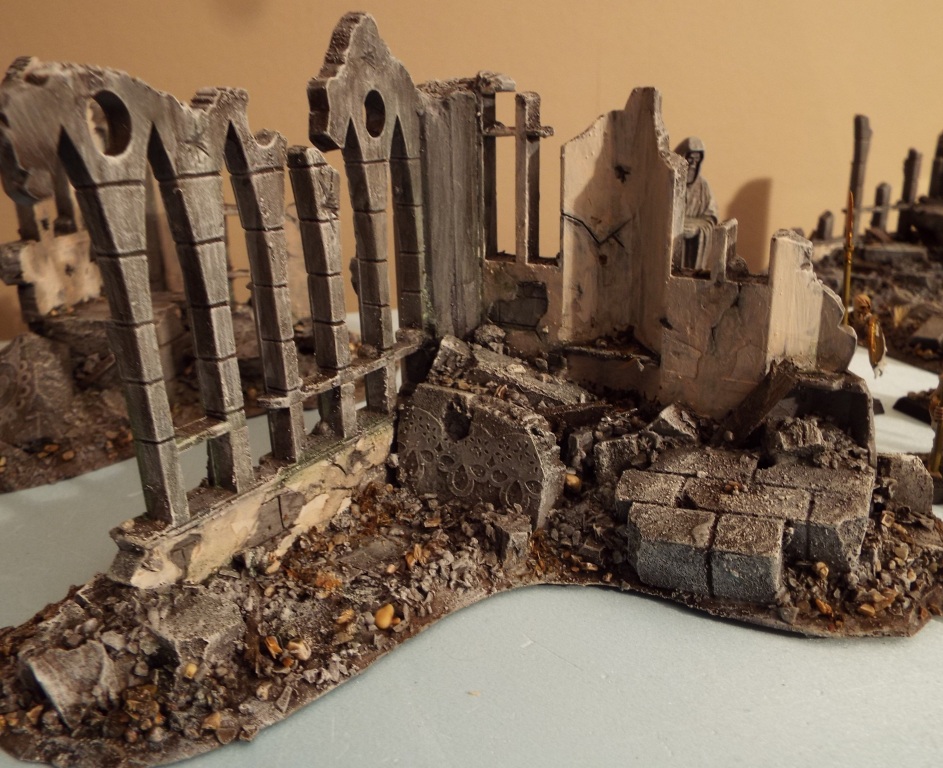
The next stage is to paint the foam with grey acrylic – I will next spray the whole piece with a light grey and don’t want to risk it melting the foam.
On the first couple I then liberally applied a black/brown wash. The following pic shows the 3 steps;
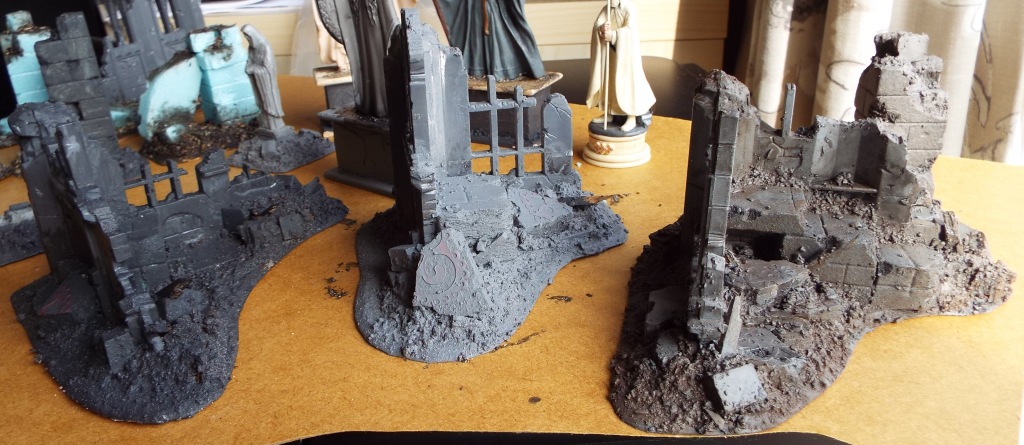
For further batches I left the wash out at this stage.
When the paint and the subsequent spray is dry, I then drybrush the whole thing with white acrylic to which a small amount of black and red-brown has been added to soften it a little.
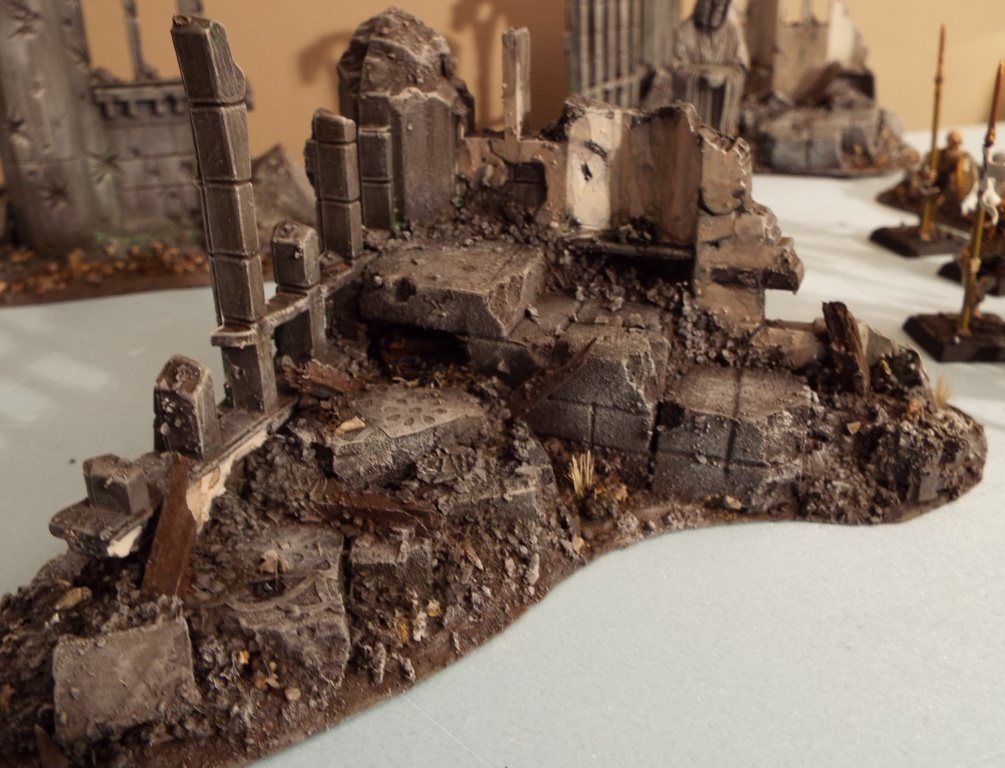
All looks a bit grey at this stage, so I next mix some of the grit with pva and water and apply some of it here and there to break up that grey a bit.
Now for some organic matter, to represent where leaves and other vegetation has either been blown or gathered by creatures for a nest or lair. This consists of dried green tea leaves from teabags, along with some chopped fine bristles. Mixed with water and pva I use a brush to deposit bits and pieces, putting bigger clumps in suitable spots.
Next is to mix white with a small amount of red-brown which I water down a little, and this is applied to plastered sections of the wall on the inside of the building.
Washes next. I have 3 very watery washes – black to which a little brown is added, brown to which some black is added, and a black/brown to which green is mixed. I apply these randomly to each piece, trying to make it look like muck has been washed down by rain and snow melt, making sure that the ground area is fully covered. No real rule, but the green is to represent lichen and moulds so I’ll try to put these in sheltered spots and crevices.
To my mind it still looks a bit dark, so I again dry brush with the softened white to lighten the piece. I try to steer clear of the non-grey bits, but it doesn’t matter too much.
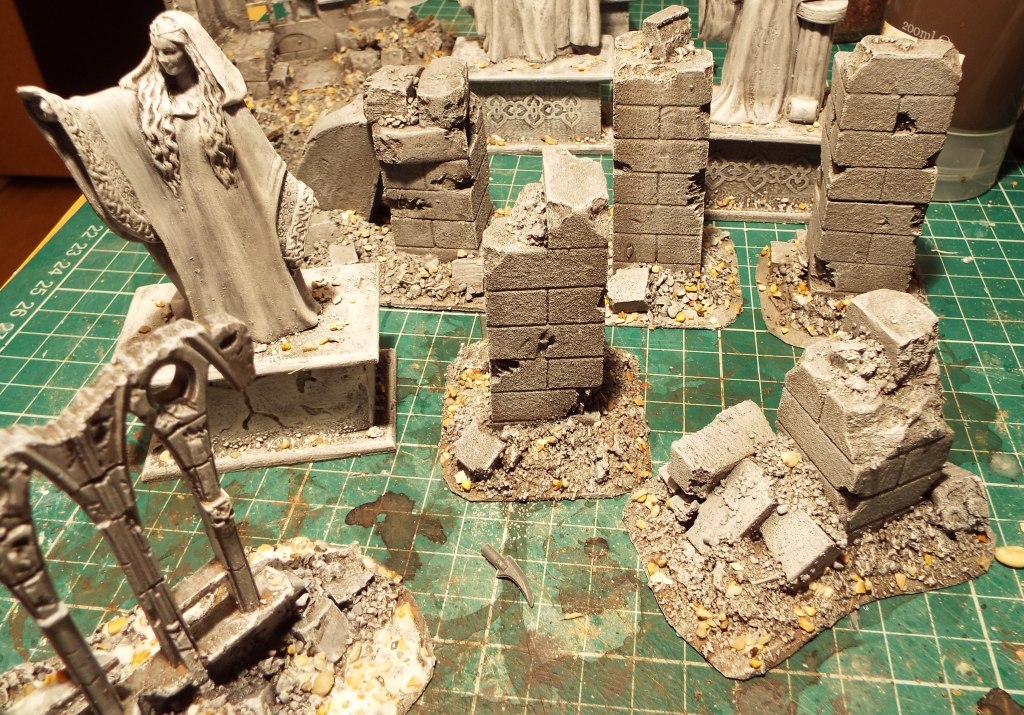
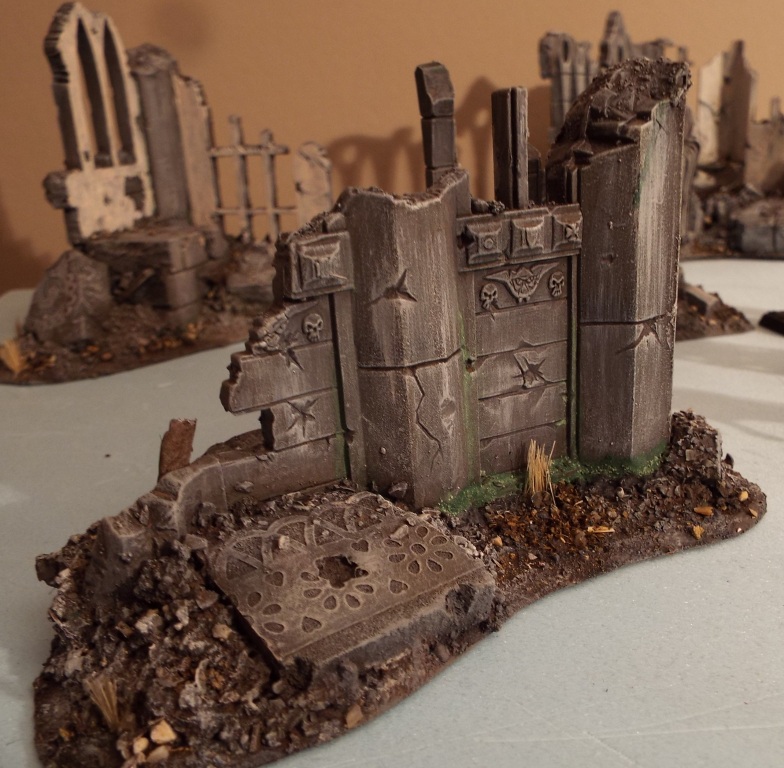
The final bit was prompted by a building I saw in Birmingham yesterday on my way back to New St Station. It’s a stone building with a striking pattern of green moss and mould(?) on the sections above ledges and in the crevices running down to them. Should have taken a pic to show this. I decided to try this, mixing sage green paint with some filler powder, pva and a little water – the filler was to give it a tiny amount of bulk and texture to represent moss. The pic at bottom right shows it, although not particularly well.
I’m quite pleased with the results – hope you like them.

Leave a Reply