Still waiting for the figures (come on Pendraken) but focussing on some terrain in readiness. Although these have been sized for my 10mm setup, the same technique can easily be used for larger scales. Here’s one which has simply been sprayed green.
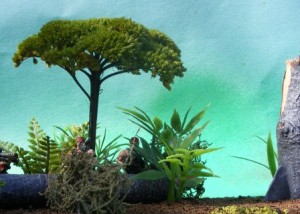
The raw material is the dried flower heads of a garden flower called Achillea Filipendula. Common name is yarrow. There are a lot of different types, but the one I use is one of the bigger ones with bright yellow flowers called ‘Cloth of Gold’. The individual flowers are tiny, but as you’ll see if you google that plant they are massed in heads which are flattish domes. The bigger heads are good for 28mm.
Some of the smaller flower heads are good for the smaller scales, but if you only have bigger simply remove the side stems to bring it down to the size you want. Here is a bundle of them I let dry hanging up in the garage.
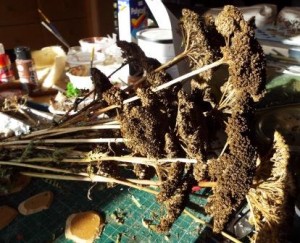
This shot shows a single flower head.
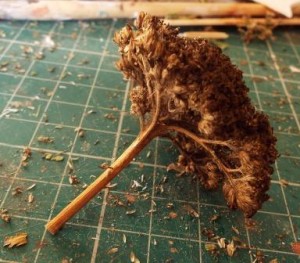
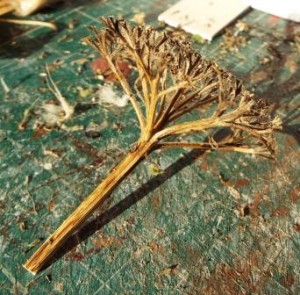
For my purposes I wanted to remove the dry flower heads to leave what looks like branches. Do that with a pair of small sharp scissors, cutting as high as possible. I don’t always do this, as shown above. Couple of small huts under construction in the background.
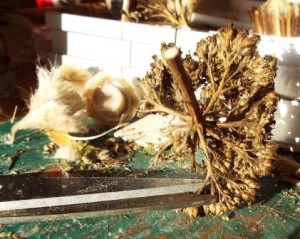
This shows one that has been trimmed.
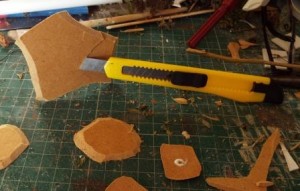
Next prepare the bases/ I use small pieces of 3mm mdf or samsonite. I cut them at an angle to produce a chamfered edge, but also because it is much easier to cut this at an angle, because of the way the material is made in layers. If the chamfered edge needs to be made neater, use the scissors to trim the lower edge at an angle.
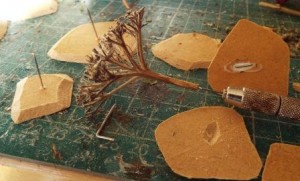
I attach the trees to a base by drilling a hole with a pin vise and pushing through a bent pin with the head removed, Before doing that I cut a recess in the bottom of the base so that the bent part of the pin can be glued in there and let the base sit flat.
Next, use the pin vise to drill out the ‘trunk’. This is very easy – the plant has a pithy soft core, but it’s worth doing or the pin will probably split it. If the piece is too thin, replace it with a thicker piece of stem and fix the head of the tree in place with some wood glue. Coat the pin in glue before pushing the trunk onto it.
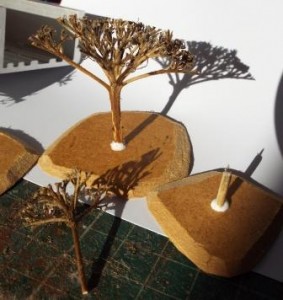
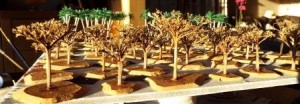
You now have a bare-branched tree. These would look quite effective as winter trees, or for a wood which has been subjected to bombardment and had the leaves blown off, especially if you mixed them with shattered and scorched stumps and craters.
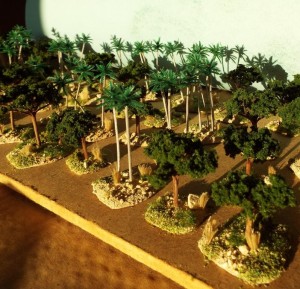
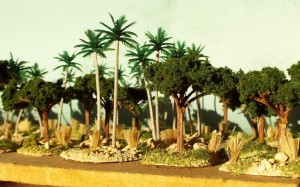
Next, base them to match your terrain. I have used sandtex masonry paint with playpit sand sprinkled on and worked in. The tall brown grasses are small clumps of hemp, the grit is some sandstone broken up with a hammer, then a couple of types of flock scattered over it.
When that’s dry, create the foliage. put some wood glue in one plate and some woodland scenics clump foliage in another. Dip the head of the tree in the glue so that the tips are covered, then press it into the clump foliage and stand it somewhere to dry.
When dry, tip off the loose foliage and use a dab of glue and a bit of the foliage to any patches which are too bare. Don’t use tons of the stuff – gaps in the foliage look good, in my opinion.
The palm trees were easy. A chinese supplier on ebay provided 100 of them for a few pounds. Hardest bit was fixing them to teh bases, as the stems are soft plastic. Drilled holes in teh mdf, cut out a recess below, pulled the trunks through and used a hot glue gun to melt them underneath. Trimmed the excess level with the bottom of the base so they sit flat. Very pleased with them. If I wanted to be really anal I would add some hemp to represent dead fronds around the trunk just below the leaves, but I haven’t. (Although I did for some 15mm jobbies in the biblical city, so I’m obviously a terrain nerd.)


Leave a Reply