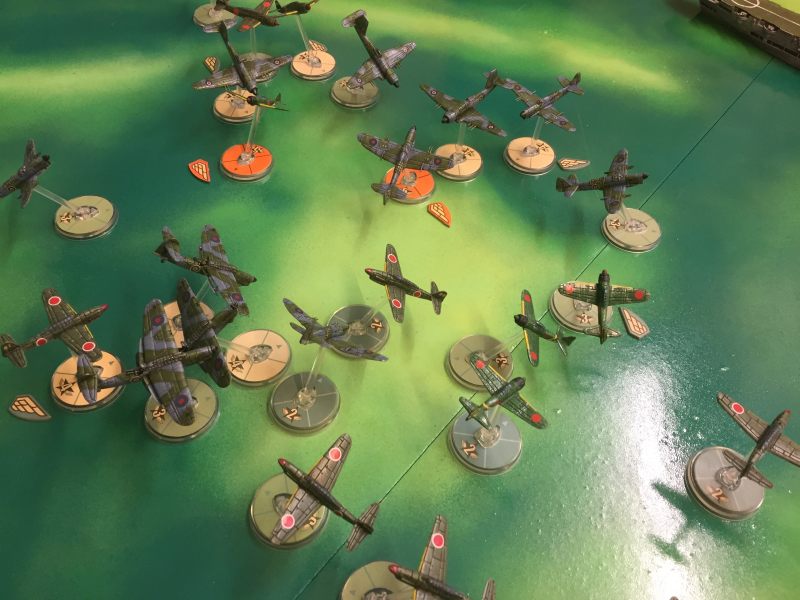
The previous post covered how to hunt out your enemy’s carrier and send the strike to it. So, what happens next? Strikes are either at low level with torpedoes or high level with dive bombers. The prepared defender will have some aircraft on Combat Air Patrol (CAP), which can also be at either level.
If the attacker has sent aircraft at both levels, then decide randomly which is resolved first. The attacker then has some choices. If they have any aircraft on the deck, they can scramble them. There’s two benefits to this – if aircraft are on the deck when the carrier is successfully bombed then it significantly increases the risk of fire, and some of the aircraft may be destroyed. The scrambled aircraft can also take part in the defence, although they automatically start ‘disadvantaged’ from the carrier, so it’s hard for them to get into position before it’s too late. Attacking bombers get +1 if there are no defending aircraft, so it’s probably worth throwing up a couple just to deprive them of this bonus.
The defender can also pull aircraft down from High CAP to defend a low level attack. They start in high cover which is good because they are advantaged, but bad because they effectively lose a turn. Low CAP can go to defend against a high level attack, but they will automatically be disadvantaged, and a high attack with no High CAP opposing will automatically be advantaged.
The attacker and defender place elements alternately. If the attacker has multiple bomber elements, they might decide to attack from opposite sides of the table to split the defending forces, or keep together in a tight pack and try to punch through. Once all are placed, if the attacker didn’t get a very good location roll, the defender can reposition their carrier up to 9″ in any direction.
Escorting fighters are generally used to tail and outmanoeuvre the defending fighters – by the time they could break them with boom chits, the bombers will have generally already succeeded or failed, so it’s better to try to reduce their effectiveness and stop them getting any shots in on the bombers.
Attacking bombers will want to dive to reduce the number of turns it takes to get to the target – however, diving too early means multiple turns at disadvantaged – increasing their risk of being shot down, whereas diving too late runs the risk that they will be outmanoeuvred by enemy planes, and their advantage levels will be wasted.
Defending fighters tend to attack recklessly – there are only a few turns to stop the bombers, so the risk of picking up boom chits is worth getting an attack in. However, Japanese fighters with the ‘vulnerable’ trait are at significant risk from tail guns – which go up from 1 to 2 dice, so head on or side attacks are preferable.
Laden bombers do not acquire boom chits in the normal way, so the defenders are going to have to shoot them down to stop them. The carrier is considered to be a 2″ diameter target, although we use a 1:700 model on the table to add atmosphere. A dive bomber has to pass right over the target to attack. A torpedo bomber has to begin its attack turn disadvantaged and pointing at the target within 6″ of it. Before an aircraft attacks, the carrier gets a d6 as AA defence. On a 6 it has automatically caused the attacking aircraft to miss, and the aircraft must make an agility check or be destroyed.
The attacking player can choose to break off the attack at the end of any turn, and the game ends immediately.


This is excellent, and I would very much like to give it a go.
Are there more rules to come about damage to carriers from fires, planes on deck, etc?
Could you collate your rules into a pdf to download?
Thanks for sharing this,
Ross