If your average medieval bod wanted to go down into a dungeon, it wouldn’t be using a lift (elevator in some parts.) I thought I’d have a go at making a set of spiral steps. I decided to put it on a 4 inch by 4 inch base and allow it to be accessed by a corridor from both sides. The diameter of the staircase is just a bit less than 3 inches, to enable some room for the side walls on the base. A keyhole shape felt like it would do the trick, so I marked up a piece of card, and cut the curves using my cheap rotary cutter. The photo doesn’t show it clearly, but there is a small blade instead of a piece of pencil lead. I then stacked 5 pieces of 5mm foam and pinned the template on top. Using the template as a guide, I used the hot wire cutter to create the shapes. 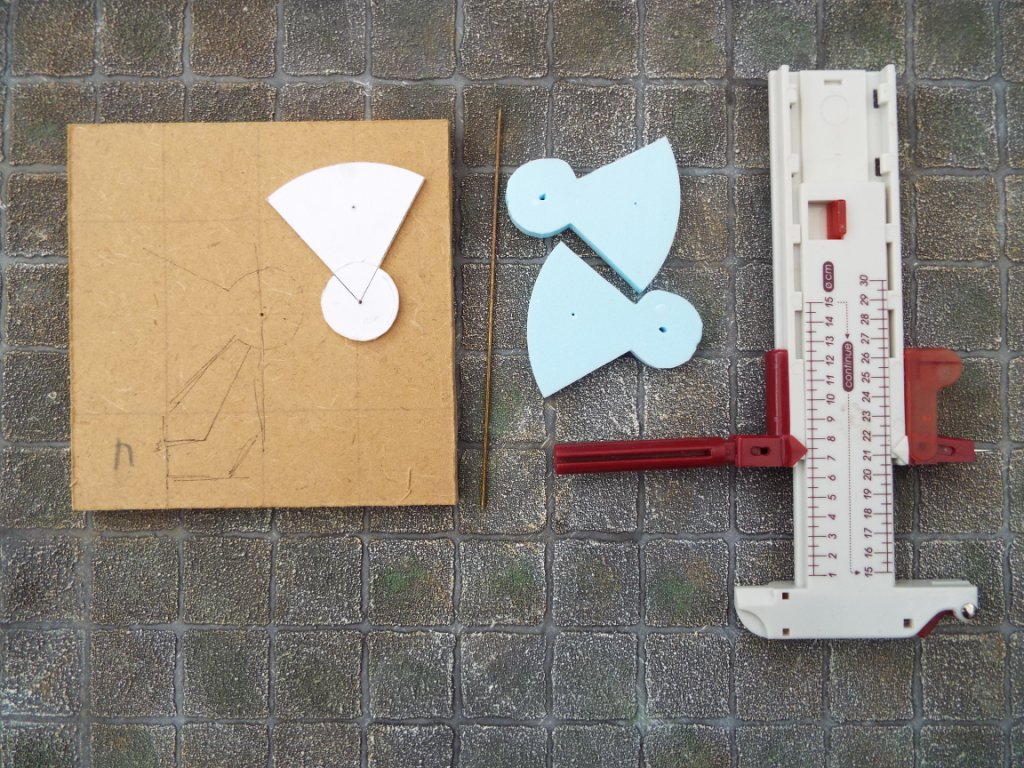
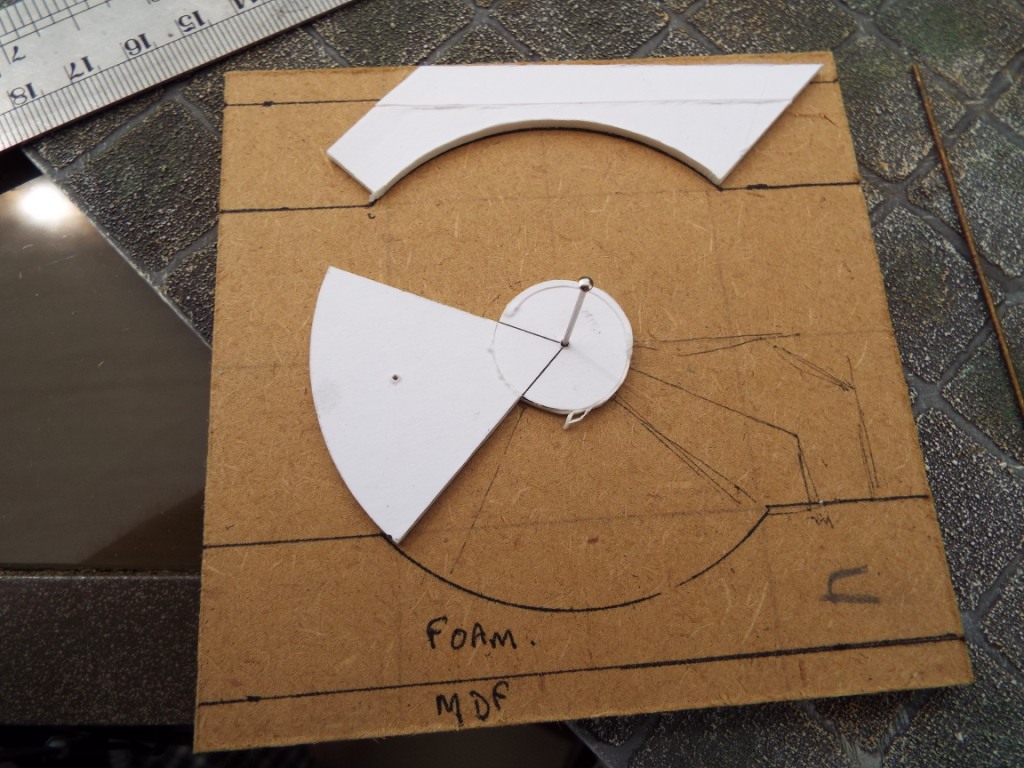
2 strips of foam gave me 18 steps in total. Stacked on top of each other they stood 9 cm tall. I needed 10 cm, so needed 2 more 5mm steps, and decided these would be differently shaped at the bottom of the steps. To get the right shape, I decided to mark up the base. This would also give me the shape of the side walls. A hole was drilled using the pin vise in the centre of the base, and a pin inserted through the hole in the centre of the template. This is rotated and a pen used to mark the indentations in the walls. The shapes required for the 2 bottom steps are marked on there. The cutter is then used on another piece of card to get the shape of the indent on the wall, which will be used as a cutting template..
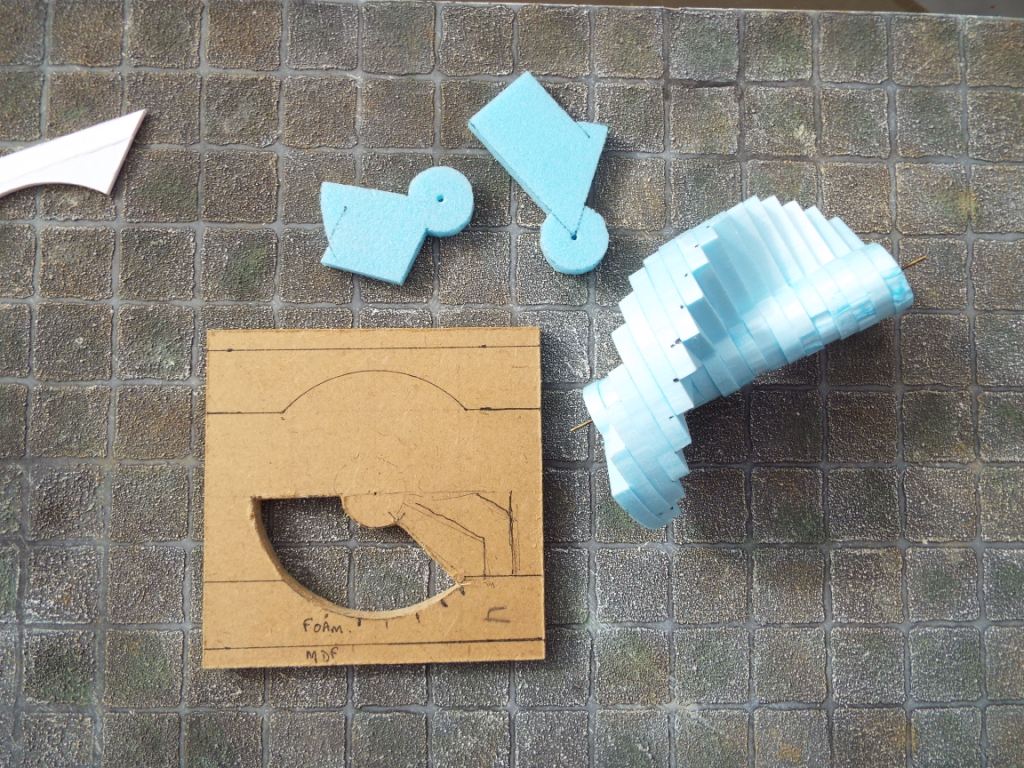
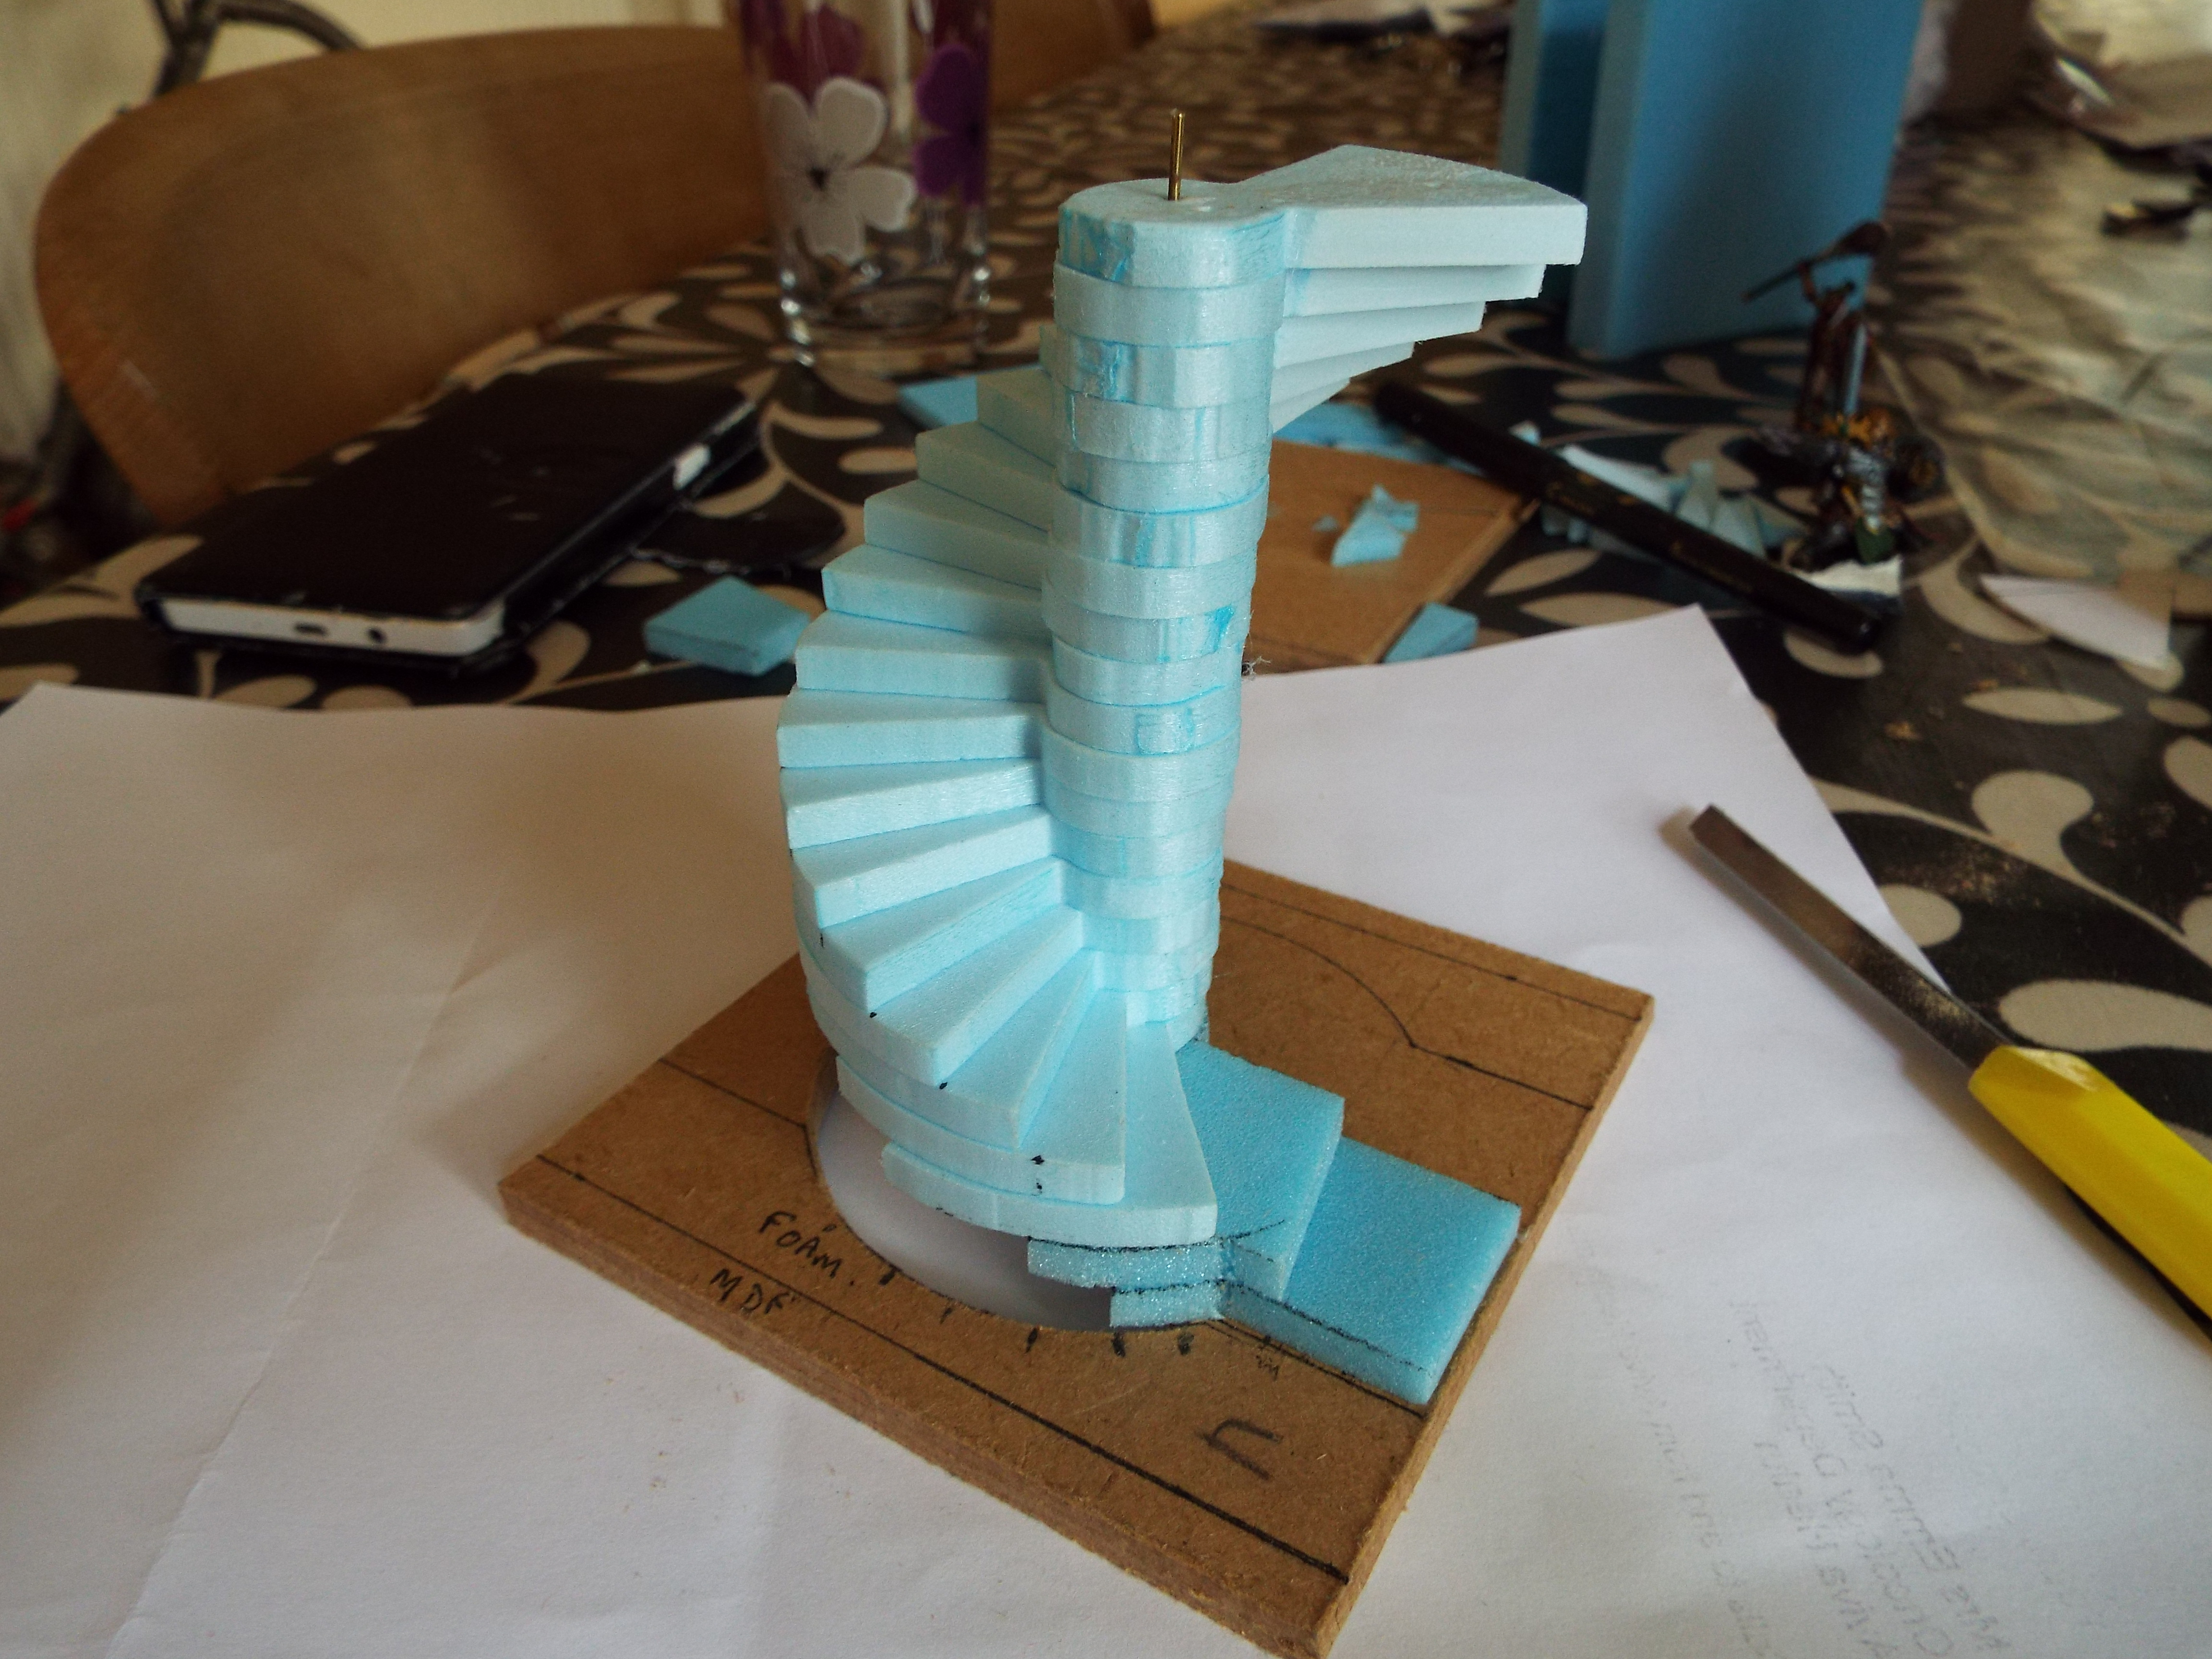
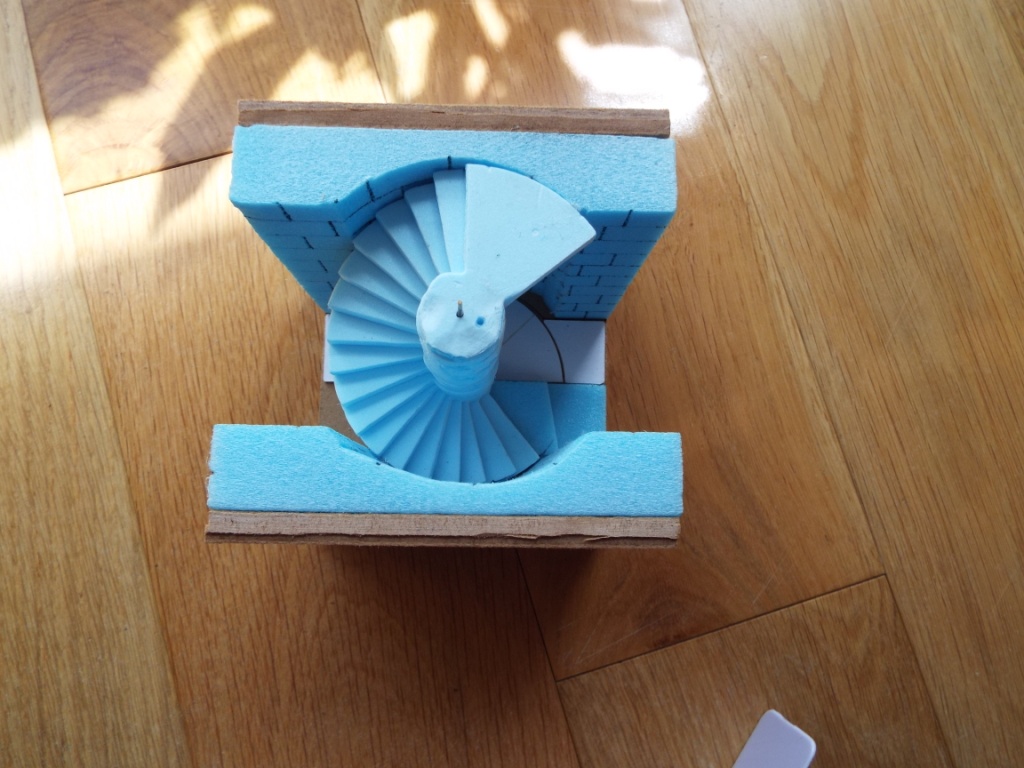
A slight change of plan at this point – I decided I wanted to show the staircase descending to the level below. I cut a piece of brass rod and threaded the 18 steps on there. At this stage I didn’t glue it so I could decide how big the steps should be. I started making them quite generous, but then realised that the angle of ascent had to be a bit steeper to create the headroom for the side passage and the descent to the level below. It was ok for hobbits, but no good for anything bigger. The steps had to be made narrower, so I reduce the steps by 7 or 8 mm on the outside diameter. Once I was happy with the look, I glued the spiral steps together, cut the slot out of the base where the steps down would be (if I ever made them to go down to another level,) and cut the 2 bottom steps to the required shapes. The steps are all glued on to the base, and the brass rod is left in to slot into the hole in the base and provide strength.
The side wall template is then used with the hot-wire cutter to cut the indent. A lesson learnt is that I should have made a duplicate template and pinned it to the bottom of the wall piece when cutting using the hot wire, as it isn’t easy to make the cut absolutely perpendicular and there is some distortion at the bottom of the cut. Top looks ok though.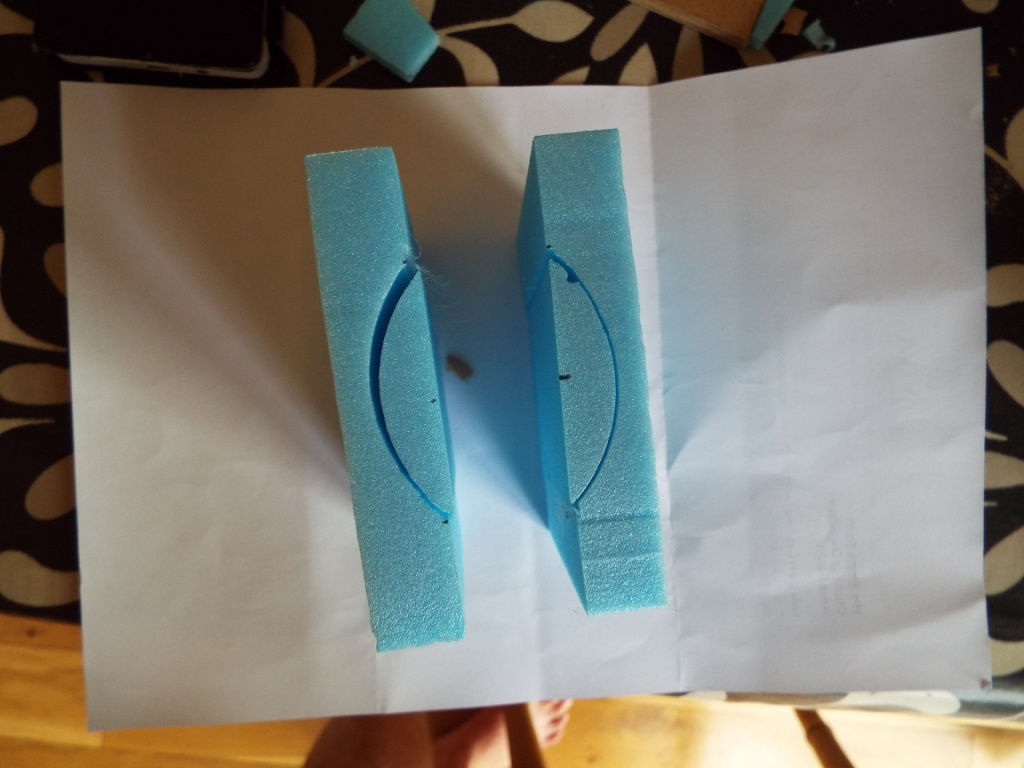
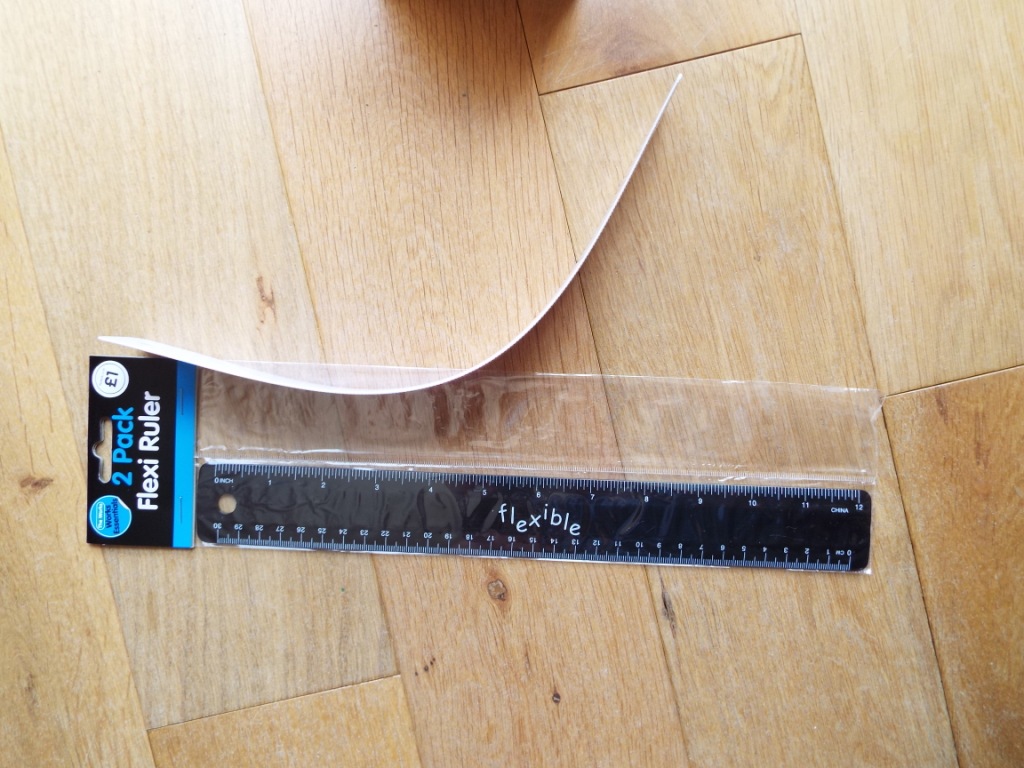
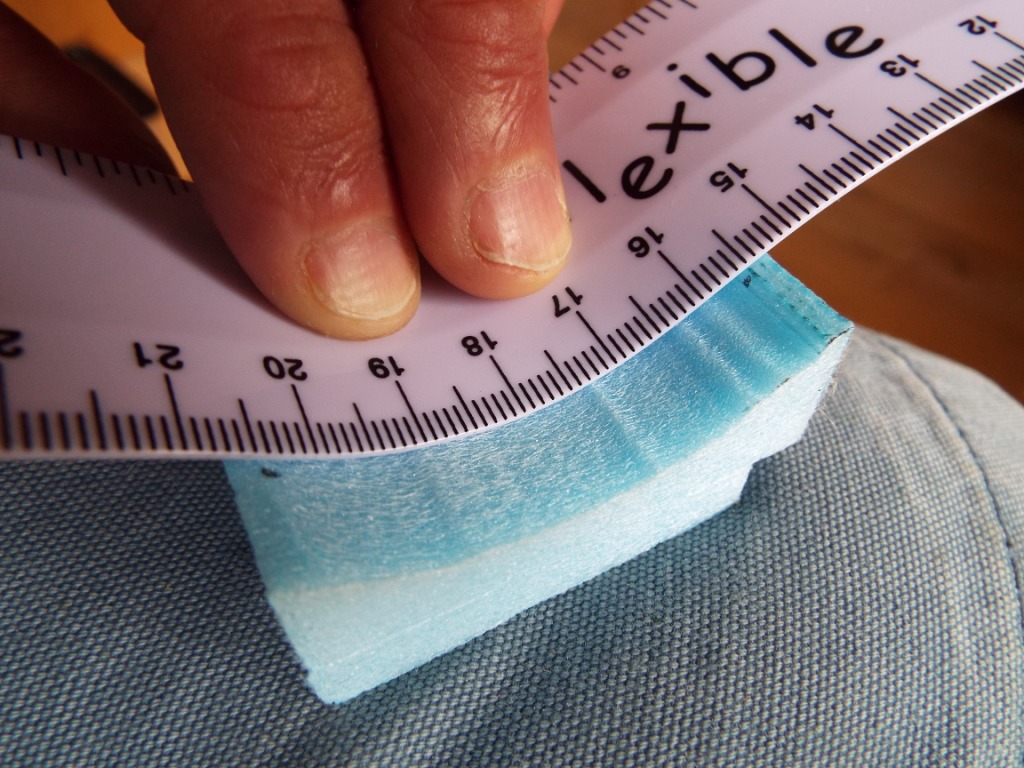
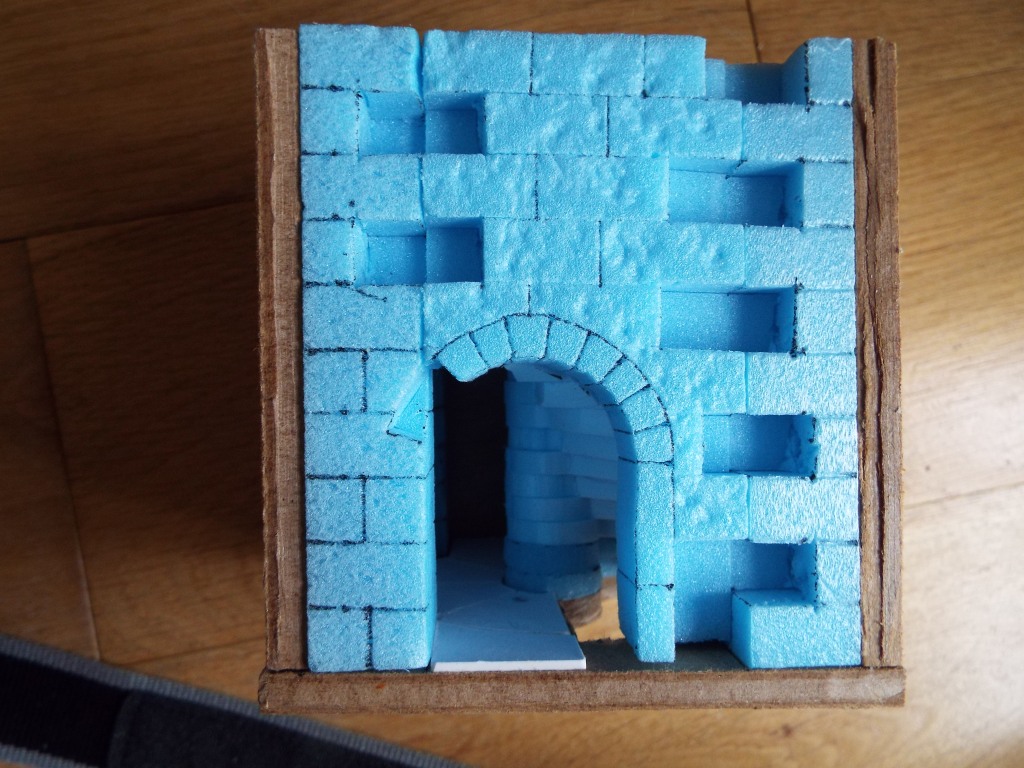
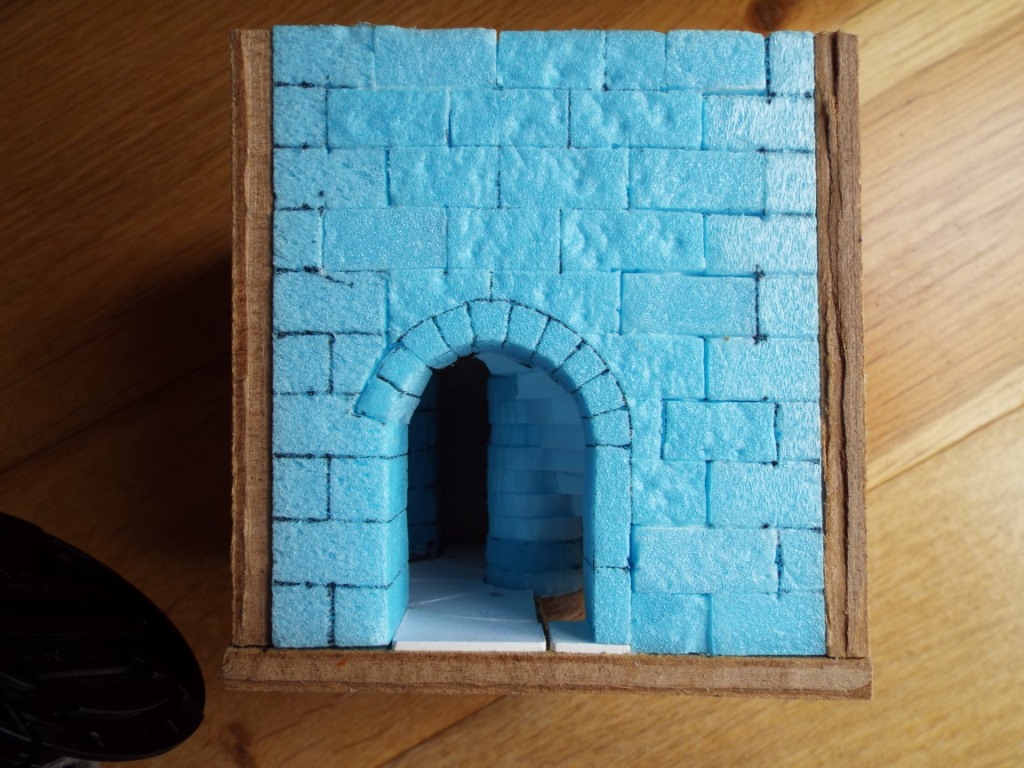
Next job is to mark the block pattern on the walls. The curves could have been tricky, but fortunately I found a pair of flexible rulers at The Works for £1. They flex in one direction while providing a straight edge – one of the following pics shows one being used.

With one wall glued in place, together with a piece of mdf to provide strength, I cut and glued the floor tiles for the passage, then glued in the opposite wall. 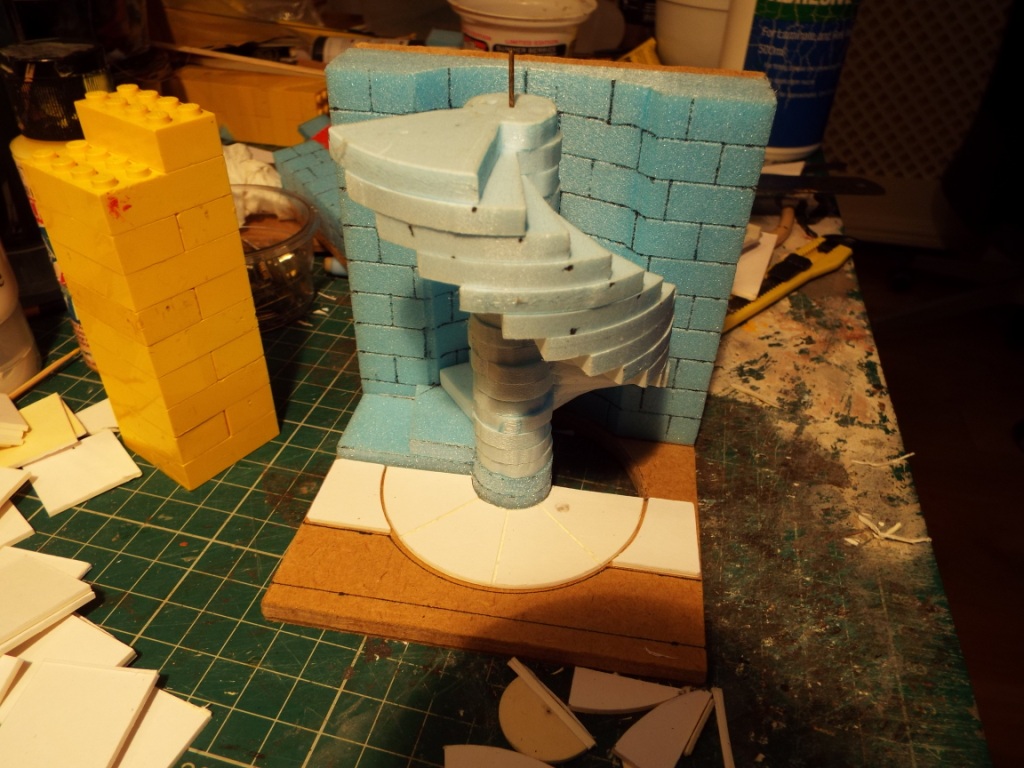
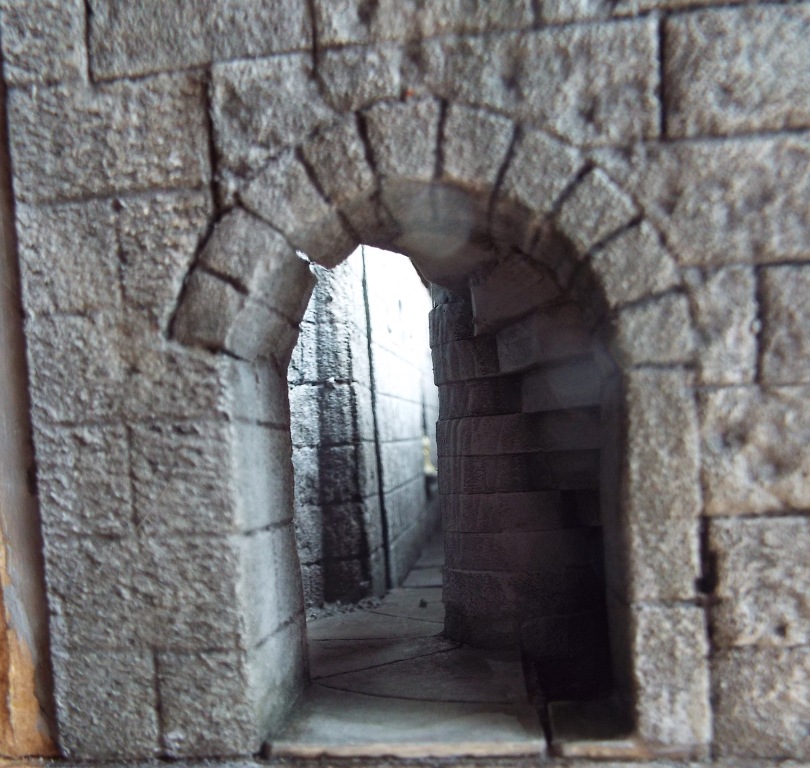
Then for the end sections, or end section because I decided I wanted to leave one side open. I needed to offset the door, otherwise anyone going through it would fall down the stairs. Elf n’ safety.
The required jig is pinned in the right position, the door marked and the blockwork marked. The hot wire cutter and the curve template provides the required indent on the rear of the wall, and the blockwork marked using the flexi ruler. It is then positioned and the cutouts marked so that the joins can be disguised with some single blocks. The missing blocks are then cut and glued in place.
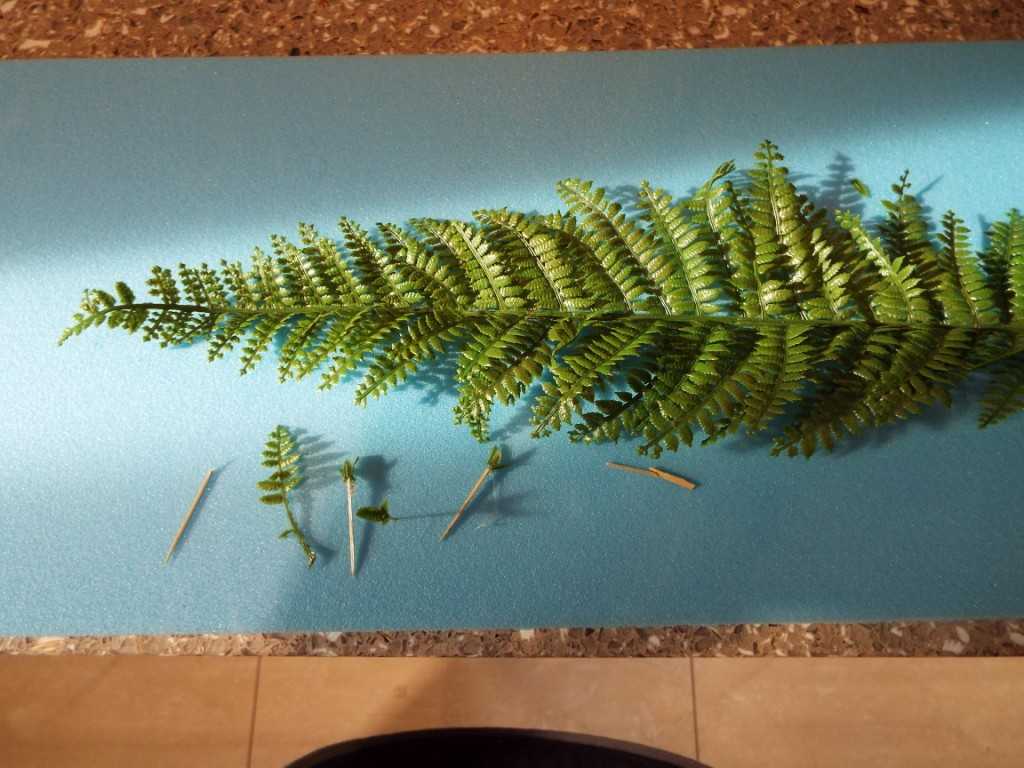
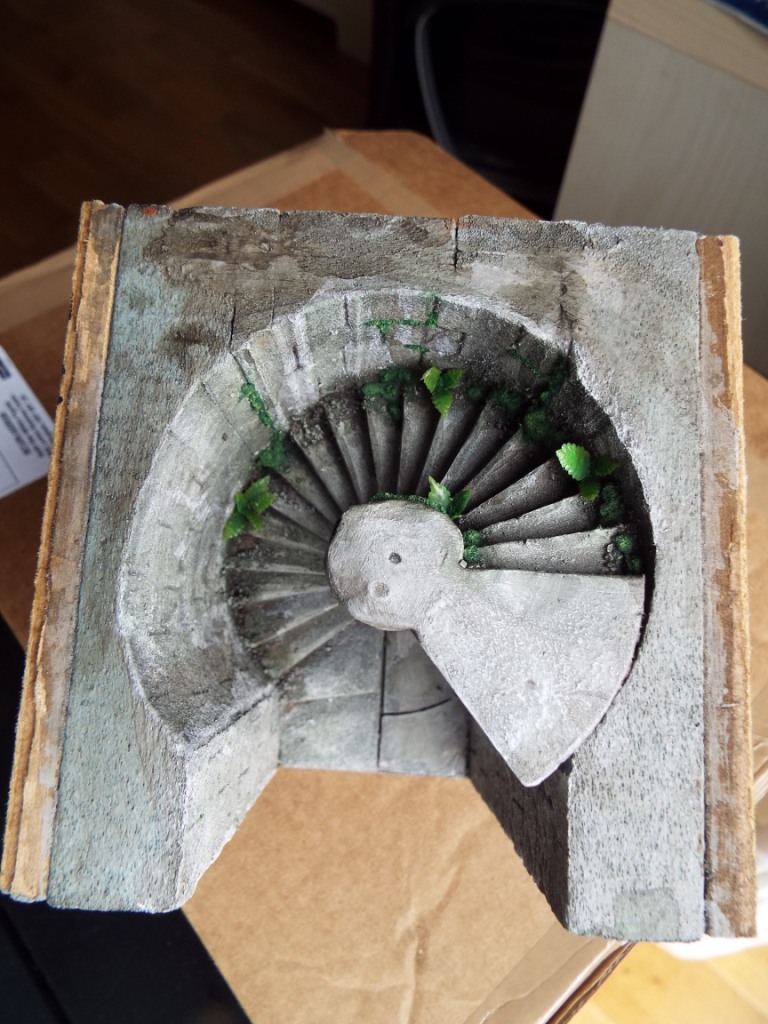
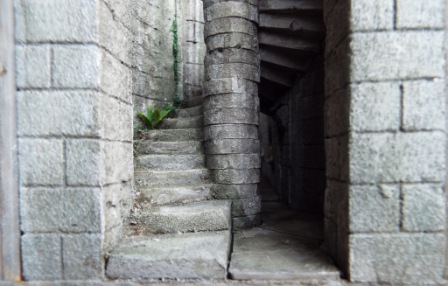
The same paint routine that was used on the corridor was applied to this. Following a suggestion on the Lead Adventure Forum, I figured that the top of the stairs would get more light and that moss and ferns might grow there. The moss is fine sand mixed with green acrylic, placed in strategic places and highlighted with a greeny yellow. The Ferns are made with some small pieces of plastic florist fern, fixed with a hot glue gun to some small sharp slivers of wood, and then the wood is coated in pva and pushed into the foam.

The completed item.

Leave a Reply