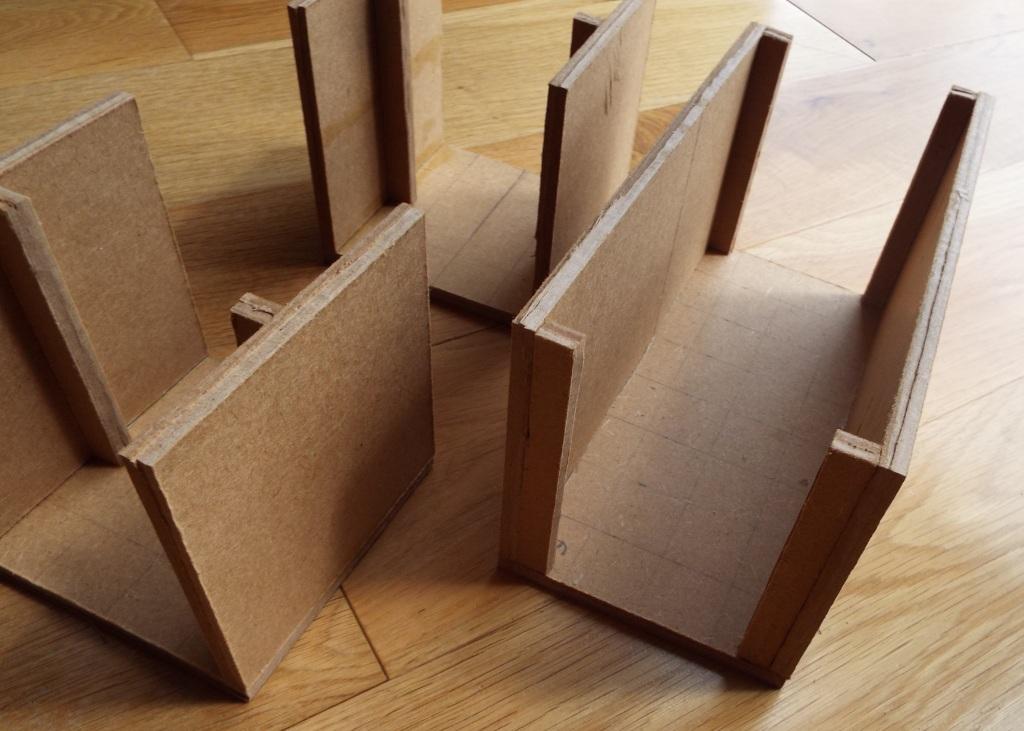
Started work on some corridors, so that when I get more than 1 room, I can link them. The more perceptive of you will see that I started making the corridors 10 cm high, to match with the rooms, but I then decided to make them 8cm high, so cut them back part way through. Although it would make a neater connection with the rooms, I felt that the narrow corridors didn’t look right at that height and it would make handling the figures a bit awkward. These are the 10cm high corridor section frames.
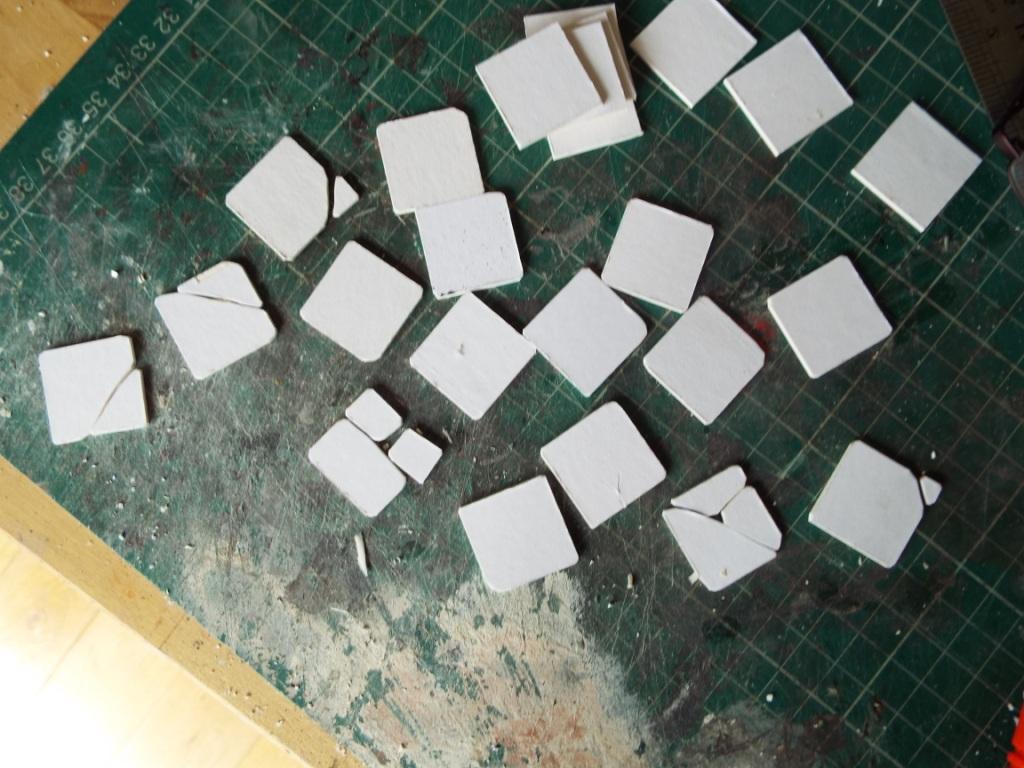
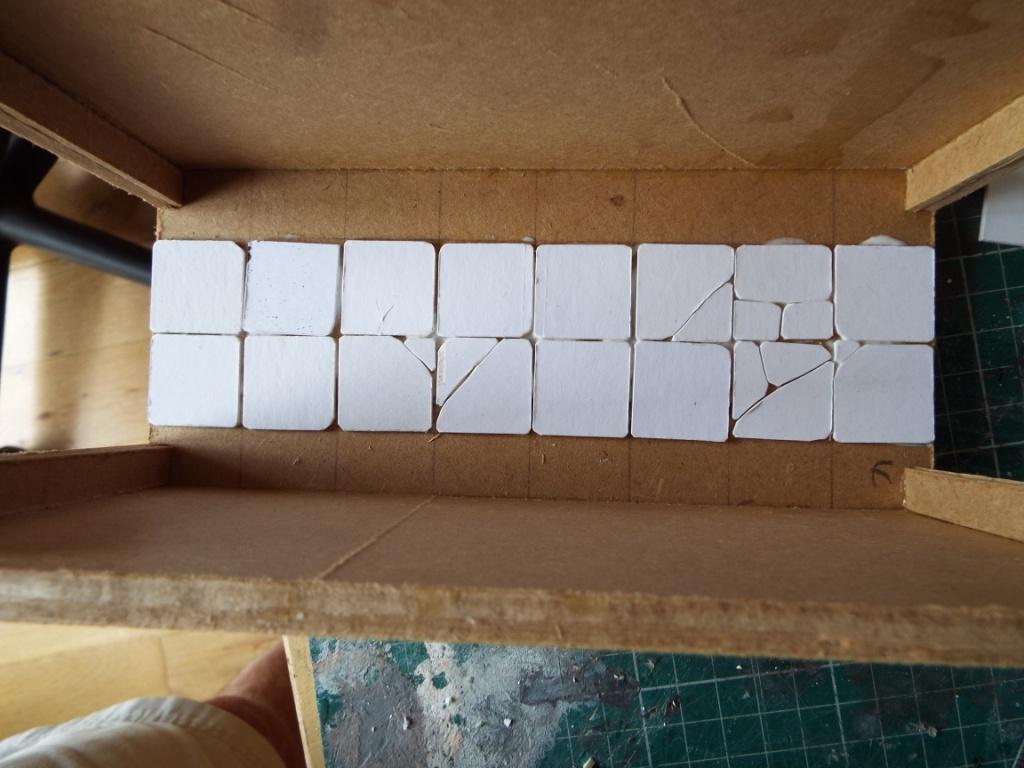
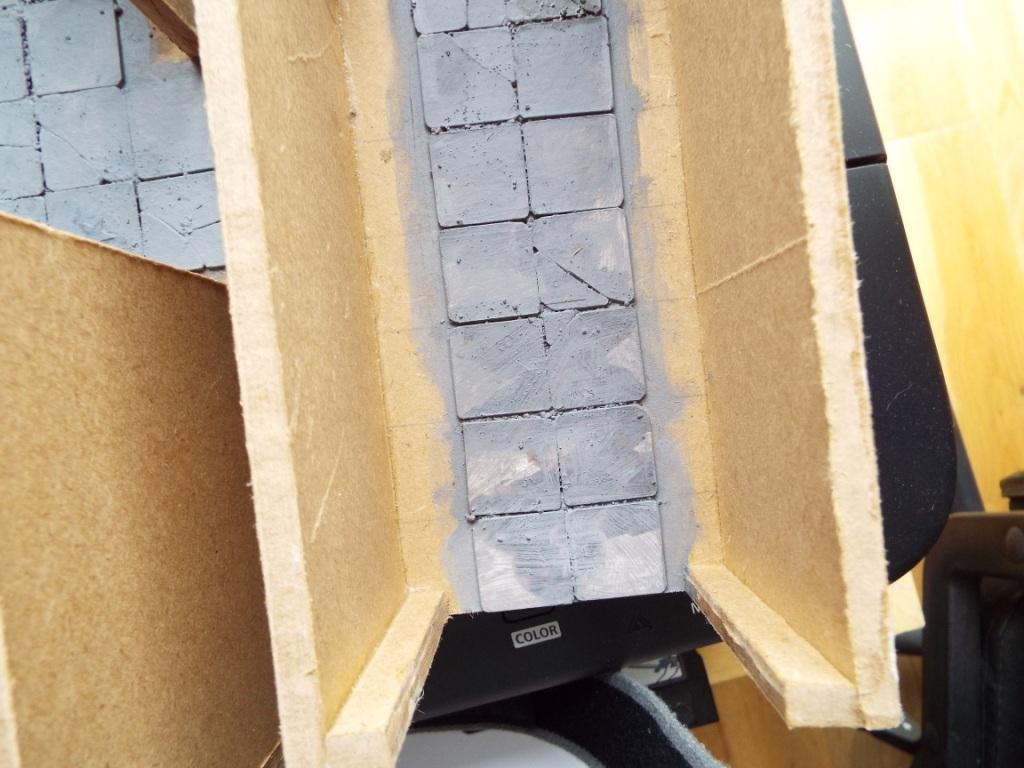
Next stage is the floor. I mark the floor into 1 inch squares, so to create the joins I cut mounting board into 24.5mm squares. I don’t want them looking pristine and new, so to make them look old and worn, I round the corners and cut some of them into pieces as if they were broken. Here are some examples as cut, and then applied to the corridor. The foam walls will fill in each side and so I only need the central 2 rows. To toughen the surface for painting, I mix some pva with acrylic paint and a tiny bit of fine grit and paint them, trying to get the grit in the crevices.
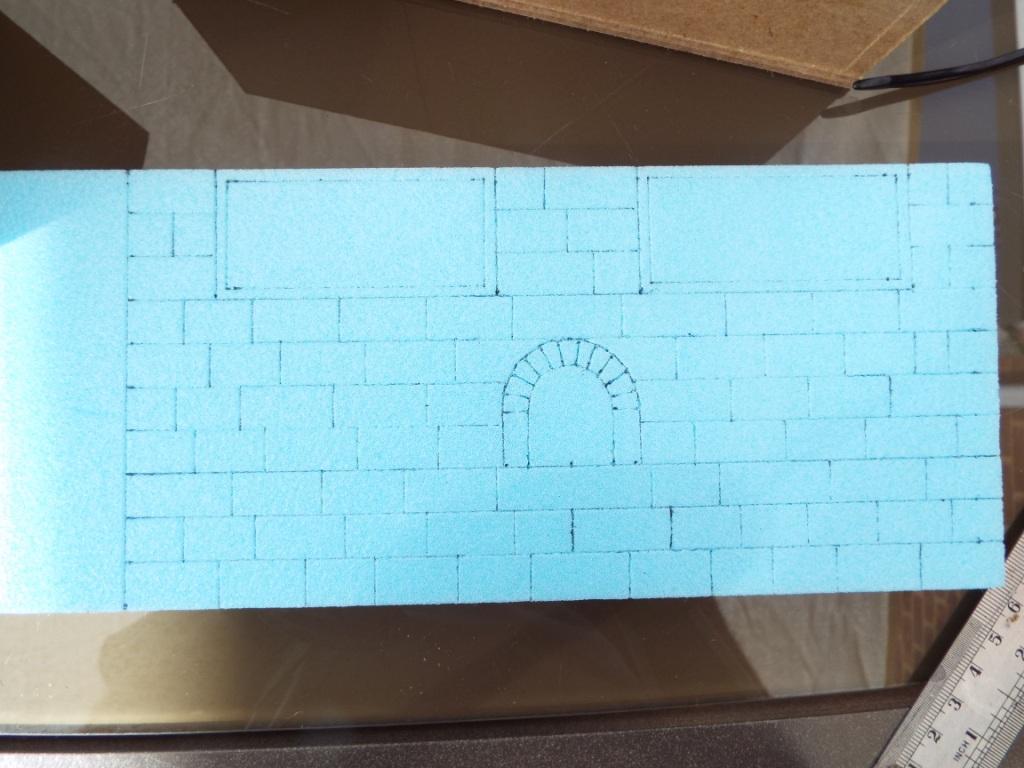
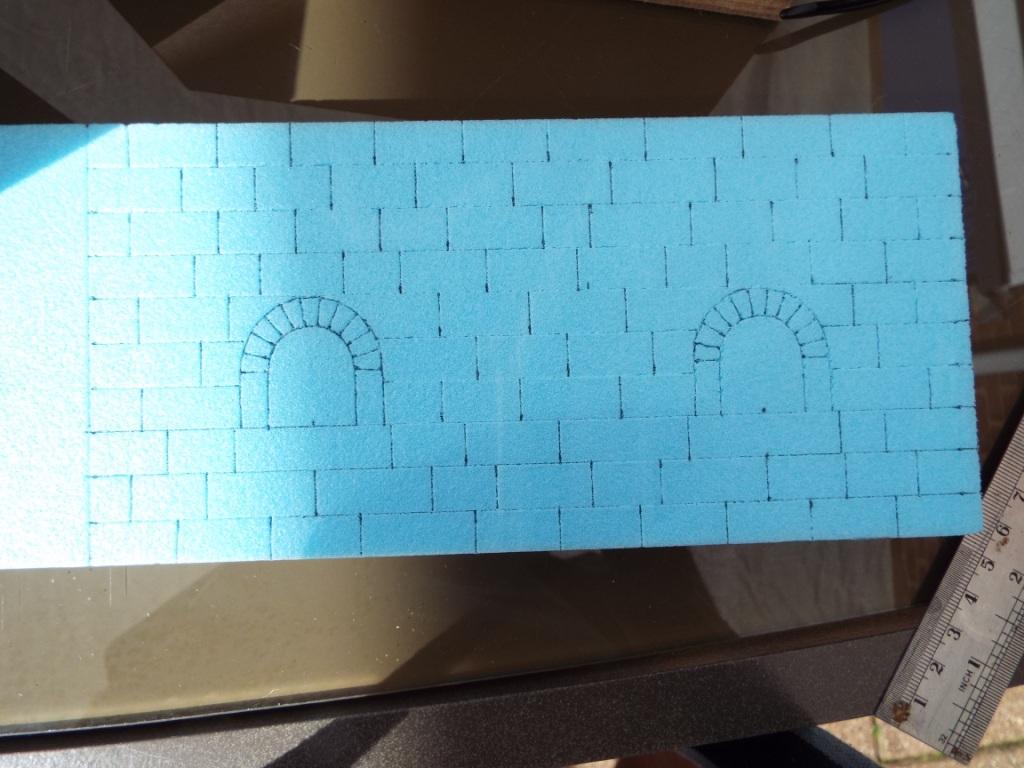
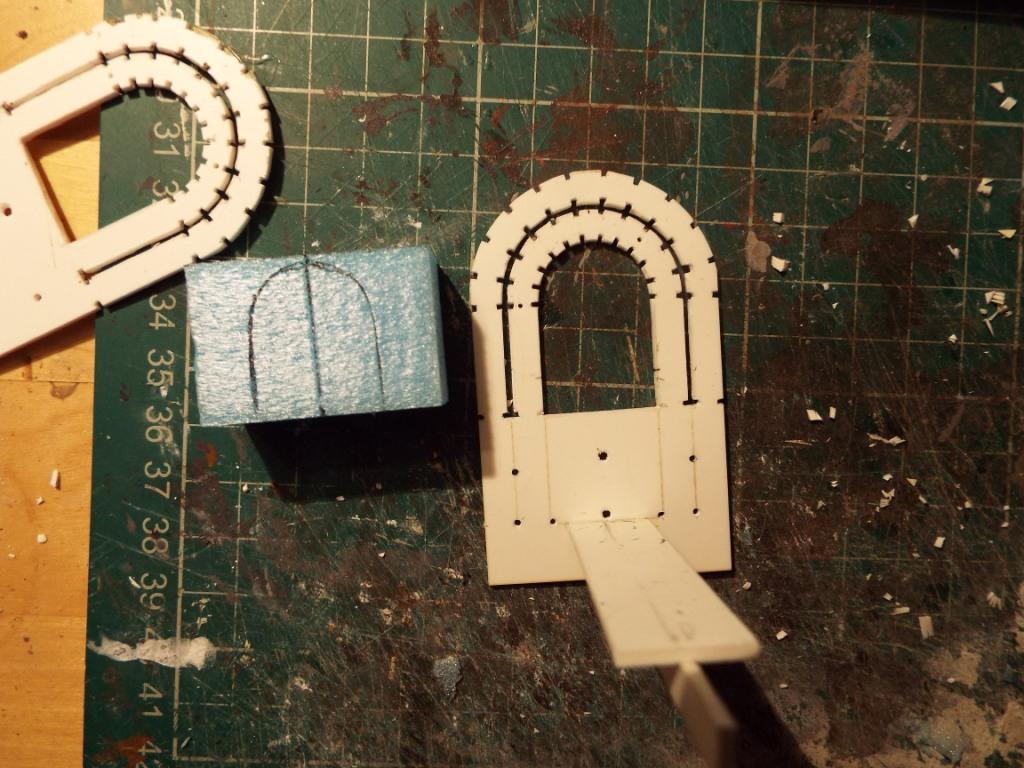
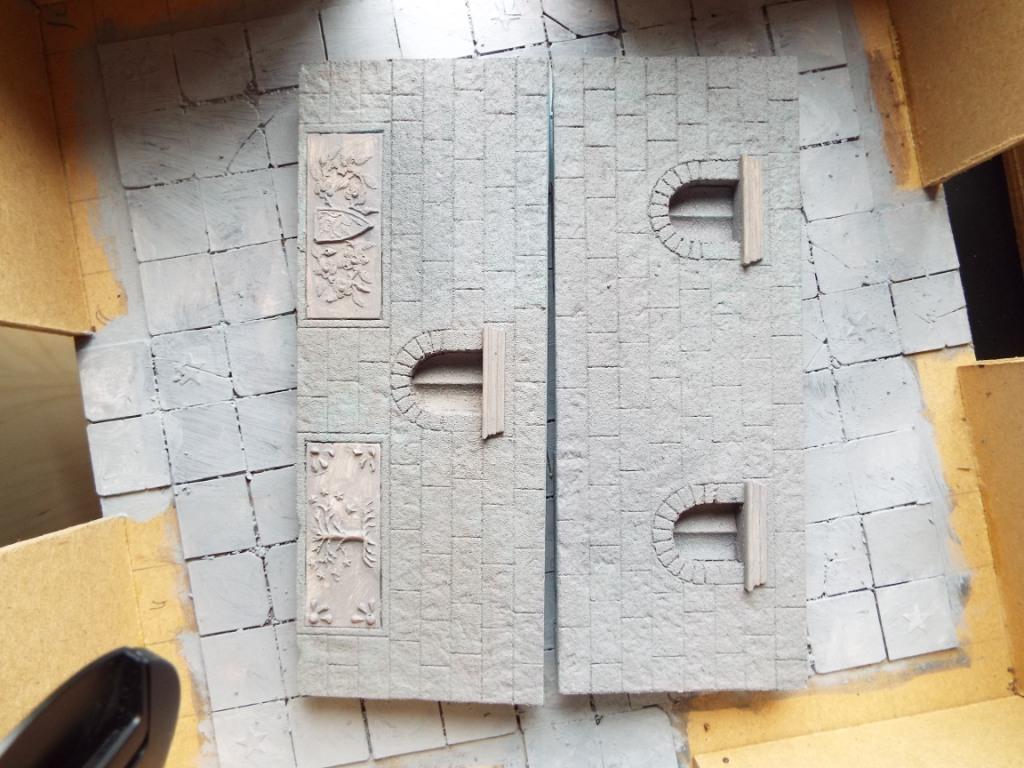
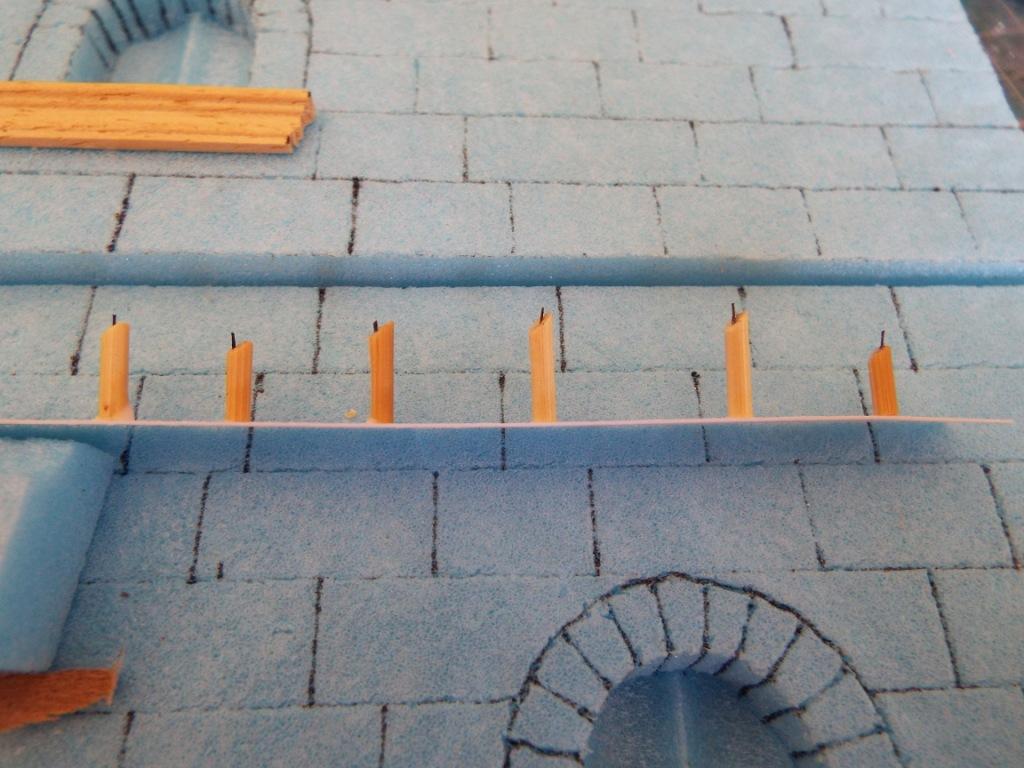
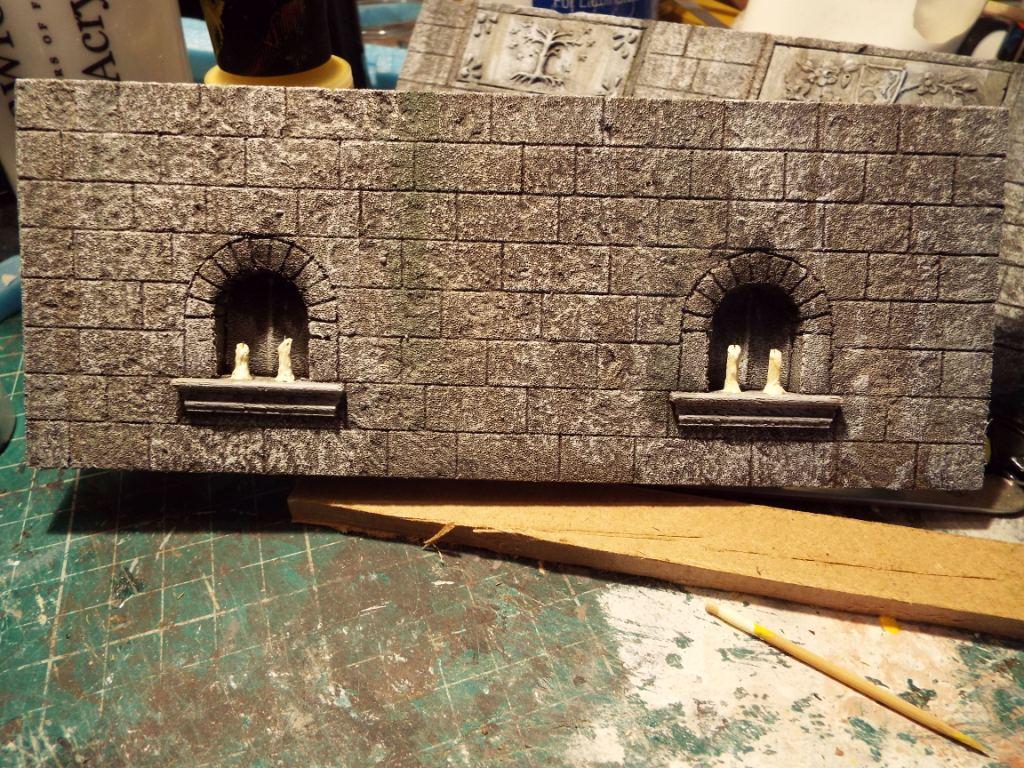
When that is dry, I try to work a similar mix, with a bit more grit, into the crevices. It is to make it look like rubble and junk has accumulated there. That is then ready for basecoating, so on to the walls. I am concentrating on the 8 inch section of corridor. The plan is to have 2 plaques and a candle alcove on one side, and 2 candle alcoves on the other. The alcoves are marked using one half of the jigs I use for doorways. When the alcoves are marked, along with the areas for the plaques, I then rule a series of horizontal lines 1 cm apart to represent the courses of blocks, using a steel rule and a cheap lining pen, then mark the vertical joints. I mark the 2 walls on opposite sides of the same block of foam, because I will cut the block in two using the hot wire table mentioned in the earlier article. Another reason for deciding on the layout of the alcoves on the 2 walls is that I want the foam to be thicker behind the alcoves, for reasons which will be clear later.
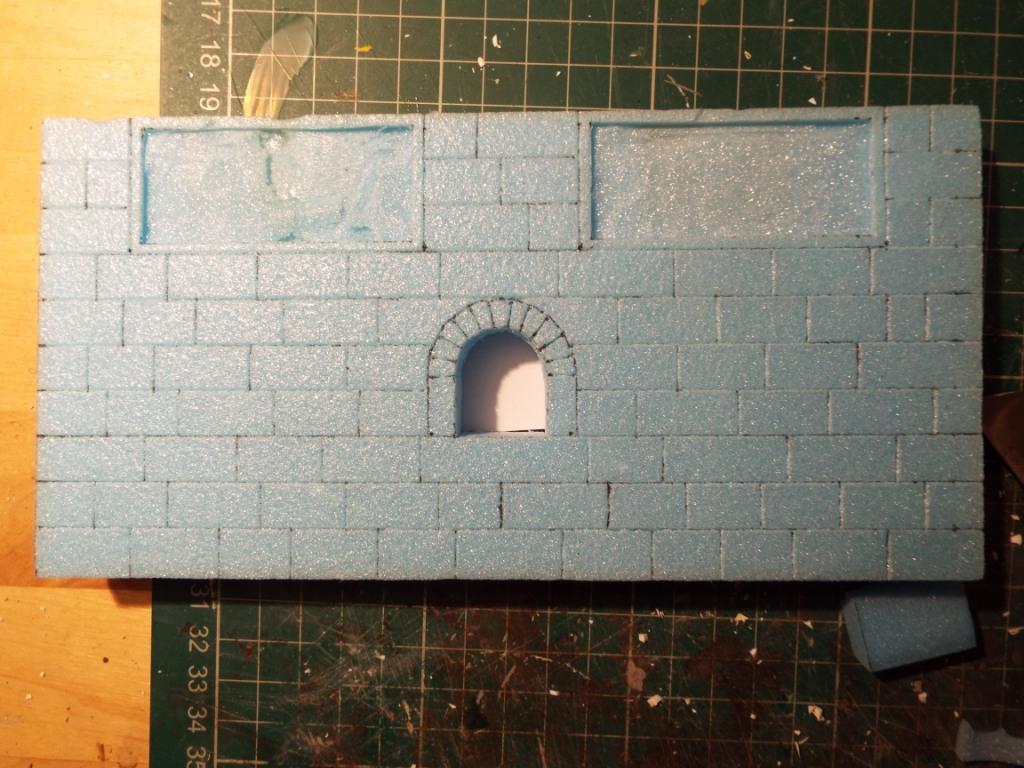
Next, cut out the alcoves with a sharp craft knife, and carefully cut out recesses into which the plaques will slot.
I could have simply put a flat back into the alcoves, but a discount store find and an idea to make pillar sections gave me a further idea.
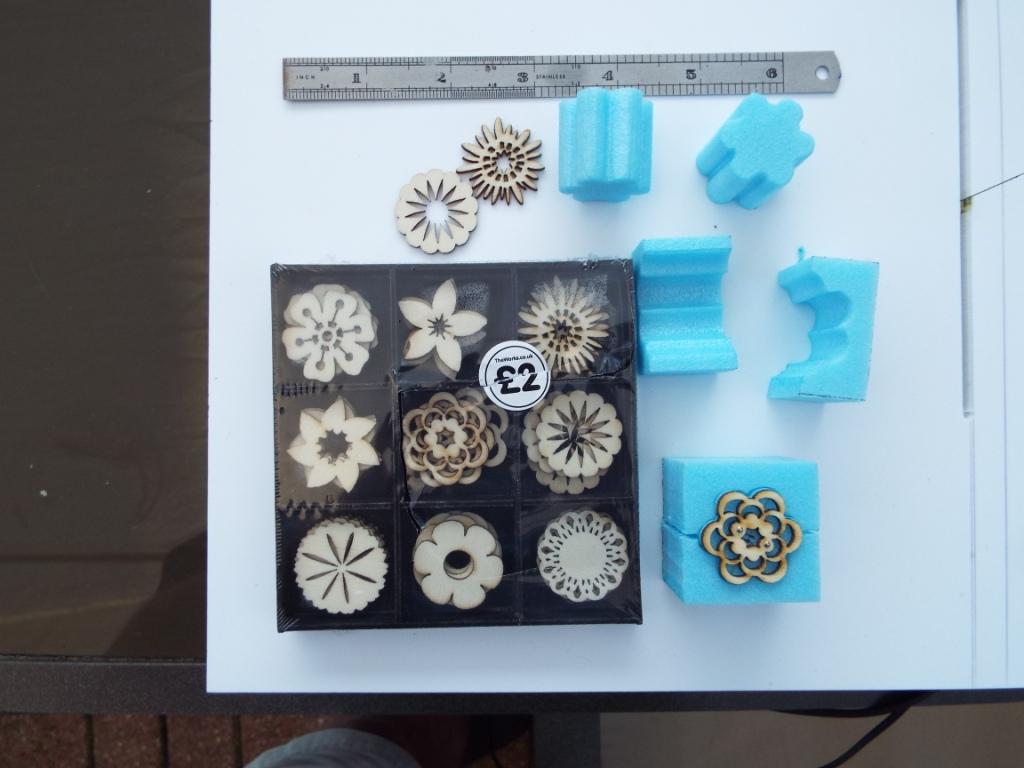
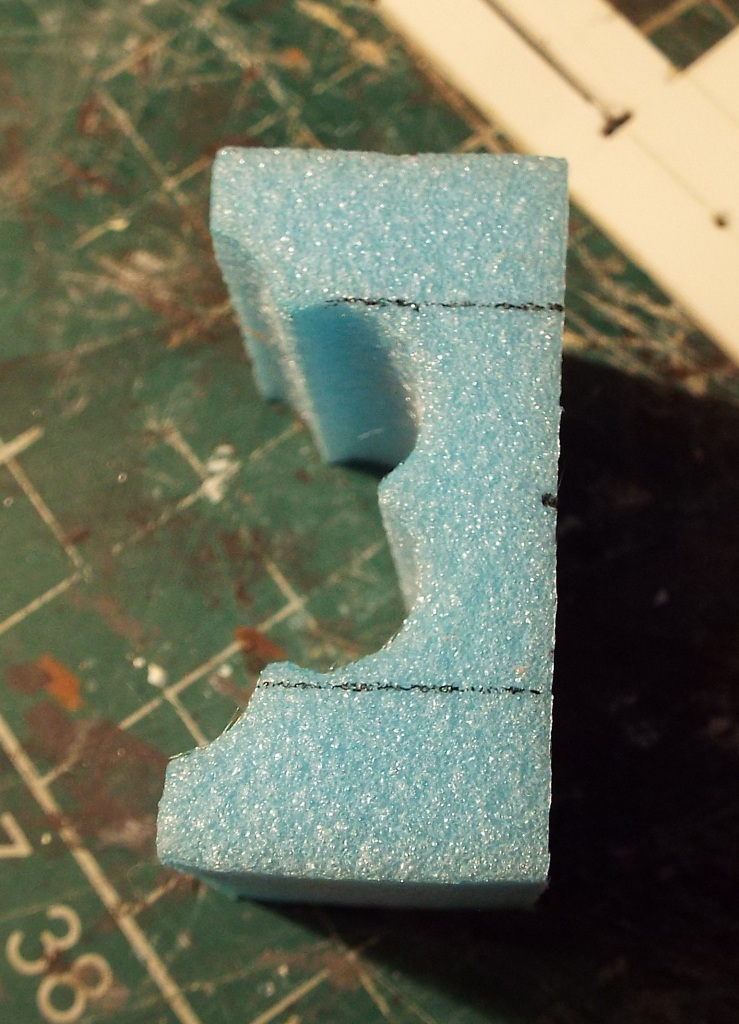
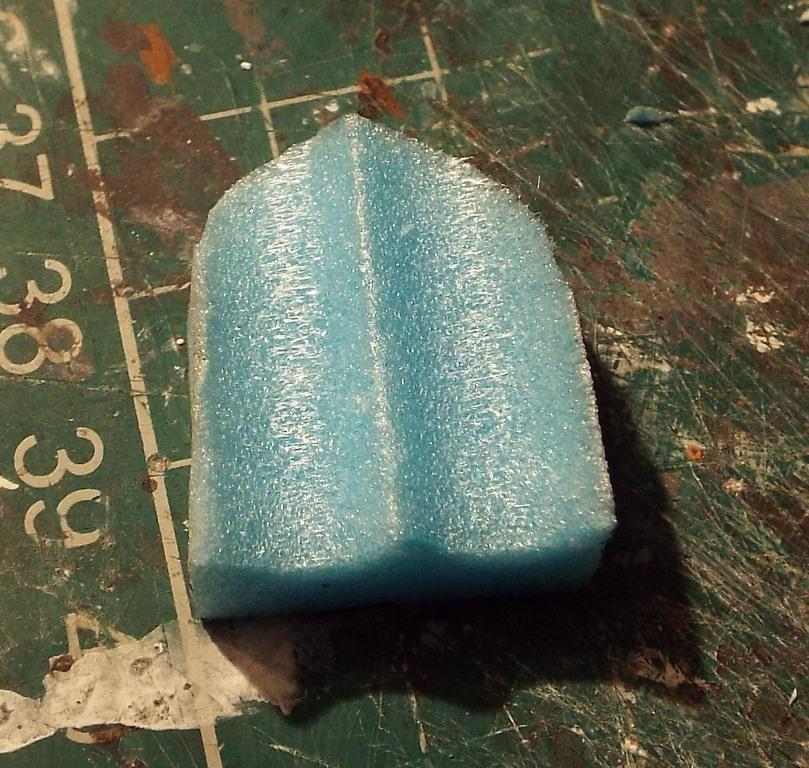
The following picture shows a box of laser-cut mdf shapes bought from The Works. There are 4 each of 9 shapes. I figured that if I pinned a shape to the surface of a 25mm sheet of foam, I could use it as a guide template and create sections of ornamental pillars. I used a pin vise to drill two holes in a suitable piece, inserted 2 pins to fix it to a square of foam, then cut round it with the hot wire. I was quite pleased with the sections of pillar I created, but I haven’t done anything with them yet. It struck me that the offcuts of the squares might come in useful. I trimmed it to the correct width for the alcove, used the jig to mark the curve of the arch on the back, then cut it out with a sharp craft knife. The picture shows the cut piece. It looks like a pointed arch, put that is a false impression given by the ridge in the middle – seen head on it would be a rounded top.
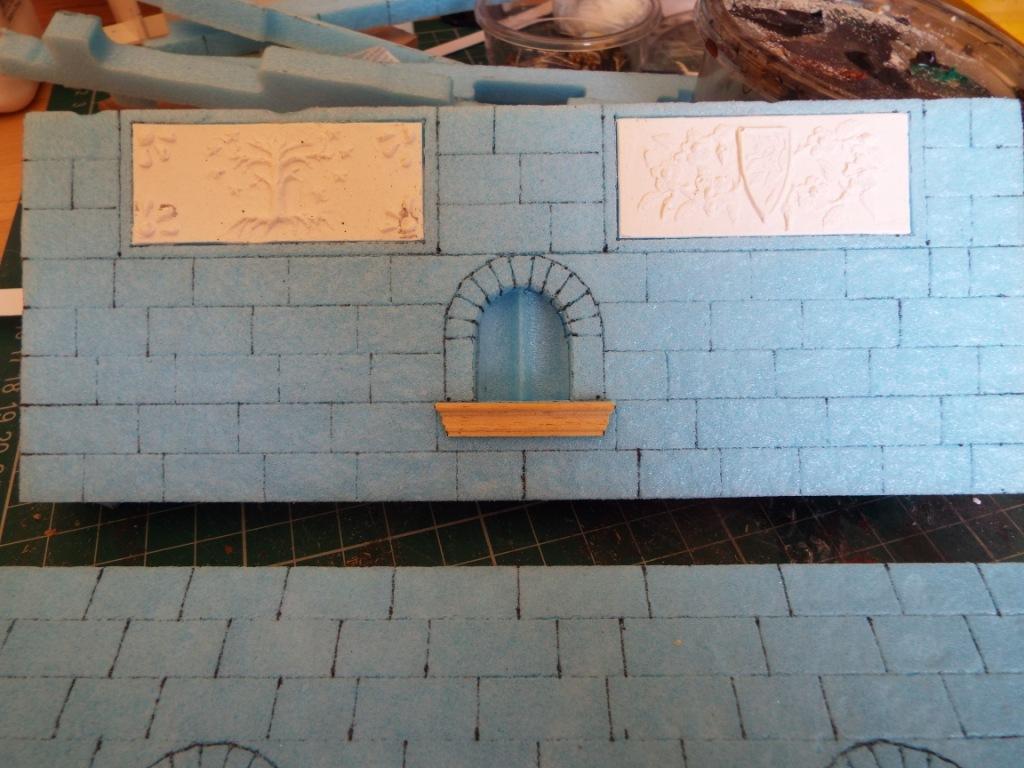
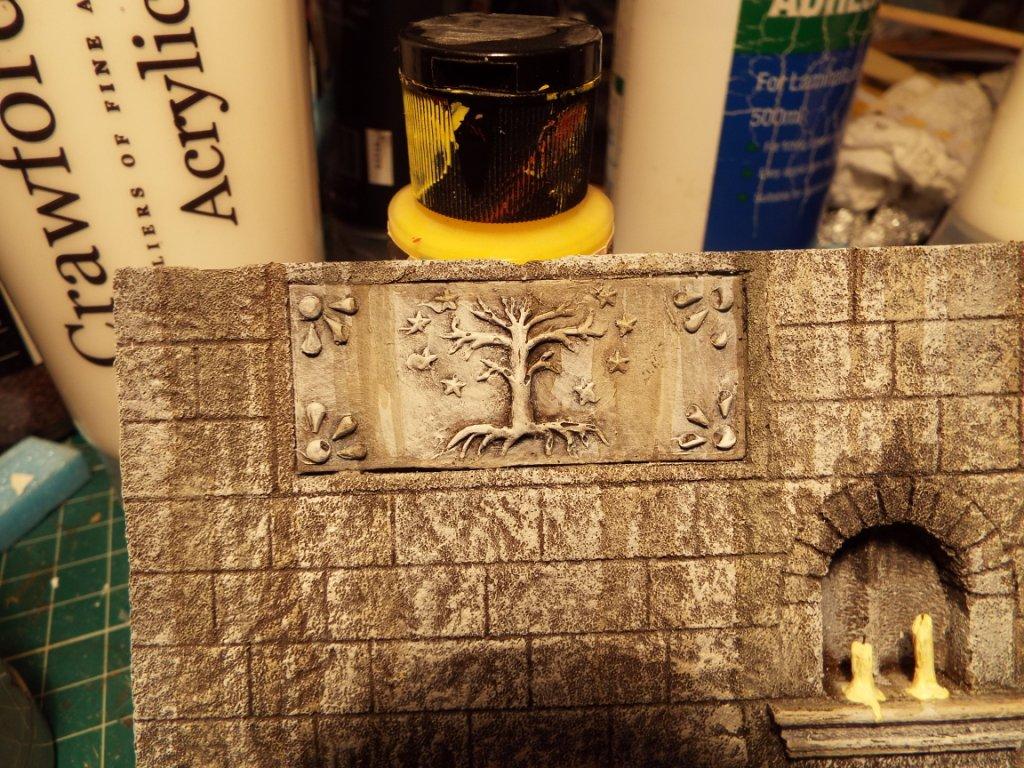
The piece is pushed into the alcove from the back of the wall. The plaques are plaster casts from moulds I have made, and are glued in place with pva. The alcove sill is a section from a piece of doll’s house dado rail, purchased from the 4D model shop in London, and trimmed to taper it in, in the same way that stone sills are shaped on historical buildings. Very useful stuff – can be used to add other details to model buildings.
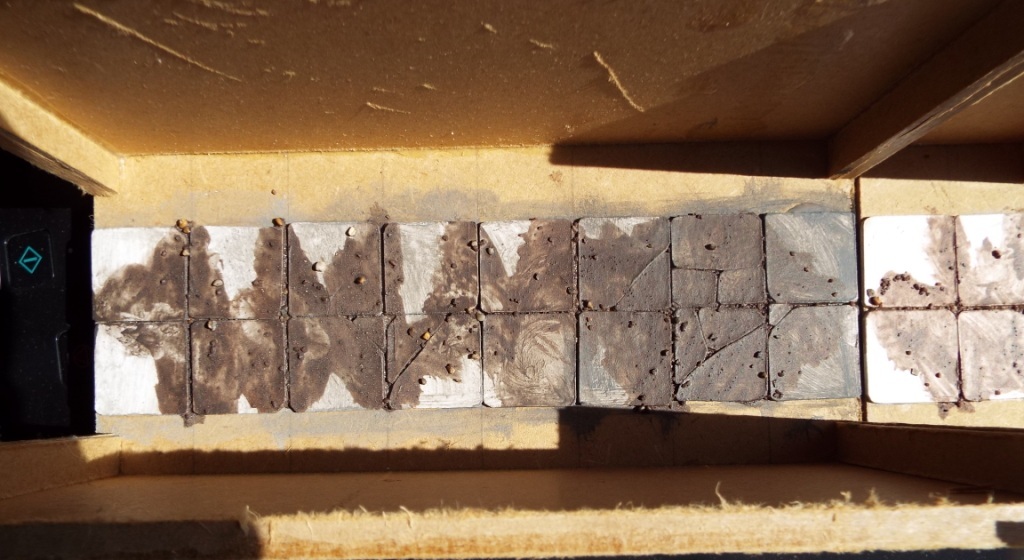
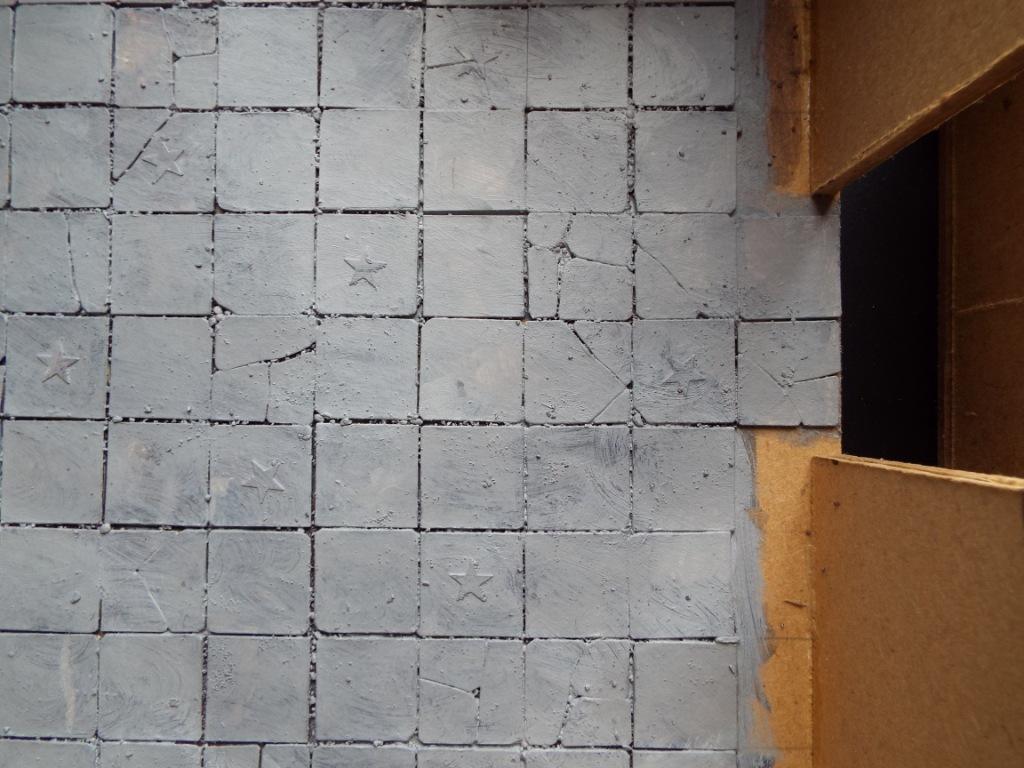
Next stage is to basecoat tiles and walls with a light grey paint to which a little brown is added. A couple of the pics show a larger room on which I have only done the floor so far. On some of the tiles in here I have glued plastic confetti stars, bought in a pack from The Works. (I am their leading advertiser.)
A black/brown wash is then applied, followed by dry-brushing with a light grey.
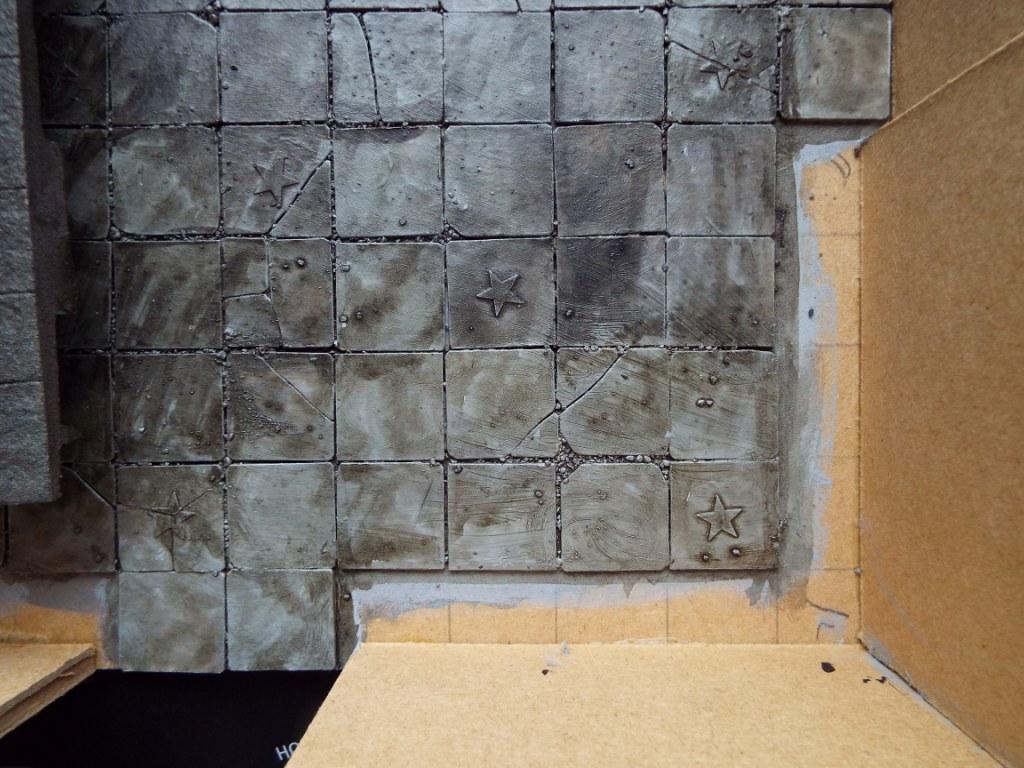
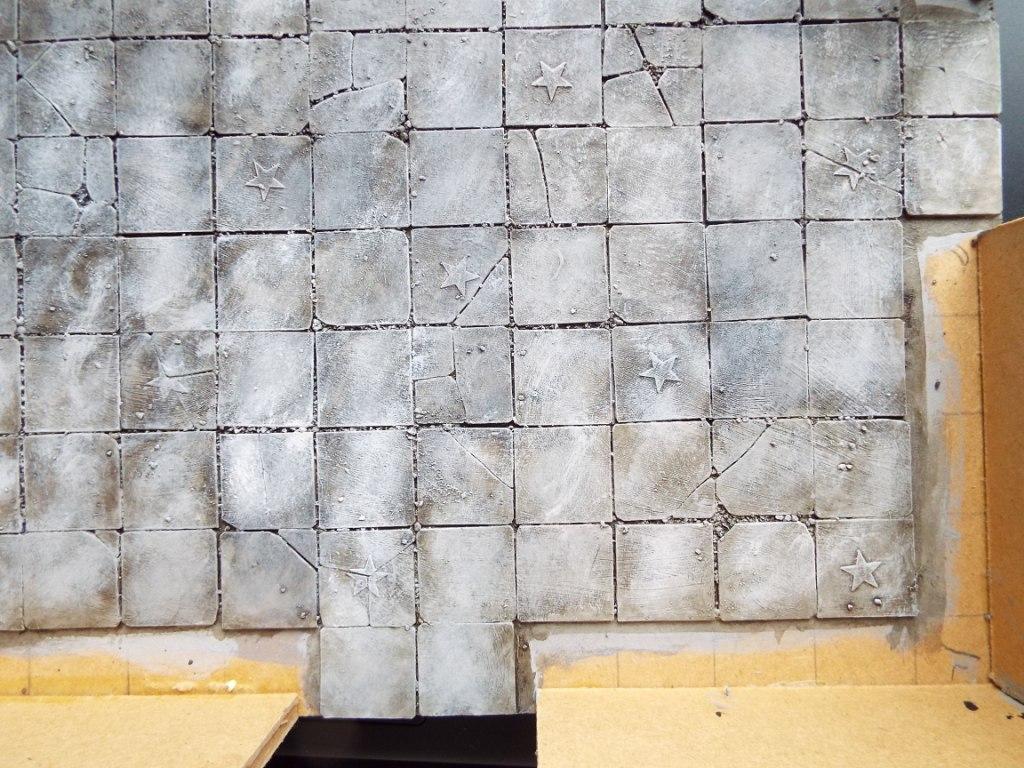
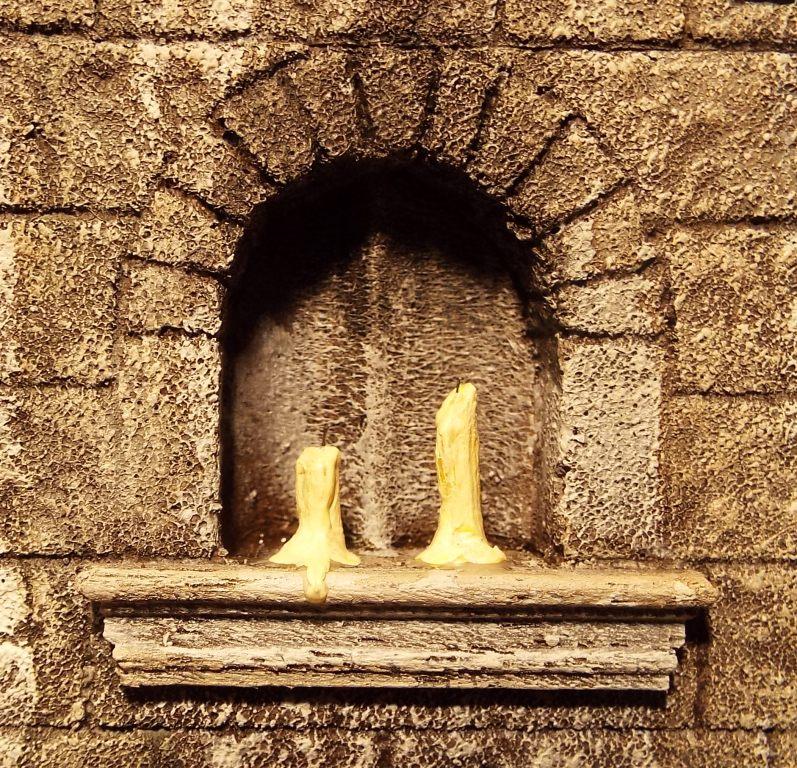
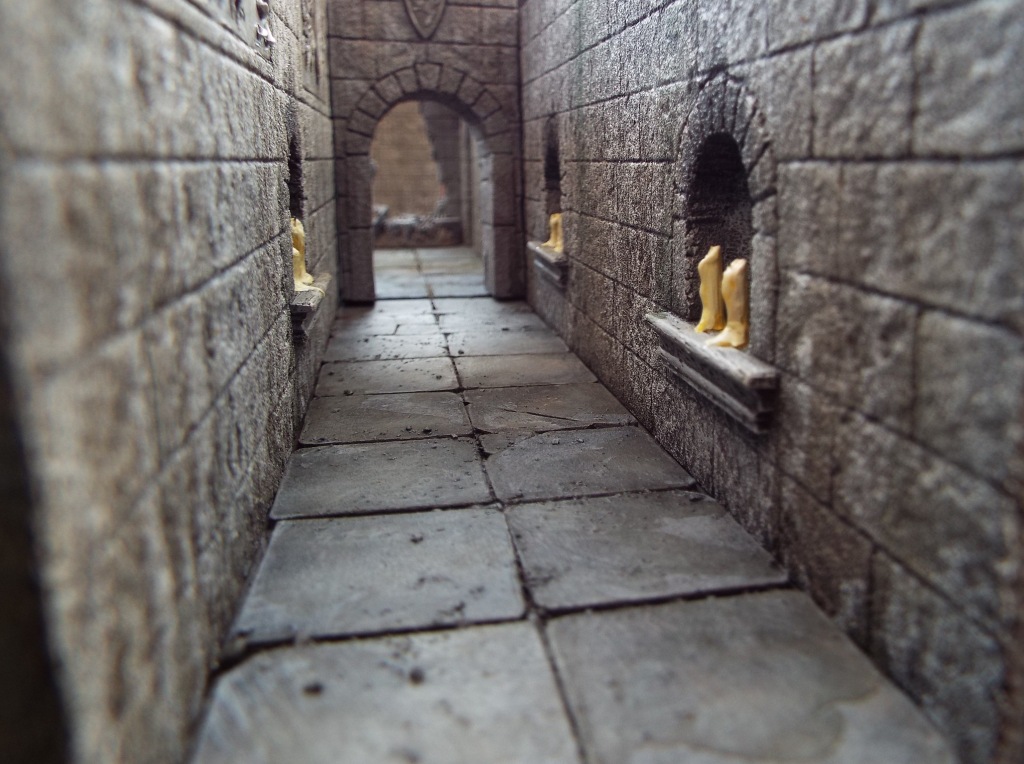
After this, a number of washes involving different mixes of brow, black and green are applied to give the final finish. I try to streak it down the walls and puddle them on the tiles. The final detail involves candles for the alcoves. Because of the central bar, I want 2 in each alcove. To make them I take short sections of cocktail sticks, cut the top of each at an angle to represent the uneven melt that candles generally have, and then use a pin to make a small pilot hole for where I intend to insert the wick. the Pin Vise with a very fine bit is used to carefully drill a short hole. The pilot hole makes this easier than it sounds. A strand of sisal string is painted black, and once dry is dipped into pva and inserted into the hole. It is trimmed to length with a pair of sharp scissors. In preparation for painting, the candles are attached to a strip of thin card with pva, with the following result;
The candles are painted using a mix of white and yellow acrylic to which some pva is added. I am looking to give the effect of wax melted down the candle stem and pooling round the base.
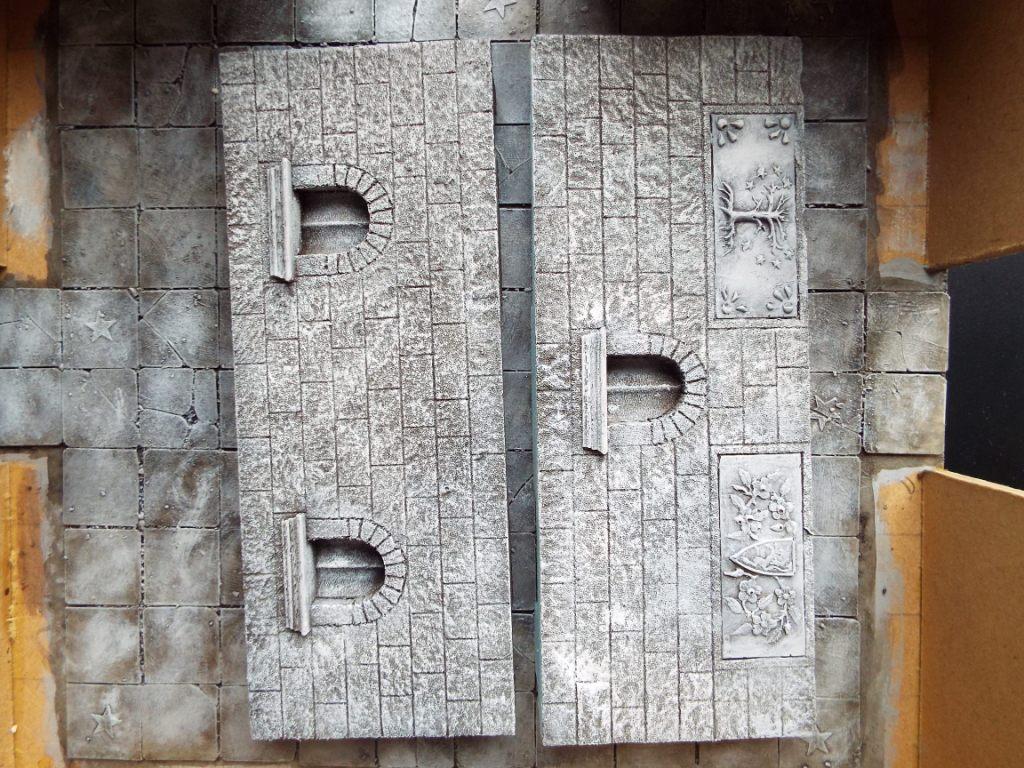
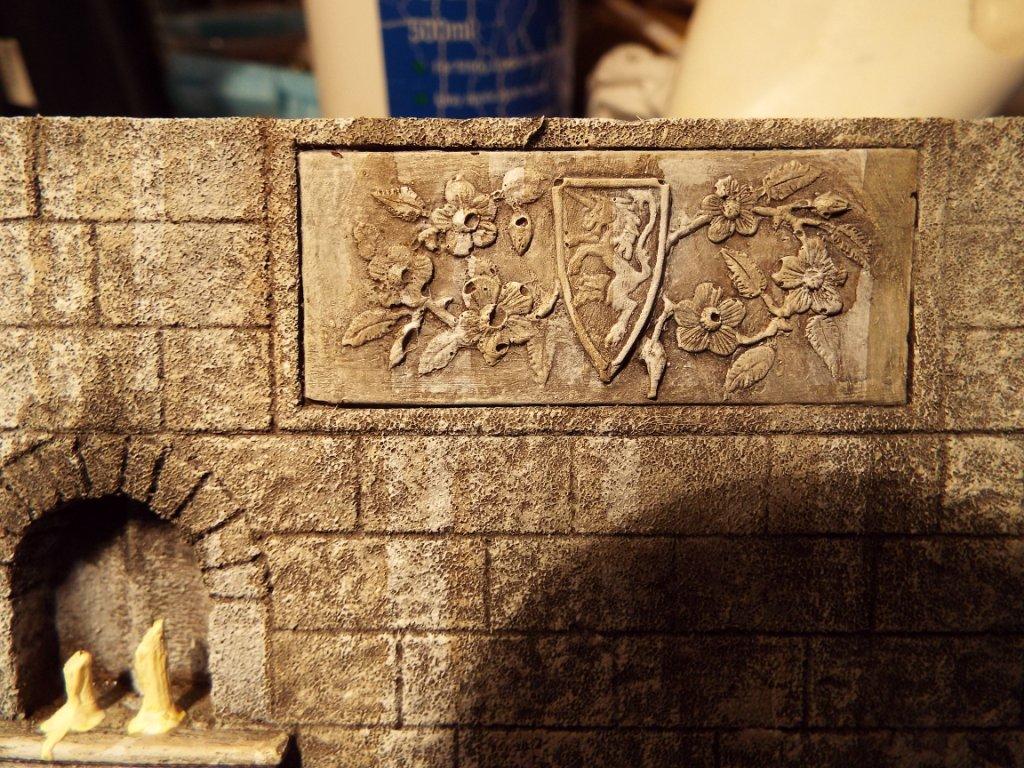
The following pictures show the results before and after the walls are glued into place. The brown effect is caused by photographing them in artificial light – they don’t look like that in reality. The 4th shot is in normal light but indoors, and the final 2 are shot outside. The first plaque is a Gondor-style tree motif, and the second attempts to portray a dog-rose surrounding a unicorn shield, which is an ancient GW piece.


Leave a Reply