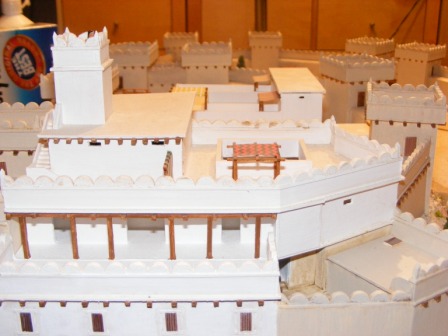
Next stage was to paint the walls. This is where you find out that the paint from 20 years ago is a bit different, so I decided to give all the walls a coat of Light Stone masonry paint from Homebase. The ground is a cream coloured paint but I wanted to differentiate it a bit. Not sure what the colour would have been in reality. They used lime plasters to waterproof cisterns so they might have done the same on the walls to protect the mud brick underneath, which I guess might have been white, but I think it would have become grimier over time.
One piece of advice – the coverage of that paint is not as I would like, so use the white face of the card mounting board as the exterior if you can – coloured card takes more effort to cover it.
Maybe I’ll try a more weathered effect at some point, but I haven’t really decided how – ideas are welcome.
The wooden supports are probably too dark, but again I wanted them to stand out.
First mistake of many revealed itself next. I had to paint the main gate – would have been much easier if I’d have done it before sticking it down.
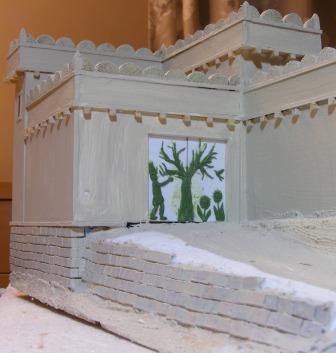
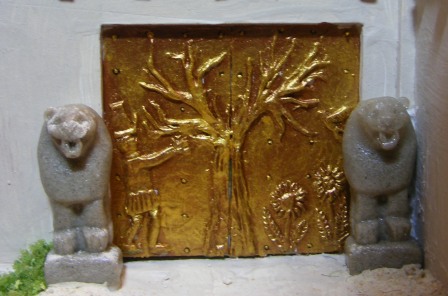
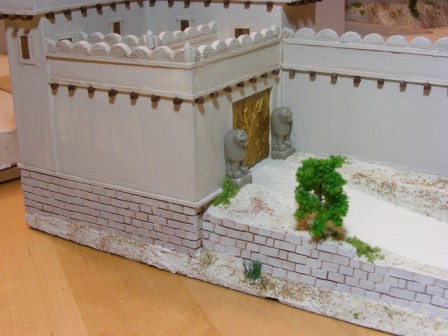
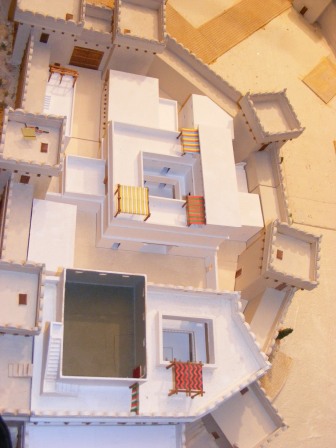
I wanted a gold-leaf effect on a bit of religious imagery, so I used green stuff to put in a scene based on some images I had seen. Rule 1 for bronze-age gods – wear a funny hat.
Bronze paint dry-brushed with gold did the job . I added in some fixing bolts with a fine permanent lining pen and some dots of gold.
Next mistake – should have left a bit more room for the lions. These are from Steve Barber models and I’ve been waiting to use them for ages. I’d like to have them set back a wee bit more, but I couldn’t shift the wall. I’ve left them as they are supplied as I like the grey stone look.
Next job is the groundwork. Basically it is smooth cream sandtex paint, painted on and then bulked up with more of the same paint but with some fine sand added. Sprinkle on patches of different stone scatter and a couple of types of flock.
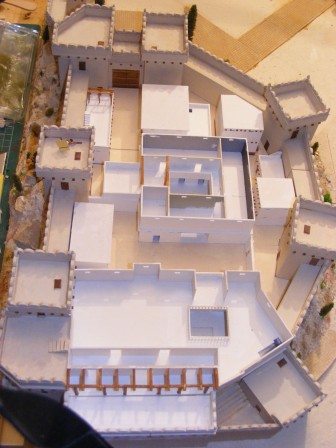
To neaten the interior I painted the surface with the sandtex. Once the buildings and bases are in place then it won’t show much but it makes it neater.
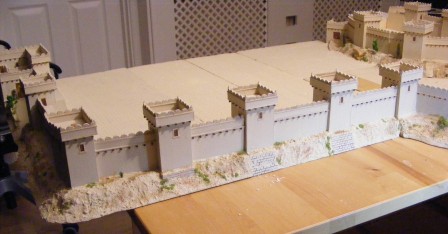
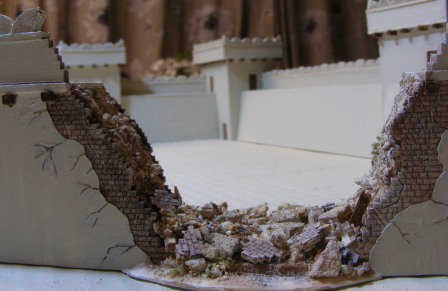
One of the wall sections has been made detachable so that I can substitute in a breach section.
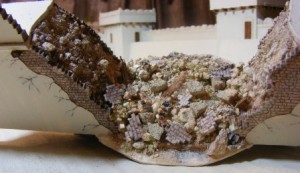
Made a couple of mistakes with this – bit of a theme with this instalment. The main one is that the mud-brick walls should be several bricks deep, but too late to do anything about that . The daft one is that I had some fibres mixed in with my rubble and they show up, so there’s a tidying exercise there. Happy with the appearance of the bricks – they are sections of mounting board card which have had the joints embossed with a dentist’s tool and dry-brushed. The plaster coating is a sheet of paper into which some cracks have been cut.
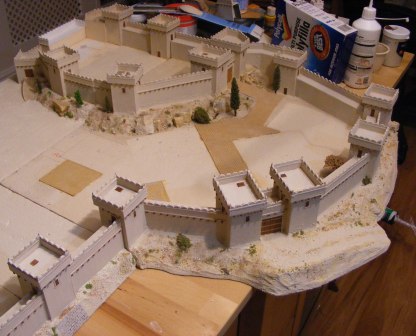
Here are shots from front and top. Bit of ground work needs doing but that can wait.
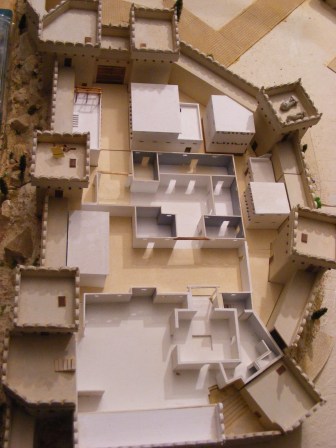
Final bit is to put the citadel buildings back in place – I had these constructed already. I have done the bigger buildings in layers, so that I can do the interiors if I ever wanted to get round to it. More likely that I’ll add to the exterior detail. They are a bit dull at the moment.
Pics of the various layers are here. Hittite lookout at the top – they must be in charge in the Levant at the moment. Pharaoh might have something to say about that, or maybe the Sea Peoples.
Next stage will be to add the buildings and lanes to the lower part of the city. I have most of these done, but there are a couple of bits I still need to do including a temple and perhaps an open market.

Leave a Reply